LAMP stack is the combination of Linux, Apache web server, MySQL/MariaDB, PHP. This step by step guide explains how to install Apache, MariaDB, PHP (LAMP Stack) in CentOS 8 minimal server. LAMP stack is used to deploy web-based applications and host dynamic websites. I tested this guide on CentOS 8, however the steps given below should work on RHEL 8 server as well. Let us get started.
Table of Contents
Install Apache, MariaDB, PHP (LAMP Stack) In CentOS 8
Here is my test machine details:
- Operating system - CentOS 8 minimal server (8.1.1911 (Core))
- IP Address - 192.168.225.52/24
- Hostname - centos8.ostechnix.lan
All commands given below should be run as "root" user. If you login as normal user, use 'sudo' in-front of each command. The # symbol represents I am commands as root user.
Note:
One of the major update in CentOS 8 is the default package manager has been migrated from YUM to DNF. However, you still can YUM on CentOS 8 if you're get used to it. The usage of DNF is exactly same as YUM. I have compiled a list of DNF command examples for beginners. If you're interested to know how to use DNF, take a look at the following link.
1. Install Apache web server on CentOS 8
To install Apache on CentOS 8, run the following command as root user:
# dnf install httpd
Once Apache is installed, enable and start apache service using command:
# systemctl enable httpd
# systemctl start httpd
Alternatively, you can use the following one-liner command to enable and start apache service in one go.
# systemctl enable --now httpd
Check if Apache service is running or not with command:
# systemctl status httpd
Sample output:
● httpd.service - The Apache HTTP Server
   Loaded: loaded (/usr/lib/systemd/system/httpd.service; enabled; vendor preset: disabled)
   Active: active (running) since Fri 2020-02-07 12:25:08 IST; 39min ago
     Docs: man:httpd.service(8)
 Main PID: 1736 (httpd)
   Status: "Total requests: 6; Idle/Busy workers 100/0;Requests/sec: 0.00253; Bytes served/sec: 13>
    Tasks: 213 (limit: 11501)
   Memory: 25.7M
   CGroup: /system.slice/httpd.service
           ├─1736 /usr/sbin/httpd -DFOREGROUND
           ├─1873 /usr/sbin/httpd -DFOREGROUND
           ├─1874 /usr/sbin/httpd -DFOREGROUND
           ├─1875 /usr/sbin/httpd -DFOREGROUND
           └─1876 /usr/sbin/httpd -DFOREGROUND

Feb 07 12:25:08 centos8.ostechnix.lan systemd[1]: Starting The Apache HTTP Server...
Feb 07 12:25:08 centos8.ostechnix.lan systemd[1]: Started The Apache HTTP Server.
Feb 07 12:25:08 centos8.ostechnix.lan httpd[1736]: Server configured, listening on: port 80
As you can see, Apache service is loaded and running. And it is listening listening on port 80. To find which service is listening on a particular port, refer this guide.
Check the Apache version:
# httpd -v
Server version: Apache/2.4.37 (centos)
Server built: Dec 23 2019 20:45:34
Next, all Apache server default ports 80 and 443 through your firewall and router.
To allow http port 80 through firewall, run:
# firewall-cmd --permanent --add-service=http
To allow https port 443:
# firewall-cmd --permanent --add-service=https
Restart firewall to apply the changes using command:
$ systemctl restart firewalld
1.1. Test Apache web server
We have just finished all necessary steps to deploy an Apache web server. Let us go ahead and check if it is really working or not. To do so, open your web browser (on any remote systems in the network, because it is minimal server with no GUI) and navigate to - http://ip-address. If you have GUI installed on your CentOS system, you can navigate to either http://localhost or http://ip-address/ or http://domain-name.
If everything is OK, you will see the following test page on your browser.
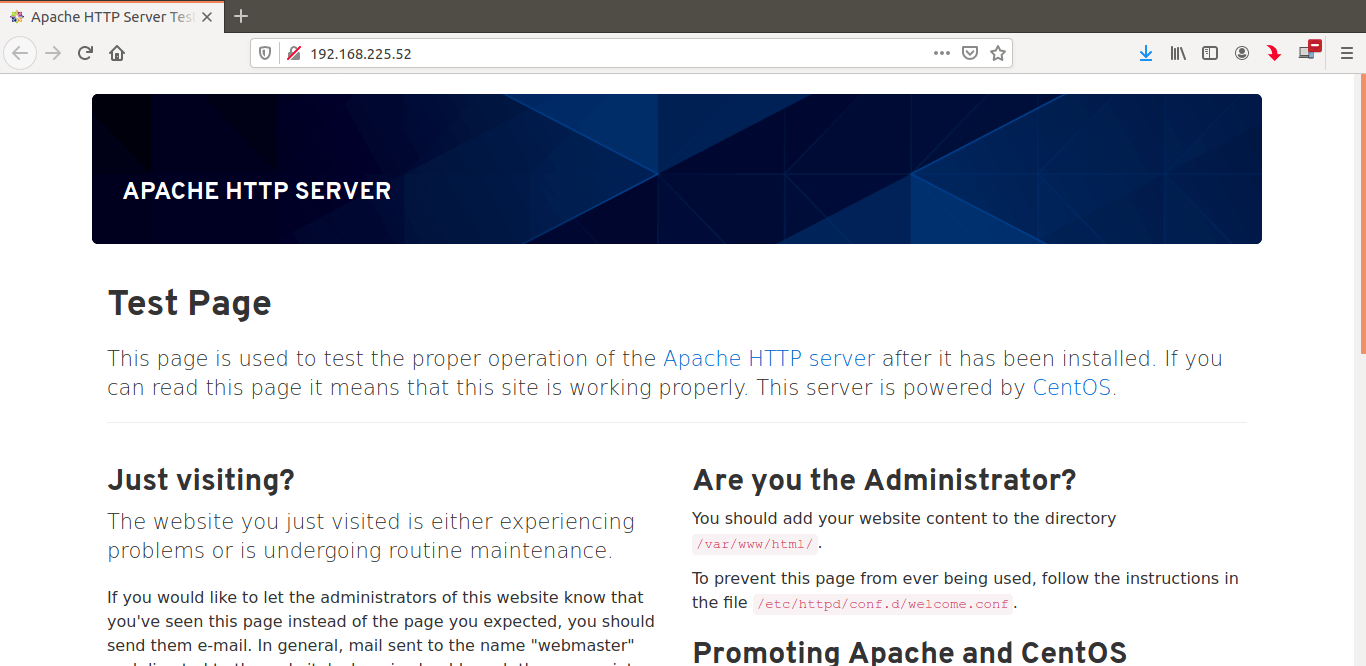
Well, Apache web server is working!
Next step in LAMP setup is to install database server.
2. Install MariaDB Database server on CentOS 8
Run the following command from Terminal to install MariaDB on CentOS 8:
# dnf install mariadb-server mariadb
Once MariaDB is installed, enable and start mariadb service using commands:
# systemctl enable mariadb
# systemctl start mariadb
Alternatively, use the following one-liner command to enable and start mariadb service at once:
# systemctl enable --now mariadb
To verify if mariadb service is started or not, run:
# systemctl status mariadb
Sample output:
● mariadb.service - MariaDB 10.3 database server
   Loaded: loaded (/usr/lib/systemd/system/mariadb.service; enabled; vendor preset: disabled)
   Active: active (running) since Fri 2020-02-07 14:16:59 IST; 16s ago
     Docs: man:mysqld(8)
           https://mariadb.com/kb/en/library/systemd/
  Process: 5447 ExecStartPost=/usr/libexec/mysql-check-upgrade (code=exited, status=0/SUCCESS)
  Process: 5312 ExecStartPre=/usr/libexec/mysql-prepare-db-dir mariadb.service (code=exited, statu>
  Process: 5288 ExecStartPre=/usr/libexec/mysql-check-socket (code=exited, status=0/SUCCESS)
 Main PID: 5415 (mysqld)
   Status: "Taking your SQL requests now..."
    Tasks: 30 (limit: 11501)
   Memory: 84.6M
   CGroup: /system.slice/mariadb.service
           └─5415 /usr/libexec/mysqld --basedir=/usr

Feb 07 14:16:59 centos8.ostechnix.lan mysql-prepare-db-dir[5312]: Please report any problems at ht>
Feb 07 14:16:59 centos8.ostechnix.lan mysql-prepare-db-dir[5312]: The latest information about Mar>
Feb 07 14:16:59 centos8.ostechnix.lan mysql-prepare-db-dir[5312]: You can find additional informat>
Feb 07 14:16:59 centos8.ostechnix.lan mysql-prepare-db-dir[5312]: http://dev.mysql.com
Feb 07 14:16:59 centos8.ostechnix.lan mysql-prepare-db-dir[5312]: Consider joining MariaDB's stron>
Feb 07 14:16:59 centos8.ostechnix.lan mysql-prepare-db-dir[5312]: https://mariadb.org/get-involved/
Feb 07 14:16:59 centos8.ostechnix.lan mysqld[5415]: 2020-02-07 14:16:59 0 [Note] /usr/libexec/mysq>
Feb 07 14:16:59 centos8.ostechnix.lan mysqld[5415]: 2020-02-07 14:16:59 0 [Warning] Could not incr>
Feb 07 14:16:59 centos8.ostechnix.lan mysqld[5415]: 2020-02-07 14:16:59 0 [Warning] Changed limits>
Feb 07 14:16:59 centos8.ostechnix.lan systemd[1]: Started MariaDB 10.3 database server
Mariadb service is loaded and active now!
Check install MariaDB version:
# mysql -V
mysql Ver 15.1 Distrib 10.3.17-MariaDB, for Linux (x86_64) using readline 5.1
2.1. Set database root user (administrator) password
By default, database root user password is empty. To secure the database server, we need to set password for root user. To do so, run mysql_secure_installation script:
# mysql_secure_installation
You will be asked a couple questions. Read and answer them accordingly. First, you will be prompted to enter current password for root user. Since the password is empty by default, simply press ENTER key to go ahead. Next, you will be prompted to answer the following questions:
- Set root password ? - Type y to set the password and enter the password twice.
- Remove anonymous users? - Type y to remove the anonymous user. The anonymous user is given for testing purposes by default. You should remove the anonymous user in production.
- Disallow root login remotely? - Type y to prevent the root user to access the database server from any remote systems.
- Remove test database and access to it? - Type y to remove test database.
- Reload privilege tables now? - Type y to take effect all changes made.
Sample output:
NOTE: RUNNING ALL PARTS OF THIS SCRIPT IS RECOMMENDED FOR ALL MariaDB
      SERVERS IN PRODUCTION USE!  PLEASE READ EACH STEP CAREFULLY!

In order to log into MariaDB to secure it, we'll need the current
password for the root user.  If you've just installed MariaDB, and
you haven't set the root password yet, the password will be blank,
so you should just press enter here.

Enter current password for root (enter for none): #Press ENTER
OK, successfully used password, moving on...

Setting the root password ensures that nobody can log into the MariaDB
root user without the proper authorisation.

Set root password? [Y/n] y #Type y and press ENTER
New password:  #Enter password
Re-enter new password: #Re-enter password
Password updated successfully!
Reloading privilege tables..
 ... Success!


By default, a MariaDB installation has an anonymous user, allowing anyone
to log into MariaDB without having to have a user account created for
them.  This is intended only for testing, and to make the installation
go a bit smoother.  You should remove them before moving into a
production environment.

Remove anonymous users? [Y/n] y #Type y and press ENTER
 ... Success!

Normally, root should only be allowed to connect from 'localhost'.  This
ensures that someone cannot guess at the root password from the network.

Disallow root login remotely? [Y/n] y #Type y and ress ENTER
 ... Success!

By default, MariaDB comes with a database named 'test' that anyone can
access.  This is also intended only for testing, and should be removed
before moving into a production environment.

Remove test database and access to it? [Y/n] y #Type y and press ENTER
 - Dropping test database...
 ... Success!
 - Removing privileges on test database...
 ... Success!

Reloading the privilege tables will ensure that all changes made so far
will take effect immediately.

Reload privilege tables now? [Y/n] y #Type y and press ENTER
 ... Success!

Cleaning up...

All done!  If you've completed all of the above steps, your MariaDB
installation should now be secure.

Thanks for using MariaDB!
We have now secured the MariaDB installation.
2.2. Login to MariaDB shell
Run the following command to login to mariadb shell as root user:
# mysql -u root -p
Enter password:
Welcome to the MariaDB monitor.  Commands end with ; or \g.
Your MariaDB connection id is 16
Server version: 10.3.17-MariaDB MariaDB Server

Copyright (c) 2000, 2018, Oracle, MariaDB Corporation Ab and others.

Type 'help;' or '\h' for help. Type '\c' to clear the current input statement.

MariaDB [(none)]>
To exit from mariadb shell, simply run:
exit;
3. Install PHP on CentOS 8
PHP is the last component in the LAMP stack. To install php along all other required php modules, run the following command as root user:
# dnf install php php-fpm php-mysqlnd php-opcache php-gd php-xml php-mbstring
3.1. Configure Apache with PHP-FPM
One of the most common known ways to run PHP with Apache is the mod_php module. However, PHP-FPM (FastCGI Process Manager) has a few advantages over mod_php. For those wondering, PHP-FPM is the PHP's FastCGI implementation. PHP-FPM runs as a standalone FastCGI server and increases the performance of your PHP environment significantly.
We already have installed php-fpm, so let us enable and start php-fpm service using commands:
# systemctl enable php-fpm
# systemctl start php-fpm
Alternatively, use the following one-liner command to enable and start php-fpm service at once:
# systemctl enable --now php-fpm
To verify if php-fpm service is started or not, run:
# systemctl status php-fpm
Sample output:
● php-fpm.service - The PHP FastCGI Process Manager
   Loaded: loaded (/usr/lib/systemd/system/php-fpm.service; enabled; vendor preset: disabled)
   Active: active (running) since Fri 2020-02-07 17:24:44 IST; 8s ago
 Main PID: 6053 (php-fpm)
   Status: "Ready to handle connections"
    Tasks: 6 (limit: 11501)
   Memory: 22.6M
   CGroup: /system.slice/php-fpm.service
           ├─6053 php-fpm: master process (/etc/php-fpm.conf)
           ├─6054 php-fpm: pool www
           ├─6055 php-fpm: pool www
           ├─6056 php-fpm: pool www
           ├─6057 php-fpm: pool www
           └─6058 php-fpm: pool www

Feb 07 17:24:44 centos8.ostechnix.lan systemd[1]: Starting The PHP FastCGI Process Manager...
Feb 07 17:24:44 centos8.ostechnix.lan systemd[1]: Started The PHP FastCGI Process Manager.
Well, php-fpm service has been loaded and active now.
3.2. Test PHP
To verify if PHP is properly working or not, create a sample file named “info.php” in the web root folder:
# vi /var/www/html/info.php
Add the following lines:
<?php
phpinfo();
?>
Restart Apache service to take effect the changes:
# systemctl restart httpd
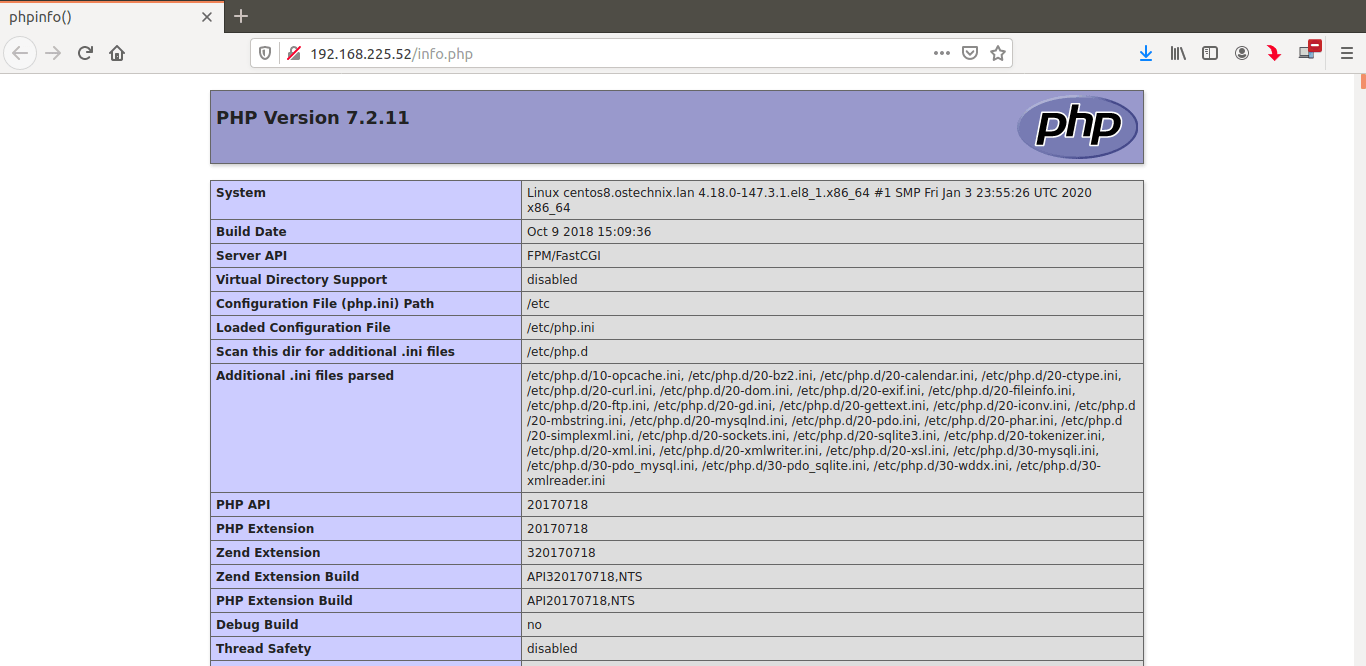
Now, open up your web browser and navigate to http://IP_Address/info.php.
You will see the following php page that lists all installed modules and other details like php version, build date and commands etc.
Congrtualtions! At this stage, you should have a fully functioning LAMP stack on CentOS 8 server.
We already have published installing LAMP stack on different Linux platforms. Check the following link to know how to setup LAMP on various Linux distributions.
Thanks for stopping by!
Help us to help you:
- Subscribe to our Email Newsletter : Sign Up Now
- Support OSTechNix : Donate Via PayPal
- Download free E-Books and Videos : OSTechNix on TradePub
- Connect with us: Reddit | Facebook | Twitter | LinkedIn | RSS feeds
Have a Good day!!