Django is a free, open source web framework that allows you to build web applications more easily and quickly with less coding. It is fast, secure framework written using Python programming language. In this brief tutorial, let us see how to install Django framework in Ubuntu 18.04 LTS server. Although this will work on other Debian/Ubuntu based systems and its derivatives like Linux Mint.
Table of Contents
Install Django Web Framework In Ubuntu
We can install Django in Ubuntu in two methods.
- Using Ubuntu official repositories ;
- Using pip (Recommended method).
We will see both methods.
1. Install Django Web Framework In Ubuntu using official repositories
Django is available on Ubuntu official repositories. So, we can install it using command:
$ sudo apt-get update
$ sudo apt-get install python-django
Sample output:
Reading package lists... Done
Building dependency tree
Reading state information... Done
The following additional packages will be installed:
 javascript-common libjs-jquery libpython-stdlib python
 python-django-common python-minimal python-sqlparse python-tz
 python2.7 python2.7-minimal
Suggested packages:
 apache2 | lighttpd | httpd python-doc python-tk python-psycopg2
 python-pymysql python-flup python-sqlite python-memcache python-pil
 python-bcrypt python-yaml geoip-database-extra
 | geoip-database-contrib gettext python-django-doc ipython bpython
 libgdal1 python-sqlparse-doc python2.7-doc binutils binfmt-support
The following NEW packages will be installed:
 javascript-common libjs-jquery libpython-stdlib python python-django
 python-django-common python-minimal python-sqlparse python-tz
 python2.7 python2.7-minimal
0 upgraded, 11 newly installed, 0 to remove and 30 not upgraded.
Need to get 3,951 kB of archives.
After this operation, 29.7 MB of additional disk space will be used.
Do you want to continue? [Y/n]
Type Y and press Enter when it asks you to continue to install Django.
Verify Django
We have installed Django on Ubuntu. Run the following command from the Terminal whether Django has been successfully installed or not.
$ django-admin --version
Sample output:
1.11.11
As you see in the above output, Django 1.11.11 has been installed.
The one problem with installing Django from Ubuntu official repositories is the version in the official repositories will be bit older. In order to install most recent stable Django version, install Django as described in the second method below.
2. Install Django Web Framework In Ubuntu using pip
This is officially recommended by Django project team. You can get most recent stable version of Django by using Python package manager called Pip.
Update the repositories list using command:
$ sudo apt-get update
Install pip using any one of the command below.
For Python 2 or lower versions:
$ sudo apt-get install python-pip
For python 3:
$ sudo apt-get install python3-pip
Now, install Django if you use python 2:
$ sudo pip install django
If you use python 3, then use following command instead:
$ sudo pip3 install django
You can use either Python 2 or Python 3. I use Python 3 for the purpose of this tutorial.
To verify the Django version, run:
$ django-admin --version
Sample output:
2.0.5
See? This is higher version than the one in the Ubuntu official repositories.
We have successfully installed Django. Now, what? Let's go ahead and see the basic usage of Django.
Django Basic usage
Let us create a new project called ostechnix.
To do so, run:
$ django-admin startproject ostechnix
The above command will create a directory called "ostechnix" in the current directory.
Let us check the contents of this directory.
To do so, run:
$ ls ostechnix/
Sample output:
manage.py ostechnix
As you see in the above output, there is a script called "manage.py" and another directory called 'ostechnix'. The second 'ostechnix' directory will have the actual code.
Now, change to the 'ostechnix' directory:
$ cd ostechnix/
Then, run the following command to bootstrap the database:
$ python3 manage.py migrate
Note: If you use python 2 or earlier versions, you should run "python manage.py migrate" without quotes.
You will see an output like below.
Operations to perform:
 Apply all migrations: admin, auth, sessions, contenttypes
Running migrations:
 Rendering model states... DONE
 Applying contenttypes.0001_initial... OK
 Applying auth.0001_initial... OK
 Applying admin.0001_initial... OK
 Applying admin.0002_logentry_remove_auto_add... OK
 Applying contenttypes.0002_remove_content_type_name... OK
 Applying auth.0002_alter_permission_name_max_length... OK
 Applying auth.0003_alter_user_email_max_length... OK
 Applying auth.0004_alter_user_username_opts... OK
 Applying auth.0005_alter_user_last_login_null... OK
 Applying auth.0006_require_contenttypes_0002... OK
 Applying auth.0007_alter_validators_add_error_messages... OK
 Applying sessions.0001_initial... OK
Next, we need to create an administrative user.
To do so, run:
$ python3 manage.py createsuperuser
Enter the username (leave blank to use the current username), password.
Username (leave blank to use 'sk'):
Email address: sk@ostechnix.com
Password:
Password (again):
Superuser created successfully.
Finally, run the following command to start the Django development server.
$ python3 manage.py runserver 0.0.0.0:8000
Sample output:
Performing system checks...

System check identified no issues (0 silenced).
May 12, 2016 - 10:05:23
Django version 1.9.6, using settings 'ostechnix.settings'
Starting development server at http://0.0.0.0:8000/
Quit the server with CONTROL-C.
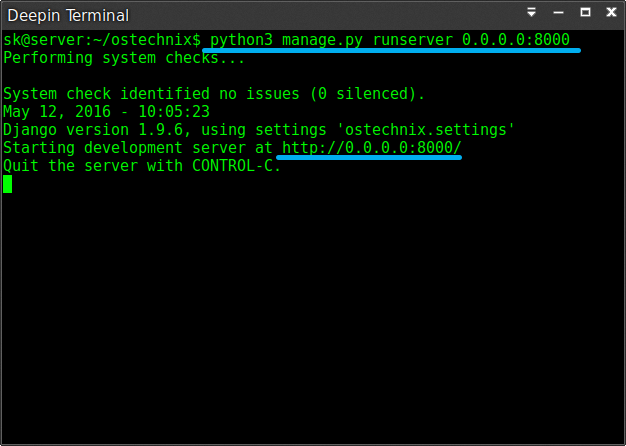
Congratulations! Django development server has been started. To stop the Django server, press CTRL+C.
Access Django development server page
Open up your web browser and navigate to http://IP-Address:8000.
Oops! There is an error!!

DisallowedHost at /

Invalid HTTP_HOST header: '192.168.225.26:8000'. You may need to add '192.168.225.26' to ALLOWED_HOSTS.
Edit your settings.py file. It will be available in the project directory (i.e ostechnix in my case).
$ nano ostechnix/settings.py
Find the following line:
[...]

ALLOWED_HOSTS = []

[...]
And modify it as shown below.
[...]

ALLOWED_HOSTS = ['192.168.225.26']

[...]
Replace the above IP address with your own.
Save and close the file. Refresh the page to reload URL.
Now you will be pleased with the following screen.
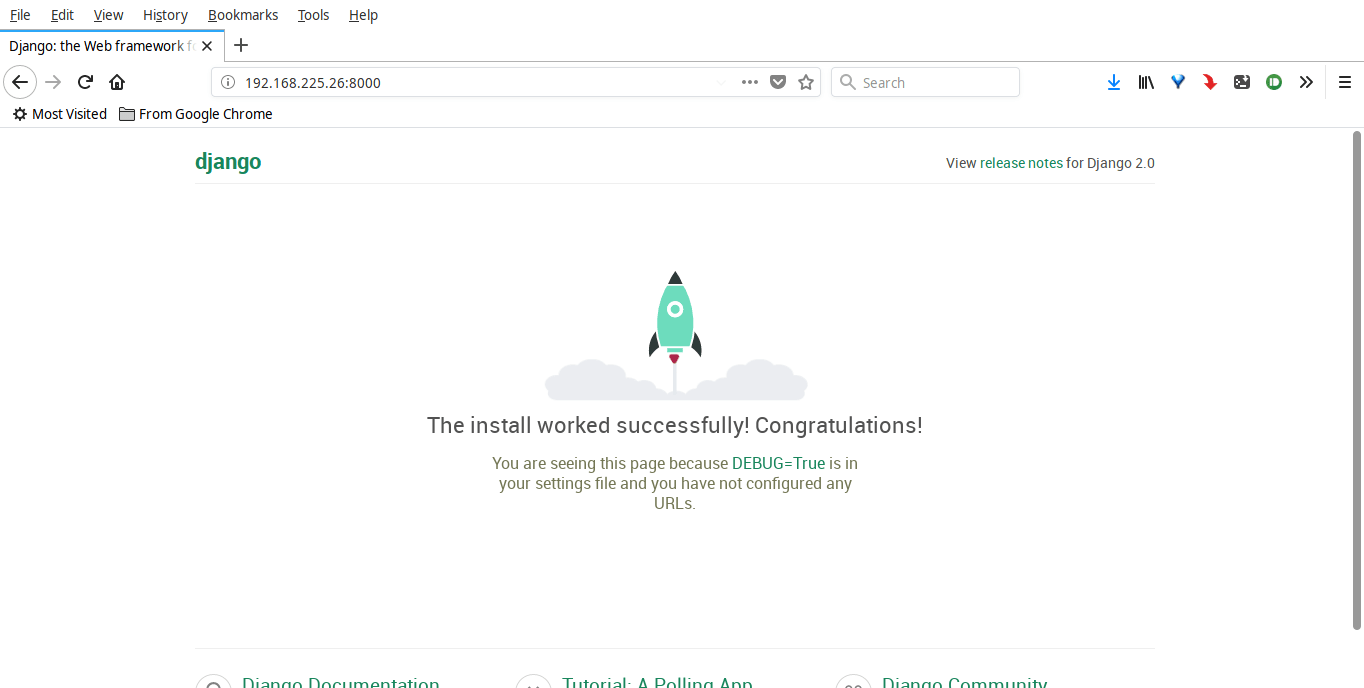
That's it. Django is working!
To access thee Django server's admin page, go to http://IP-Address:8000/admin.
Enter the username and password that you have created earlier.
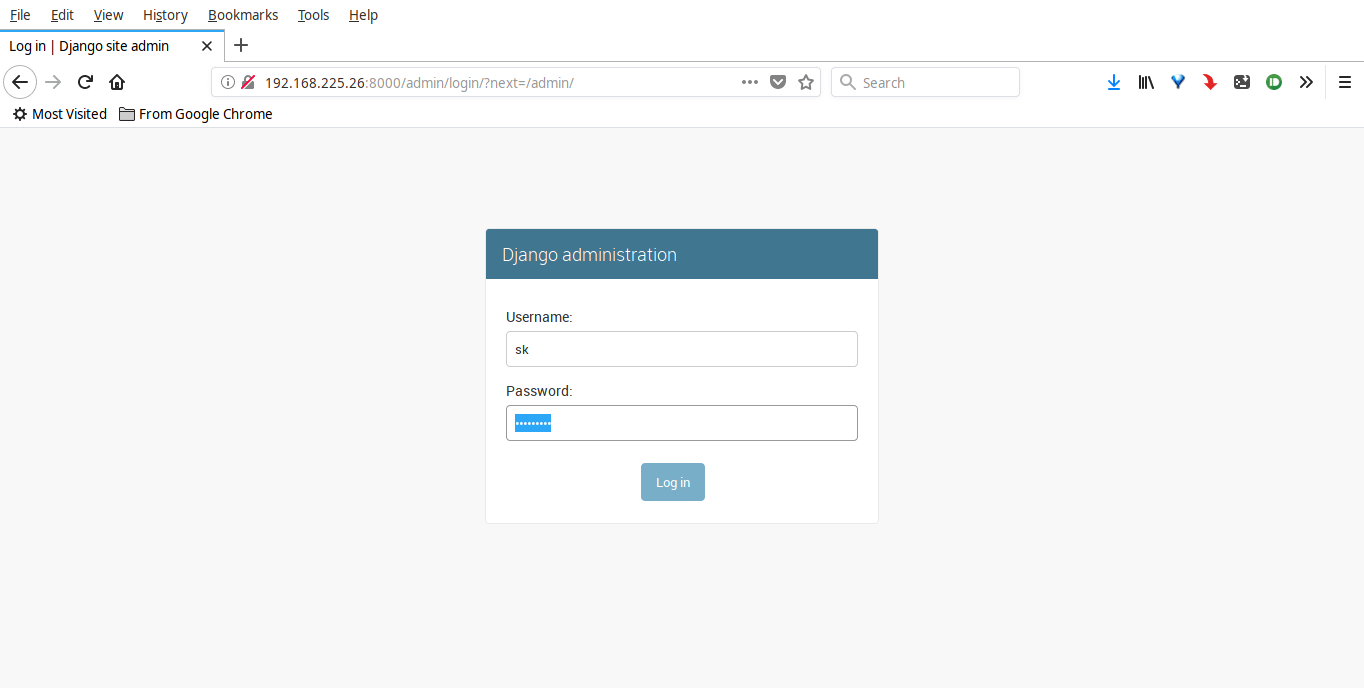
This is how my Django admin page looks like.

Done! Django is ready to use. Start creating the web apps.
For more detailed, refer the Django official documentation.
You know now how to install Django from the Ubuntu official repositories and using python package installation manager and how to create a basic project using Django.
I will be soon here with another Interesting article. Until then, stay tuned with OSTechNix.
Cheers!
Resource:
Thanks for stopping by!
Help us to help you:
- Subscribe to our Email Newsletter : Sign Up Now
- Support OSTechNix : Donate Via PayPal
- Download free E-Books and Videos : OSTechNix on TradePub
- Connect with us: Facebook | Twitter | Google Plus | LinkedIn | RSS feeds
Have a Good day!!
2 comments
Hi, i’m tried same install ubuntu 16.04 python 3.5.1 and Django 1.9.6 and all working fine but i cannot install mysql-connector..
Have you tried ?
Not yet. I will try soon.