Budgie Desktop is the flagship product of Solus project. It uses GNOME technologies such as GTK+ (> 3.x) and is written using C and Vala. It is the default desktop environment for Solus distribution and can be installed in popular Linux operating systems, including Arch Linux, Debian, openSUSE, Ubuntu etc. In our previous posts, we wrote about Deepin and MATE DE installation in Arch Linux. If you're interested to try them, have a look at the following links.
- Install Deepin Desktop Environment in Arch Linux
- How To Install GNOME Desktop Environment In Arch Linux
- Install MATE Desktop Environment in Arch Linux
In this brief tutorial, we will see how to install Budgie desktop in Arch Linux.
Table of Contents
Install Budgie Desktop Environment in Arch Linux
Update your Arch Linux system using command:
$ sudo pacman -Syu
After updating, reboot Arch Linux to apply the latest updates.
$ sudo reboot
Budgie is available in AUR and official repositories. If you want to try AUR version, use any AUR helper, for example Yay, to install Budgie DE.
$ yay -S budgie-desktop-git
Next, head over to the "Install Display manager for Budgie DE" section below and install display manager.
If you want to try from the official repositories, do the following.
Install X Window System (xorg) using command:
$ sudo pacman -S xorg xorg-server
Finally, install Budgie desktop using command:
$ sudo pacman -S budgie-desktop
Press ENTER to install Budgie along with all dependencies.
After installing Budgie DE, we should install any Display manager (Login manager) to use the graphical environment. If you didn't install display manager, you can't login to your DE. We can either use the same Display manager for all DE, or we can use different display manager for each DE.
Install Display manager for Budgie DE
There are many popular DMs (display manager) are available. Here is the popular graphical DMs used by most Linux operating systems.
- GDM — GNOME display manager.
- LightDM — Cross-desktop display manager, can use various front-ends written in any toolkit.
- LXDM — LXDE display manager. Can be used independent of the LXDE desktop environment.
- MDM — MDM display manager, used in Linux Mint, a fork of GDM 2.
- SDDM — QML-based display manager and successor to KDE4's kdm; recommended for Plasma 5 and LXQt.
- XDM — X display manager with support for XDMCP, host chooser.
Let us use LXDM for Budgie DE.
To install LXDM, run the following command from the Terminal:
$ sudo pacman -S lxdm
Start and enable lxdm service at boot:
$ sudo systemctl start lxdm.service
$ sudo systemctl enable lxdm.service
Please note that if you have installed any other display managers, disable them.
Finally, reboot your Arch system to log in to the Budgie desktop environment.
$ sudo reboot
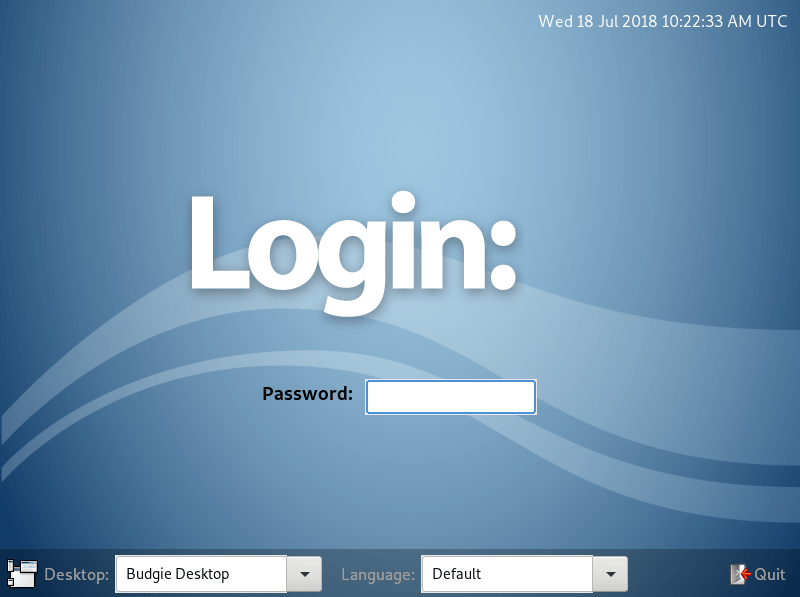
Log in to Budgie DE
Here is how my Budgie Log in windows looks like. Enter your username and password. And, select the desktop environment as "Budgie desktop" from the Desktop drop down box on the bottom left corner.
Now, start installing your favorite applications of your choice in your Arch Linux desktop.
More good stuffs to come. Stay tuned!
Cheers!!
Thanks for stopping by!
Help us to help you:
- Subscribe to our Email Newsletter : Sign Up Now
- Support OSTechNix : Donate Via PayPal
- Download free E-Books and Videos : OSTechNix on TradePub
- Connect with us: Facebook | Twitter | Google Plus | LinkedIn | RSS feeds
Have a Good day!!
1 comment
Thank you once again! Yet another great tutorial. 🙂