Table of Contents
About phpMyAdmin
phpMyAdmin is a web-based database administration tool that can be used to manage MySQL or MariaDB via a web browser. Using phpMyAdmin, you can easily manage MySQL or MariaDB databases, users, tables, columns, relations, indexes, and permissions etc. It has intuitive interface to handle databases and support for most MySQL features. phpMyAdmin will support multiple database servers. It will import data from CSV and SQL, and also export data to various formats such as CSV, SQL, XML, PDF, ISO/IEC 26300 - OpenDocument Text and Spreadsheet, Word, Excel, LATEX and others. It is free, open source, and is written using PHP.
In this tutorial, we will see how to install phpMyAdmin with Apache and Nginx in FreeBSD 10.2 server.
Install phpMyAdmin with Apache
To install phpMyAdmin with Apache, make sure you have installed FAMP stack in FreeBSD. For more details, refer the following tutorial.
After installing FAMP stack, run the following command to install phpMyAdmin:
# pkg install phpmyadmin
And install the following extensions if they are not installed already:
# pkg install php56-mysqli php56-json php56-mbstring php56-session
phpMyAdmin will be installed in /usr/local/www/phpMyAdmin/ directory.
Please edit config.inc.php to suit your needs.
# cp /usr/local/www/phpMyAdmin/config.sample.inc.php /usr/local/www/phpMyAdmin/config.inc.php
Then, link phpMyAdmin to Apache web root directory as shown below:
# ln -s /usr/local/www/phpMyAdmin/ /usr/local/www/apache24/data/phpmyadmin
Edit php.ini file:
# nano /usr/local/etc/php.ini
and add the following lines:
[...]
extension=session.so
extension=json.so
extension=mysqli.so
extension=mbstring.so
[...]
Save and close the file.
Restart Apache service:
# service apache24 restart
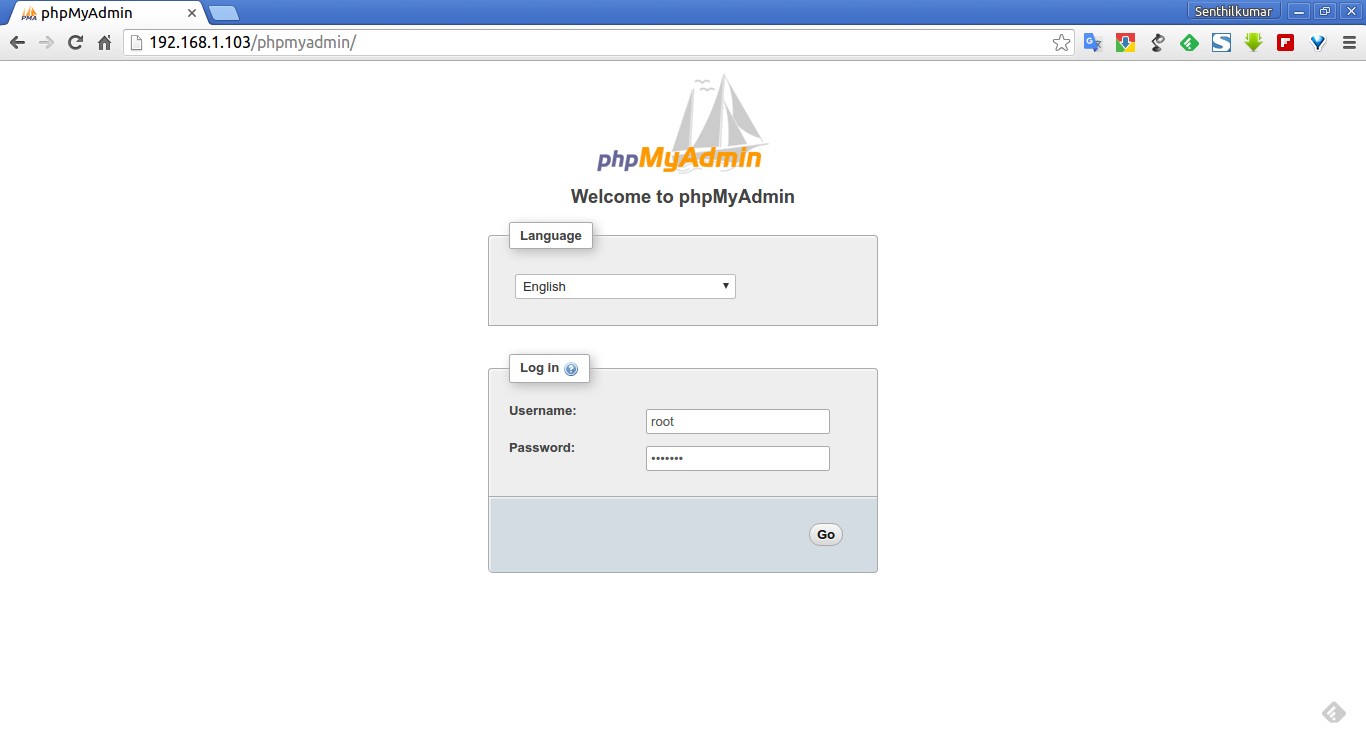
Now, open the web browser and navigate to http://IP-Address/phpmyadmin. You'll be greeted with the following screen.
Enter your MySQL/MariaDB root credentials:

Here is the phpMyAdmin dashboard:

Congratulations! As you see in the above screenshot, phpMyAdmin has been installed with Apache web server.
Next, we will see how to install phpMyAdmin with Nginx web server.
Install phpMyAdmin with Nginx
First install FEMP stack in FreeBSD. For more details, refer the following tutorial.
After installing FEMP stack, run the following command to install phpMyAdmin:
# pkg install phpmyadmin
And install the following extensions if they are not installed already:
# pkg install php56-mysqli php56-json php56-mbstring php56-session
phpMyAdmin will be installed in /usr/local/www/phpMyAdmin/ directory.
Please edit config.inc.php to suit your needs.
# cp /usr/local/www/phpMyAdmin/config.sample.inc.php /usr/local/www/phpMyAdmin/config.inc.php
Then, link phpMyAdmin to Nginx web root directory as shown below:
# ln -s /usr/local/www/phpMyAdmin/ /usr/local/www/nginx/phpmyadmin
Edit php.ini file:
# nano /usr/local/etc/php.ini
and add the following lines:
[...]
extension=session.so
extension=json.so
extension=mysqli.so
extension=mbstring.so
[...]
Save and close the file.
Restart Nginx and PHP-FPM services:
# service nginx restart
# service php-fpm restart
Now, open the web browser and navigate to http://IP-Address/phpmyadmin. You'll be greeted with the following screen.
Enter your MySQL/MariaDB root credentials:
Here it is how my phpMyAdmin dashboard looks like.

From now on you can manage MySQL/MariaDB databases, users, tables from the web browser itself.
Additional note:
You might an error in the bottom of the phpMyAdmin dashboard that says:
“The configuration file now needs a secret passphrase (blowfish_secret)”

To get rid of this error, edit /usr/local/www/phpMyAdmin/config.inc.php file,
# nano /usr/local/www/phpMyAdmin/config.inc.php
Find the following line and specify bluefish secret passphrase:
$cfg['blowfish_secret'] = 'Welc0me1'; /* YOU MUST FILL IN THIS FOR COOKIE AUTH!$ /**
Here Welc0me1 is my secret passphrase. Save and close the file. Restart Apache/Nginx service.
# service apache24 restart
# service nginx restart
The error will be gone now.
SECURITY WARNING: phpMyAdmin has had several remote vulnerabilities discovered in the past, some allowing remote attackers to execute arbitrary code with the web server's user credential. All known problems have been fixed, but I strongly advise you that use it with an additional protection layer, e.g. a different access control mechanism implemented by the web server. Also do consider enabling phpMyAdmin only when it is in use. If it is not in use, simply disable it by removing the symlink or uninstall phpMyAdmin completely.
That's all for now. If you find this tutorial useful, please share it on your social networks and support OSTechNix. I will be here soon with an interesting article. Until then stay happy!
Cheers!
3 comments
could you post “install lighttpd and php with mysql in free bsd 10.3″……
I have added this to my to-do list. I will try and post soon. Stay tuned.
for nginx
server {
listen 446;
ssl on;
ssl_certificate /usr/local/etc/nginx/cert/file.crt;
ssl_certificate_key /usr/local/etc/nginx/cert/file.key;
server_name XXXXXXXX.XXXX;
root /usr/local/www/phpMyAdmin;
index index.php;
# set expiration of assets to MAX for caching
location ~* .(ico|css|js)(?[0-9]+)?$ {
expires max;
log_not_found off;
}
location ~* .php$ {
fastcgi_pass unix:/var/run/php-fpm.sock;
fastcgi_index index.php;
fastcgi_split_path_info ^(.+.php)(.*)$;
include fastcgi_params;
fastcgi_param SCRIPT_FILENAME $document_root$fastcgi_script_name;
}