There is a saying - "A picture is worth a thousand words". True! A Picture speaks louder than words. Be it a documentation work, technical writing, blogging or any sort of writing jobs, screenshots are vital. No one will believe you if you don't attach relevant screenshots in your articles. I use Shutter, a GUI screenshot tool for taking and editing screenshots. Once I settled with Shutter, I never searched for the another tool. It has all options that I need for my Job. However, today, in the pursuit of finding command-line alternatives for most Graphical user interface tools, I came across "Scrot". It is a command-line screenshot tool for taking screenshots in Unix-like operating systems. Scrot (short for SCReenshOT) is a simple, lightweight command line screenshot tool that uses imlib2 library to capture screenshots in Unix-like operating systems. It is developed by Tom Gilbert, and is written using C programming language. In this tutorial, I will show how to install and use scrot to take screenshots from command line in Unix-like operating systems.
Table of Contents
Take Screenshots From Command Line Using Scrot In Linux
Install Scrot
Scrot comes pre-installed in most Linux distributions. Just in case, if it is not installed already, you can install it using your distribution's default package manager.
In Arch Linux and derivatives:
$ sudo pacman -S scrot
In Fedora:
$ sudo dnf install scrot
On RHEL, CentOS:
$ sudo yum install scrot
In Debian, Ubuntu, Linux Mint:
$ sudo apt-get install scrot
In SUSE, openSUSE:
$ sudo zypper in scrot
Usage
They typical usage of scrot command is:
$ scrot [options] [file]
Capture whole screen
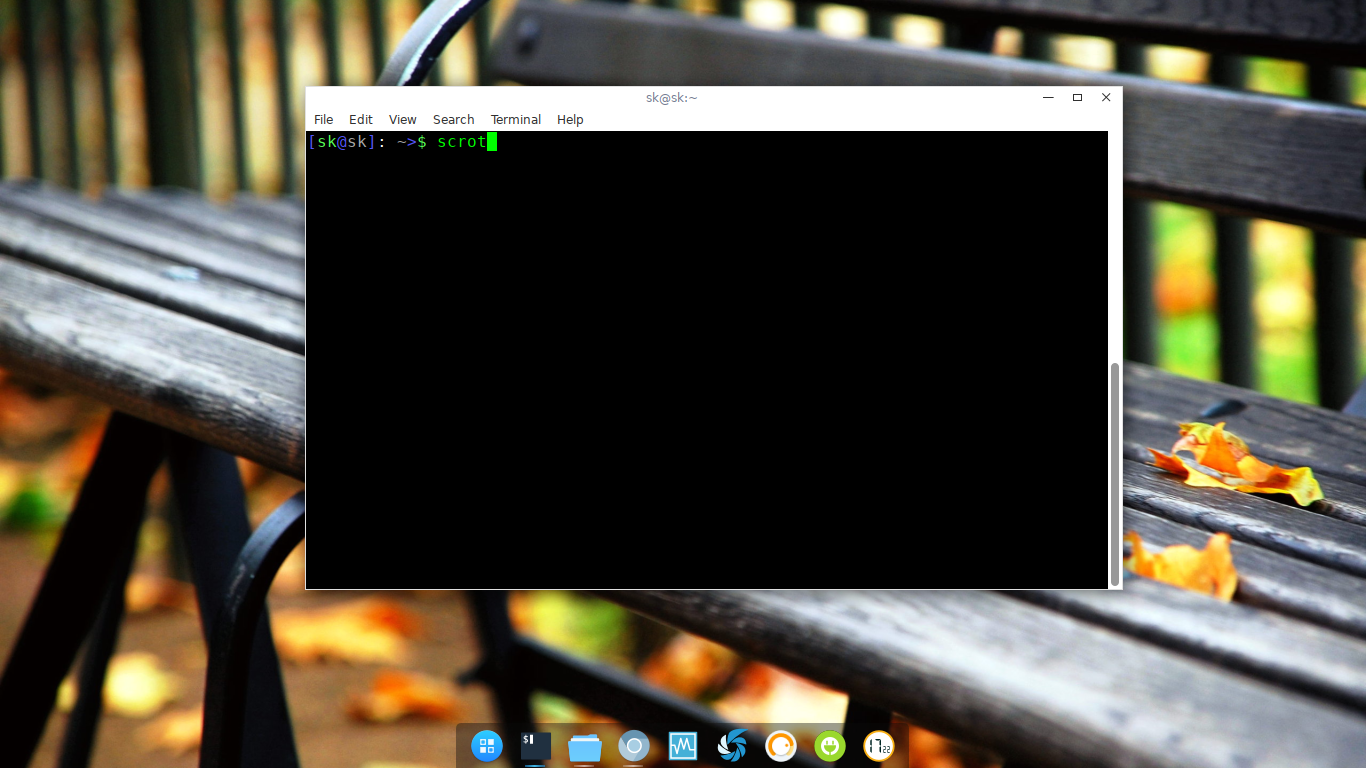
When you run the scrot command without any options, it will capture the whole screen.
$ scrot
Sample output of my whole desktop.
The captured images will be saved in the current directory with a date-stamped filename (Ex. 2017-05-08-172226_1366x768_scrot.png) by default. All images will be saved in PNG format.
To capture and save the screenshot with a name of your choice, use:
$ scrot image-name.png
Also, you can save the captured image to any location of your choice like below.
$ scrot /home/sk/Downloads/test.jpg
The above command will capture the whole screen and save it in /home/sk/Downloads/ directory with name test.jpg. Please note that I have saved it with .jpg extension. That means, we can save the images in different image formats too.
Capture current window
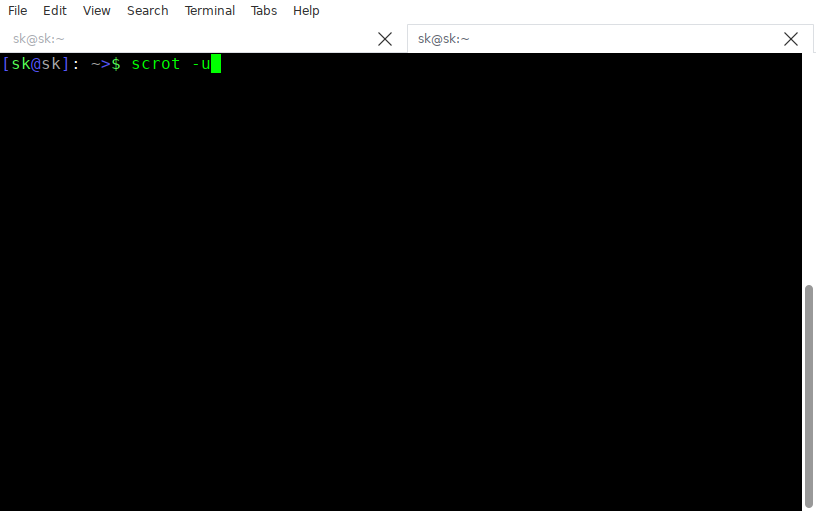
Instead of capturing the whole screen, you can take the screenshot a currently focused window. To take screenshot of the current window, run:
$ scrot -u
Sample output:

See? Scrot now captured the currently focused (i.e current window) window, which is the Terminal window itself.
Capture particular window
To interactively select a window or rectangle with the mouse, use -s flag as shown below.
Look at the following image. This image has three opened windows.
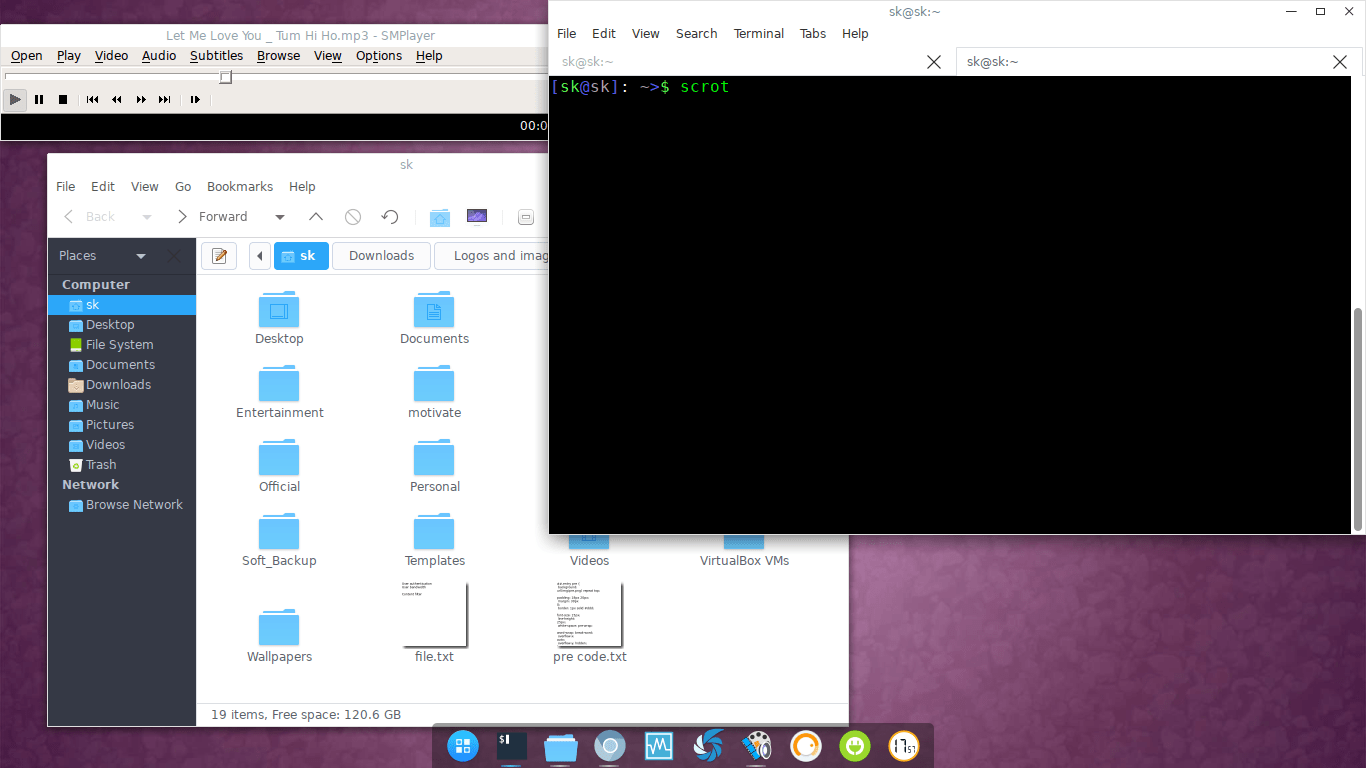
I don't want to capture all of them. I only want to capture the SMPlayer window.
To do so, I ran the following command and clicked on the SMPlayer window.
$ scrot -s
Here is the screenshot after clicking on the SMPlayer window.

Include window border in screenshots
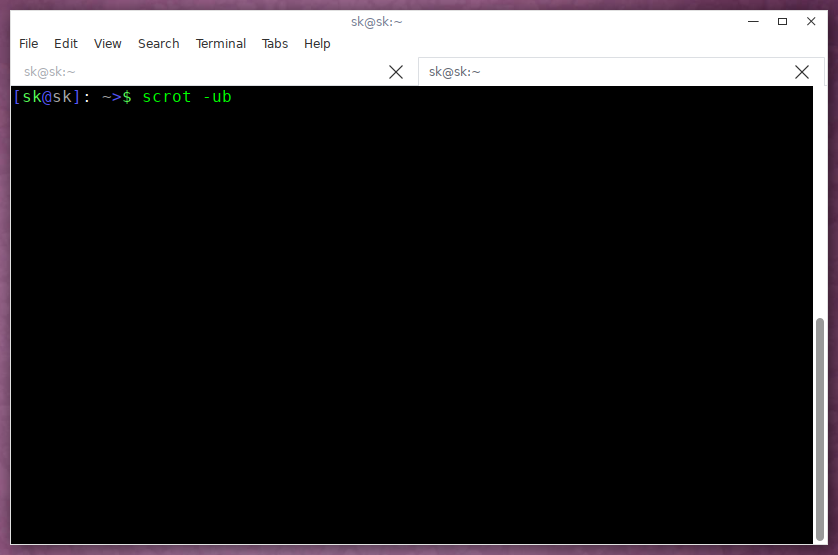
As you may noticed in "Capture current window" section, there was no border. You can include window border in screenshots using -ub option like below.
$ scrot -ub
Here,
- -u - focused window (current window)
- -b - include border
Have a look at the following examples.
Without window border (scrot -u):
With Window border (scrot -ub):
Delay while taking screenshots
Some times you may want to wait X seconds before taking a screenshot. If so, use -d flag like below.
$ scrot -d 5
Or,
$ scrot --delay 5
The above command will capture the screenshot after 5 seconds.
You can also display countdown time when used with delay using -c or --count flag.
$ scrot -u -d 5 -c
The above command will capture the current window after 5 seconds and display the countdown time while taking screenshot.

Suggested read:
Generate image thumbnails
Sometimes, you might want to create a thumbnail of the screenshot. Well, scrot has an option for that too.
To generate a thumbnail for the image, use -t flag like below.
$ scrot -t 50
Here, 50 is the percentage of the original size for the thumbnail to be. Let us say, your original screenshot size is 1366x768, then the thumbnail size would be around 683x384 (i.e half size of the original screenshot).
Scrot will save the original and thumbnail of the original in the current directory.
Set Image quality
Another notable feature of the Scrot is it will allow you to set the image quality to the captured images. The default image quality is 75. Also, Image effect differs depending on file format chosen. We can adjust the Image quality at the scale of 1-100. High value means high size, low compression
The following command will capture the current window, and set the image quality to 20.
$ scrot -u -q 20
Editing images
You can edit the captured images using any image editor, for example Gimp, using command:
$ scrot test.png -e 'gimp test.png'
The above command will open test.png image in GIMP. Make sure you have installed GIMP.

Edit the image as per your liking in GIMP, and save it either with same name or different name.
For more details, I suggest you to refer the man pages.
$ man scrot
And, that's all. You know now how to install and use scrot for taking screenshots from the command line in your Linux box.
If you find our guides useful, please share them on your social, professional networks and support OSTechNix. More good stuffs to come. Stay tuned!
Cheers!
Thanks for stopping by!
Help us to help you:
- Subscribe to our Email Newsletter : Sign Up Now
- Support OSTechNix : Donate Via PayPal
- Download free E-Books and Videos : OSTechNix on TradePub
- Connect with us: Reddit | Facebook | Twitter | LinkedIn | RSS feeds
Have a Good day!!
6 comments
I usually use a region to screenshot.
What a great tutorial! Very easy to follow with great examples. I didn’t even know this was installed by default and it worked like described above. This is going to be my goto screenshot program. Whenever I can find an (easy to use, full-featured) terminal version of a GUI program, I prefer to use it instead.
Ever so slowly… this transitioning Linux user is coming across some great command-line programs.
Thank you for the positive feedback. Also check Flameshot, a feature-rich screenshot tool. https://ostechnix.com/flameshot-a-simple-yet-powerful-feature-rich-screenshot-tool/
Flameshot is incredible! It’s everything a screenshot tool should be. Thanks for the lead on this. Scrot will still be my goto (I’m an old-timey DOS user that’s looking for excuses to shell and stay there:-) but Flameshot bats second now (for when I need to highlight things).
Hi
I’m trying to create a script with scrot where I can setup things like: image format, quality, destination folder, etc.. This is what I have done so far:
————> Script begins here
export IMAGE_FORMAT=jpg
IMAGE_QUALITY=50
export DISPLAY=:0
SCREENSHOT_DIR=”/media/my_path”
DAY=`date +’%d’`
MONTH=`date +’%m’`
YEAR=`date +’%Y’`
export SAVE_TO_DIR=”$SCREENSHOT_DIR/$YEAR.$MONTH.$DAY”
mkdir -p “$SAVE_TO_DIR”
scrot ‘%H.%M.%S_$wx$h.$IMAGE_FORMAT’ -e ‘mv $f \$SAVE_TO_DIR’ -q $IMAGE_QUALITY -z
<———— Script ends here
But I will get the error:
giblib error: Saving to file 13.42.00_1920x1080.IMAGE_FORMAT failed
If I tried to escape the '$' sign:
scrot '%H.%M.%S_$wx$h.\$IMAGE_FORMAT' -e 'mv $f \$SAVE_TO_DIR' -q $IMAGE_QUALITY -z
then I will get:
giblib error: Saving to file 13.42.00_1920x1080.$IMAGE_FORMAT failed
Only hard-coding the file extension works:
scrot '%H.%M.%S_$wx$h.jpg' -e 'mv $f \$SAVE_TO_DIR' -q $IMAGE_QUALITY -z
But I want to have it on a variable. Do you have any ideas of achieving this?
Thanks
Josef
Sorry, I don’t have much knowledge in scripting. Please post it on https://www.reddit.com/r/scripting/ or Stackoverflow. Good luck.