In our previous tutorial, we discussed about Arch Linux 2016 installation. Today, In this tutorial, we will be discussing about what should one to do after Arch Linux fresh installation. You might want to install a Desktop environment, or you might want to install additional software which will help for your day-to-day activities, or you might, simply, want to explore the Arch Linux. Whatever it is, I tried my best to give you a basic post installation instructions for Arch Linux 2016. Read on.
Table of Contents
1. Update your system
First things first. Whenever you install a new distribution, you must update it first. To do that, run the following command from the Terminal:
Note: In this tutorial, I will be running all commands as root user.
pacman -Syu
![Arch Linux 2016 [Running] - Oracle VM VirtualBox_001](https://ostechnix.com/wp-content/uploads/2016/02/Arch-Linux-2016-Running-Oracle-VM-VirtualBox_001-1.jpg)
2. Configure Package manager
As you probably know, Arch Linux uses a package manager called Pacman. It is a official package manager for Arch Linux and Arch Linux based systems such as Archbang. Pacman's default settings should work just fine, however you need to enable [multilib] repository to install both 32 bit and 64 bit packages on your 64 bit bit Arch Linux.
To do so, edit pacman.conf file,
nano /etc/pacman.conf
Find and uncomment the following lines:
[...]
[multilib]
Include = /etc/pacman.d/mirrorlist
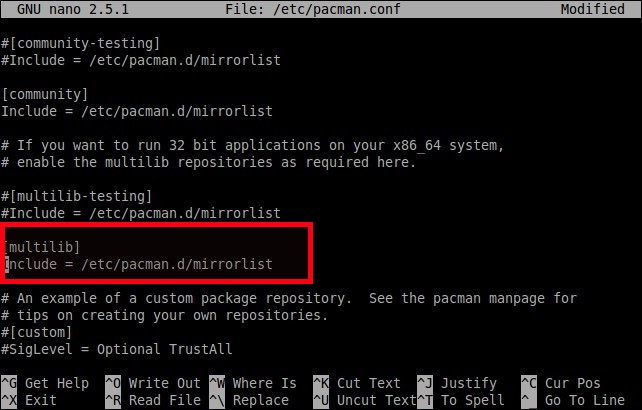
Save the file by pressing CTRL+O and exit by pressing CTRL+X.
It is always a good idea to keep an updated mirrorlist. This might be useful if you installed Arch Linux using a old installation media.
To do so, go to Pacman Mirrorlist Generator page and select your nearest mirror, for example India, and press Generate list. You must select your nearest mirror location.
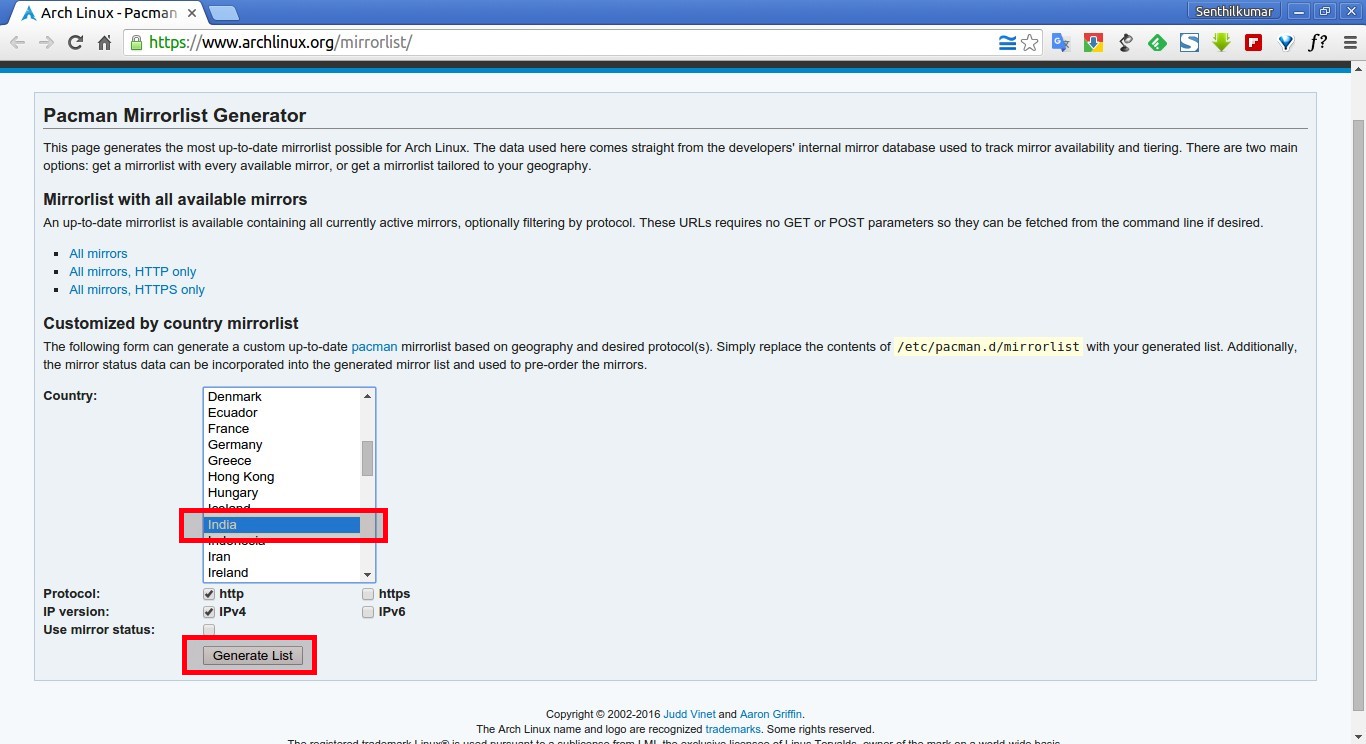
The new mirrorlist will be generated.
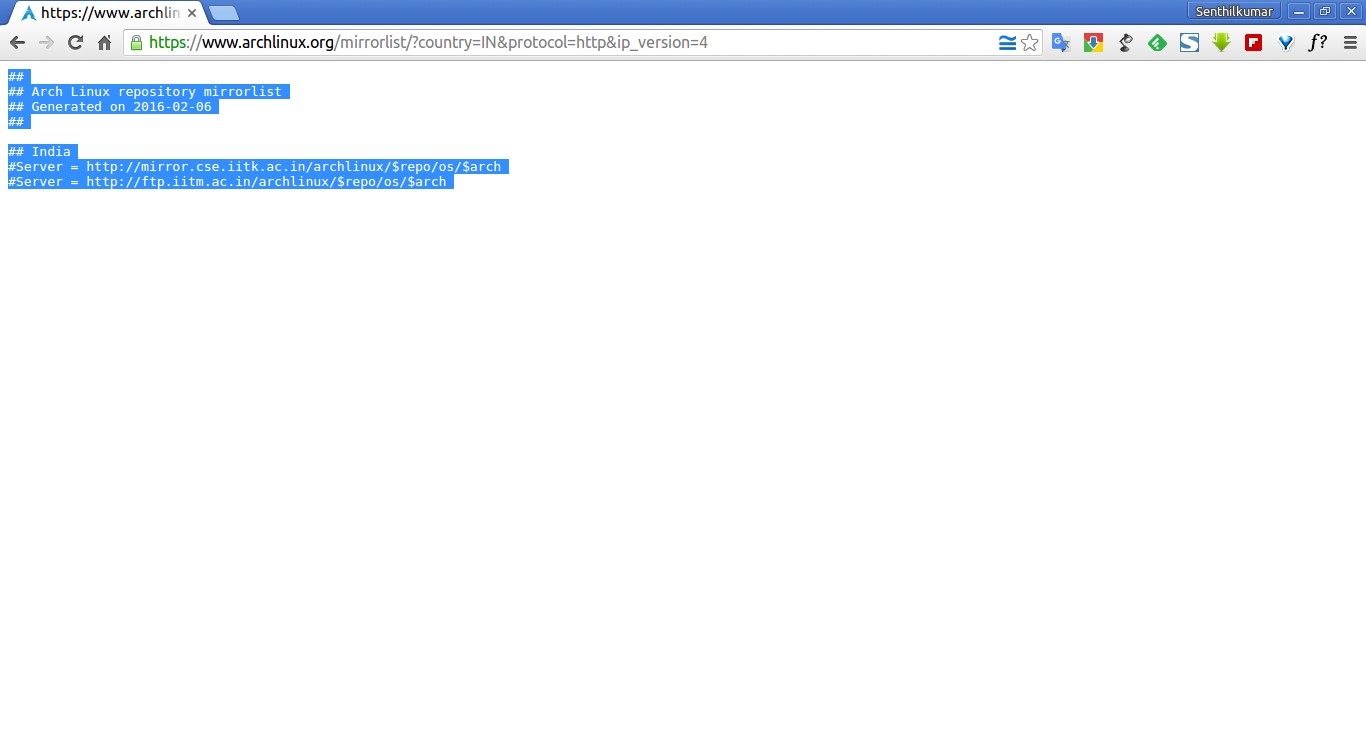
Then, copy the mirrorlist location and save it to /etc/pacman.d/mirrorlist file.
nano /etc/pacman.d/mirrorlist
Paste the lines at the top.
Server = http://mirror.cse.iitk.ac.in/archlinux/$repo/os/$arch
Server = http://ftp.iitm.ac.in/archlinux/$repo/os/$arch
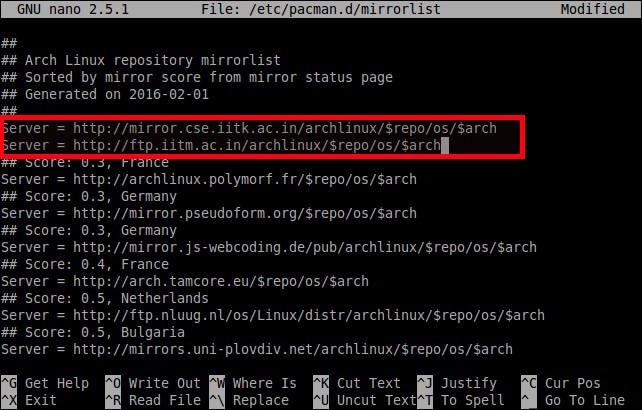
Save and close the file by pressing CTRL+O followed by CTRL+X.
Then, update the update the package repositories list with command:
pacman -Syy
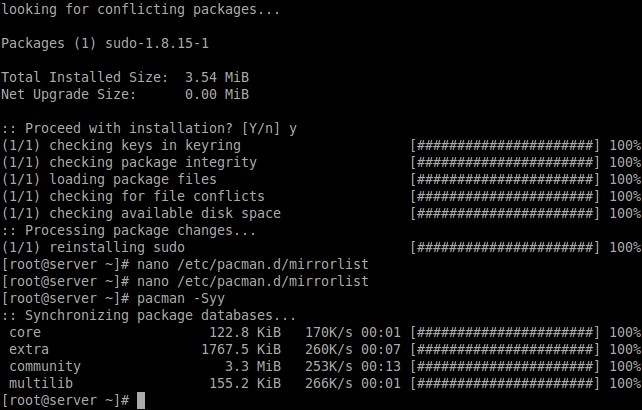
Here, --yy flag forces pacman to refresh all package lists even if they are already up to date. You must perform this command whenever you add a new mirror.
3. Create a normal user account
We have built-in root user to perform all administrative related tasks. It is pretty bad idea to use the root user for normal computing tasks.. So, let us create a normal user, for example sk.
To do so, run:
useradd -m -g users -G wheel,storage,power -s /bin/bash sk
Set the password to the new user:
passwd sk
Then, install sudo package to perform administrative tasks with normal user.
To install sudo package, run:
pacman -S sudo
Next, add the new user 'sk' to the sudoers group to perform administrative tasks.
To do so, run:
visudo
Find and uncomment the following line:
%wheel ALL=(ALL) ALL
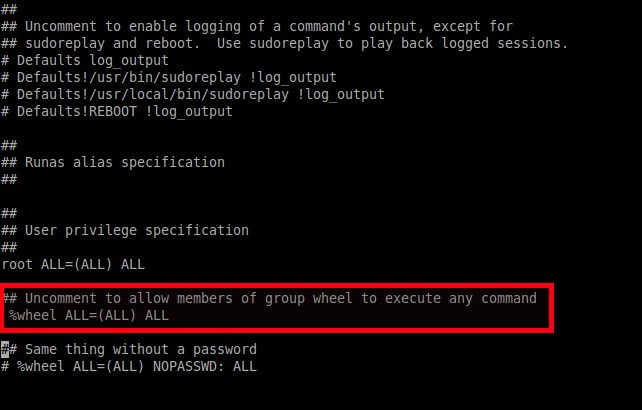
This means the new users that are belongs to Wheel group can perform administrative tasks using sudo command. Remember we have added the new user 'sk' to the Wheel group while we create him. So that the user 'sk' can perform administrative commands with prefix 'sudo'.
Save and close the file.
At this stage, your Arch Linux server is ready to use.
In our upcoming articles, we will see,
- How to install Desktop Environment in Arch Linux
- How to enable sound in Arch Linux
- And many.
Thanks for stopping by!
Help us to help you:
- Subscribe to our Email Newsletter : Sign Up Now
- Support OSTechNix : Donate Via PayPal
- Download free E-Books and Videos : OSTechNix on TradePub
- Connect with us: Reddit | Facebook | Twitter | LinkedIn | RSS feeds
Have a Good day!!