This tutorial walk you through installing and configuring Nginx, MySQL, PHP (LEMP) stack on Arch Linux 2016.
As you probably know, LEMP is the the acronym of Linux, nginx (engine x), MySQL/MariaDB, PHP/Perl/Pyhton. For the purpose of this article, I will be using the following test machine.
- Operating system: Arch Linux 2016 64 bit server
- IP Address: 192.168.1.102/24
- Hostname: server
Table of Contents
1. Update your Arch system
Run the following command as root user to update your Arch Linux:
pacman -Syu
2. Install Nginx
After updating the system, install Nginx web server using command:
pacman -S nginx
Start Nginx service and enable it to start at boot using commands:
systemctl start nginx
systemctl enable nginx
To verify whether Nginx has started or not, run:
systemctl status nginx
Sample output:
● nginx.service - A high performance web server and a reverse proxy server
 Loaded: loaded (/usr/lib/systemd/system/nginx.service; disabled; vendor preset: disabled)
 Active: active (running) since Fri 2016-02-19 16:20:41 IST; 5s ago
 Process: 10032 ExecStart=/usr/bin/nginx -g pid /run/nginx.pid; error_log stderr; (code=exited, status=0/SUCCESS)
 Main PID: 10047 (nginx)
 Tasks: 2 (limit: 512)
 CGroup: /system.slice/nginx.service
 ├─10047 nginx: master process /usr/bin/nginx -g pid /run/nginx.pid...
 └─10048 nginx: worker process

Feb 19 16:20:41 server systemd[1]: Starting A high performance web server a.....
Feb 19 16:20:41 server systemd[1]: Started A high performance web server an...r.
Hint: Some lines were ellipsized, use -l to show in full.
Nginx main configuration file is /etc/nginx/nginx.conf. You can edit and change it as per your requirements.
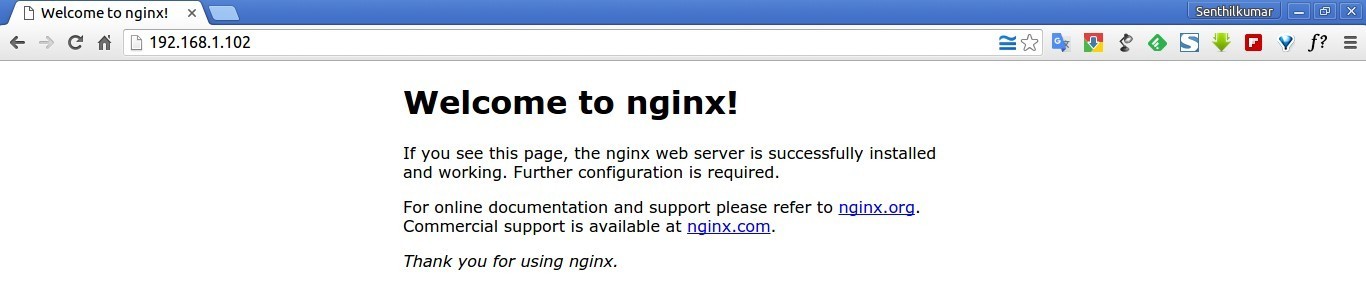
Test Nginx
Open your web browser and navigate to http://localhost or http://IP-address. You will be pleased with Nginx server Test page.
3. Install MariaDB
Run the following command to install MariaDB:
pacman -S mysql
As you may know, MariaDB is now officially the default implementation of MySQL in Arch Linux since 2013. So, you will be asked whether to install MariaDB or Percona server, just hit enter and then type “Y” and press enter again. The default selection i.e MariaDB will be installed on your Arch Linux.
resolving dependencies...
looking for conflicting packages...

Packages (7) boost-libs-1.60.0-2 icu-56.1-2 jemalloc-4.0.4-1
 libmariadbclient-10.1.11-1 libxml2-2.9.3-1
 mariadb-clients-10.1.11-1 mariadb-10.1.11-1

Total Download Size: 30.68 MiB
Total Installed Size: 218.10 MiB

:: Proceed with installation? [Y/n] n
[root@server ~]# pacman -S mysql
:: There are 2 providers available for mysql:
:: Repository extra
 1) mariadb
:: Repository community
 2) percona-server

Enter a number (default=1): ## Press Enter

resolving dependencies...
looking for conflicting packages...

Packages (7) boost-libs-1.60.0-2 icu-56.1-2 jemalloc-4.0.4-1
 libmariadbclient-10.1.11-1 libxml2-2.9.3-1
 mariadb-clients-10.1.11-1 mariadb-10.1.11-1

Total Download Size: 30.68 MiB
Total Installed Size: 218.10 MiB

:: Proceed with installation? [Y/n] y
You need to initialize the MariaDB data directory prior to starting the service. To do so, run:
mysql_install_db --user=mysql --basedir=/usr --datadir=/var/lib/mysql
Then run the following commands to enable and start MariaDB service.
systemctl enable mysqld
systemctl start mysqld
You can verify whether MariaDb is running or not using command:
systemctl status mysqld
Sample output:
● mysqld.service - MariaDB database server
 Loaded: loaded (/usr/lib/systemd/system/mysqld.service; enabled; vendor preset: disabled)
 Active: active (running) since Fri 2016-02-19 16:31:21 IST; 5s ago
 Process: 10285 ExecStartPost=/usr/bin/mysqld-post (code=exited, status=0/SUCCESS)
 Main PID: 10284 (mysqld)
 Tasks: 26 (limit: 512)
 CGroup: /system.slice/mysqld.service
 └─10284 /usr/bin/mysqld --pid-file=/run/mysqld/mysqld.pid

Feb 19 16:31:20 server mysqld[10284]: 2016-02-19 16:31:20 140288888797056 [...a.
Feb 19 16:31:20 server mysqld[10284]: 2016-02-19 16:31:20 140288888797056 [...e.
Feb 19 16:31:20 server mysqld[10284]: 2016-02-19 16:31:20 140288888797056 [...rt
Feb 19 16:31:20 server mysqld[10284]: 2016-02-19 16:31:20 140288888797056 [...19
Feb 19 16:31:20 server mysqld[10284]: 2016-02-19 16:31:20 140288473401088 [...ed
Feb 19 16:31:20 server mysqld[10284]: 2016-02-19 16:31:20 140288888797056 [...d.
Feb 19 16:31:20 server mysqld[10284]: 2016-02-19 16:31:20 140288888797056 [...'.
Feb 19 16:31:20 server mysqld[10284]: 2016-02-19 16:31:20 140288888797056 [...s.
Feb 19 16:31:20 server mysqld[10284]: Version: '10.1.11-MariaDB-log' socke...er
Feb 19 16:31:21 server systemd[1]: Started MariaDB database server.
Hint: Some lines were ellipsized, use -l to show in full.
Set MySQL/MariaDb root user password
As you may know, It is recommended to setup a password for database root user.
Run the following command to setup MariaDB root user password:
mysql_secure_installation
Sample output:
NOTE: RUNNING ALL PARTS OF THIS SCRIPT IS RECOMMENDED FOR ALL MariaDB
 SERVERS IN PRODUCTION USE! PLEASE READ EACH STEP CAREFULLY!

In order to log into MariaDB to secure it, we'll need the current
password for the root user. If you've just installed MariaDB, and
you haven't set the root password yet, the password will be blank,
so you should just press enter here.

Enter current password for root (enter for none): ## Press Enter
OK, successfully used password, moving on...

Setting the root password ensures that nobody can log into the MariaDB
root user without the proper authorisation.

Set root password? [Y/n]## Press Enter
New password:##  Enter password
Re-enter new password:  ## Re-enter password
Password updated successfully!
Reloading privilege tables..
 ... Success!

By default, a MariaDB installation has an anonymous user, allowing anyone
to log into MariaDB without having to have a user account created for
them. This is intended only for testing, and to make the installation
go a bit smoother. You should remove them before moving into a
production environment.

Remove anonymous users? [Y/n]## Press Enter
 ... Success!

Normally, root should only be allowed to connect from 'localhost'. This
ensures that someone cannot guess at the root password from the network.

Disallow root login remotely? [Y/n]## Press Enter
 ... Success!

By default, MariaDB comes with a database named 'test' that anyone can
access. This is also intended only for testing, and should be removed
before moving into a production environment.

Remove test database and access to it? [Y/n]## Press Enter
 - Dropping test database...
 ... Success!
 - Removing privileges on test database...
 ... Success!

Reloading the privilege tables will ensure that all changes made so far
will take effect immediately.

Reload privilege tables now? [Y/n]## Press Enter
 ... Success!

Cleaning up...

All done! If you've completed all of the above steps, your MariaDB
installation should now be secure.

Thanks for using MariaDB!
MariaDB has been installed and ready to use.
4. Install PHP
To install PHP in Arch Linux, run:
pacman -S php-fpm
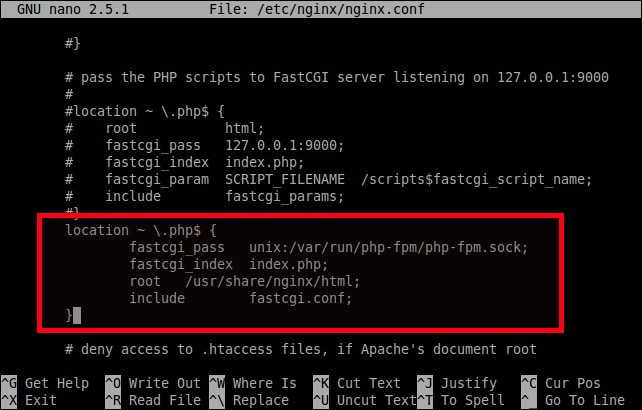
After PHP is installed, we need to tell Nginx to run PHP using php-fpm.
To do so, edit /etc/nginx/nginx.conf file,
nano /etc/nginx/nginx.conf
Find the following section and add or modify it as shown below.
location ~ \.php$ {
   fastcgi_pass unix:/var/run/php-fpm/php-fpm.sock;
   fastcgi_index index.php;
   root /usr/share/nginx/html;
   include fastcgi.conf;
 }
Save and close the file.
Then, start and enable nginx service using the commands given below.
systemctl start php-fpm
systemctl enable php-fpm
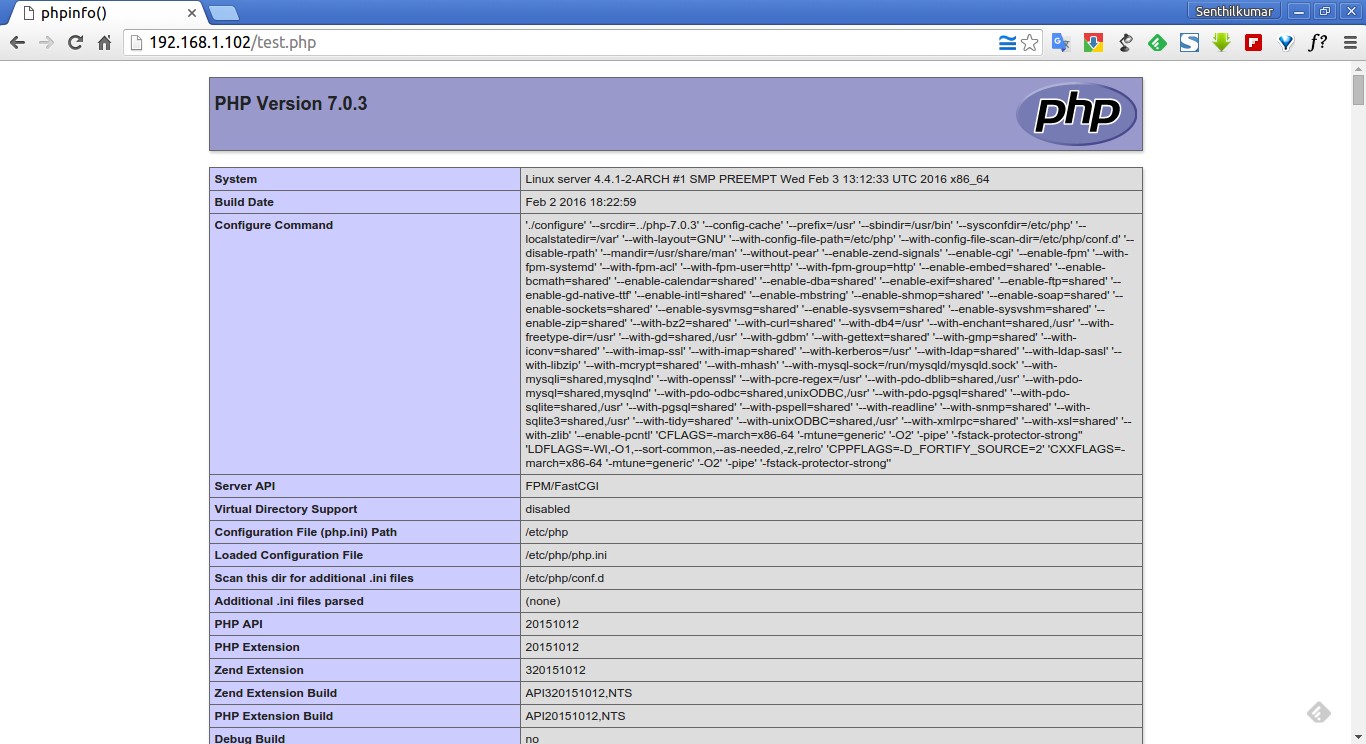
Test PHP
Now create a test.php file in the web root directory.
nano /usr/share/nginx/html/test.php
Add the following lines:
<?php
 phpinfo();
?>
Finally, restart nginx service.
systemctl restart nginx
Open up your web browser and navigate to http://ip-address/test.php. You should the screen like below.
5. Install phpMyAdmin
phpMyAdmin is a graphical MySQL/MariaDB administration tool that can be used to create, edit and delete databases.
To install it, run:
pacman -S phpmyadmin php-mcrypt
After installing, edit php.ini file,
nano /etc/php/php.ini
Make sure the following lines are uncommented.
[...]
extension=bz2.so
extension=mcrypt.so
extension=mysqli.so
extension=pdo_mysql.so
[...]
Save and close the file.
Then edit nginx configuration file,
nano /etc/nginx/nginx.conf
Find the following block:
location / {
 root /usr/share/nginx/html;
 index index.html index.htm;
Change it to (just add a word index.php)
location / {
 root /usr/share/nginx/html;
 index index.html index.htm index.php;
Save and close the file.
Then, create a symbolic link for PhpMyaAdmin system path to Nginx default root path using command:
ln -s /usr/share/webapps/phpMyAdmin/ /usr/share/nginx/html/
Finally restart nginx and php-fpm services:
systemctl restart nginx
systemctl restart php-fpm
Test phpMyAdmin
Open your browser and navigate to http://IP-Address/phpMyAdmin. Please note that the letters M and A should be in capital letters in the URL.
You should see the following like screen. Enter the MySQL/MariaDB root username and it’s password.

Here it is how my phpMyAdmin web console looks like.

You might see an error that says “The configuration file now needs a secret passphrase (blowfish_secret)” at the bottom of phpMyAdmin dashboard.

To get rid of this error, edit /etc/webapps/phpmyadmin/config.inc.php file,
nano /etc/webapps/phpmyadmin/config.inc.php
Find the following line and specify bluefish secret passphrase:
$cfg['blowfish_secret'] = 'Welc0me1'; /* YOU MUST FILL IN THIS FOR COOKIE AUTH!$
/**
Here Welc0me1 is my secret passphrase. Save and close the file. Restart nginx service.
systemctl restart nginx
The error will be gone now.
That’s all for now. At this stage, you have a working LEMP stack, and is ready to host your websites.
Want to deploy LAMP stack in Arch Linux? check our following guide.
If you find this tutorial helpful, please share it on your social networks and support us.
Thanks for reading!
Cheers!!
5 comments
Perfect. Clear and straight to the point.
Super tutorial. very usefull!
Tnx it’s very helpfull 😉
Thanks for tutorial. A simpe fix: php-mcrypt is dead, now you should install php-sodium package and uncomment “extension=php-sodium” in /etc/php/php.ini
Thanks for this awesome tut.