In this article, we are going to learn the step-by-step process to create and launch RHEL 8 from Amazon EC2 in AWS Cloud and how to access the RHEL 8 instance using Putty application.
Before we create the RHEL 8 instance on AWS EC2, let me give you a brief introduction to Amazon EC2.
Table of Contents
What is Amazon EC2?
Amazon Elastic Compute Cloud (EC2) is used to generate and run virtual computers in the cloud. Amazon is a web service to provision a Virtual Machine. These virtual computers are referred to as "instances" by Amazon Web Services.
Amazon EC2 provides the widest and most comprehensive range of instances, all of which are based on cutting-edge computing, storage, and networking technologies and are optimized for maximum performance and security.
Create an account in AWS
Go to AWS EC2 website and create a free trial account. Once you logged into the AWS console, you can view all the services available under the "service" tab.
From the AWS console page, navigate to Services ? Compute ? EC2.

Once you get into the EC2 portal, there will be an option to launch Instance.

Steps To Launch RHEL 8 From Amazon EC2 In AWS
There are 7 steps to launch a virtual machine from Amazon EC2.
Step 1 - Choose an Amazon Machine Image (AMI)
Select the Amazon MarketPlace and search the server’s name that you are intended to launch. Here, we are launching the RHEL 8 server for demonstration purpose.
Heads Up: Amazon Marketplace is a E-Comm platform where third-party sellers can sell their products. It is owned by Amazon. End users should subscribe and can launch servers from Amazon Marketplace for their own purpose, charging will be calculated on an hourly basis according to the server model.
Click the AWS MarketPlace on the left pane and type rhel8 in the search box. You will see the list of RHEL Virtual machines on the right pane. Click the Select button to launch the RHEL 8 instance of your choice.

In the next page, you can view the pricing details of each instance type. You can get an idea about the budget and decide the instance type accordingly. Click Continue to proceed.

Step 2 - Choose an Instance Type
In this option, you can choose the server according to your requirement. Micro instances will come under free tier eligibility.
For demonstration purpose, we are launching t4g.micro instance which consists of 2 vCPUs and 1GB RAM. Once you selected the Instance, click "Configure Instance Details" button at the bottom to proceed further.

Step 3 - Configure Instance Details
You can launch multiple servers at a time. We are launching 2 servers for demonstration. We can go ahead with default remaining configurations as of now.
In real time production, each option should be configured depends on the project design/architecture and requirement.

Step 4. Add Storage
We can specify the storage size in this option. We are moving with 15GB of memory in General purpose SSD.

Step 5. Add tag
A tag is a label that you apply to an Amazon Web Services resource. Here, we are labeling as "OSTechNix" for our Instances.

Step 6. Configure Security Group
We should set the firewall rules to organize the data traffic. This area is highly critical in the real time production. Usually, clear design and requirement details will be planned before launching servers, it varies depending on the use case.
We can name a security group for one use case and apply that security group for the servers used/launched for that use case. Here, we have named as "OSTechNix" and allowing all the traffic.

Step 7. Review and Launch
In this screen, you'll be prompted to select an existing key pair or create a new key pair. To securely access your Linux instance over SSH, you'll need a key pair. This key pair is like Lock and Key.
The public part of the key will function like a lock and it will be stored in AWS, the private part of the key will function like a key and you can download it to connect the server.
I am going to create a new key pair. To do so, choose "Create a new key pair" option from the drop-down box and select the Key pair type. Click the Download Key Pair and store it in a secure location.
Once downloaded the Key pair, click "Launch Instances" option.

Your Amazon EC2 instance will start now.

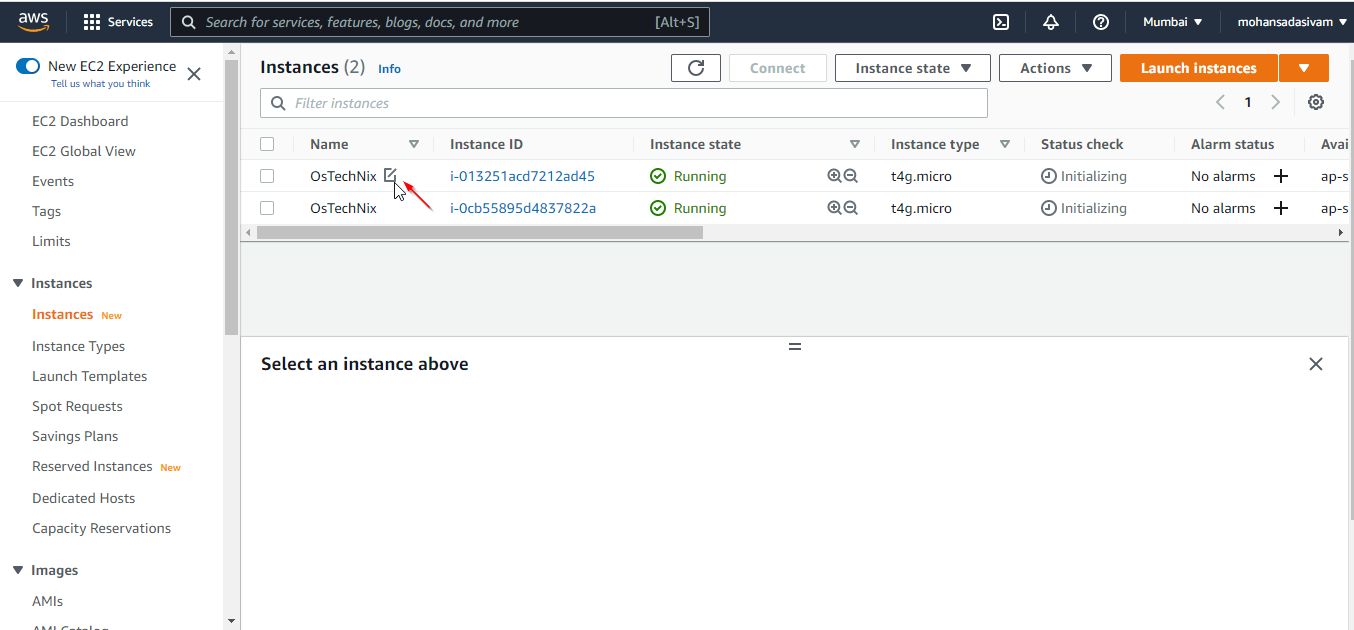
You can view the Instances that you launched in the EC2 dashboard.
How to connect RHEL 8 EC2 instance using Putty
In the previous step, we have downloaded the .pem key. We have to use that key to create a private key (.ppk file).
Open ‘Putty Key Generator’ and load the .pem file from where you downloaded.

You will get a confirmation pop up, click OK to import the key.

Save the private key which would be the .ppk file.
")
Get the public IP address of the instance from the AWS console. Select the instance, you can get all the details of the instance at the bottom.

Open the putty tool and connect the public IP of RHEL 8 instance using the private key we generated. Follow the below steps to connect the server.
Open Putty and enter the IP of the RHEL 8 instance:

Once you entered the IP, select SSH under the Connection tab. Click "Auth" and load the key (.ppk file) that you downloaded in the previous step. You can browse and load from where you stored the .ppk file. Finally click "Open" to connect the server.

Congratulations! We have successfully connected to the RHEL 8 instance via Putty. The default username is "ec2-user".

You can verify the RHEL version by the below command:
$ cat /etc/os-release
Sample output:
NAME="Red Hat Enterprise Linux"
VERSION="8.5 (Ootpa)"
ID="rhel"
ID_LIKE="fedora"
VERSION_ID="8.5"
PLATFORM_ID="platform:el8"
PRETTY_NAME="Red Hat Enterprise Linux 8.5 (Ootpa)"
ANSI_COLOR="0;31"
CPE_NAME="cpe:/o:redhat:enterprise_linux:8::baseos"
HOME_URL="https://www.redhat.com/"
DOCUMENTATION_URL="https://access.redhat.com/documentation/red_hat_enterprise_linux/8/"
BUG_REPORT_URL="https://bugzilla.redhat.com/"

REDHAT_BUGZILLA_PRODUCT="Red Hat Enterprise Linux 8"
REDHAT_BUGZILLA_PRODUCT_VERSION=8.5
REDHAT_SUPPORT_PRODUCT="Red Hat Enterprise Linux"
REDHAT_SUPPORT_PRODUCT_VERSION="8.5"
[ec2-user@ip-172-31-0-35 ~]$
Conclusion
In this article, we have gone through the detailed steps to create and launch a RHEL 8 virtual machine from AWS EC2 and access the RHEL 8 via the Putty tool. As you can see, provisioning Linux virtual machines from Amazon EC2 is not that difficult. We will discuss other services of AWS in the upcoming article.
Resource: