A while ago, we have published a guide that described the easiest way to install and configure OpenVPN using a script called openvpn-install. Using this script, anyone, even the beginners, can implement an working OpenVPN setup within few minutes in DEB-based and RPM-based systems. The other day one of our reader has suggested that there is yet another similar script called "PiVPN", which is used setup OpenVPN in Raspberry Pi. It is primarily designed for Raspberry Pi, however it will work on Debian and Ubuntu. Currently, it supports only Ubuntu 14.04 LTS.
Table of Contents
How secure is PiVPN?
Before going to the installation part, let us discuss some of its security features. Even though the installation is so trivial, it doesn't mean that PiVPN is not secure enough to use in production. Everything has been upgraded right out of the box beyond the default settings to harden the security of the server and client. It gives you the ability to enable unattended-upgrades which will automatically patch your server with security updates. Also, the server configuration will only use the latest TLS 1.2 protocol. Both the data and control channels use upgraded AES and SHA256 encryption and hash algorithms.
I'd like to give it a try and see how it works in my Ubuntu 14.04 LTS server edition. So here we go.
PiVPN - Simplest OpenVPN Setup And Configuration
Install OpenVPN
Installation is extremely simple. Open Terminal and run the following command:
curl -L https://install.pivpn.io | bash
Yes, it is that simple. After a few seconds, enter the sudo user password. The above command will download and install latest OpenVPN along with all required dependencies in your system. PiVPN will ask you a series of questions along the way. Just go with defaults as it is just enough to setup the working OpenVPN server.
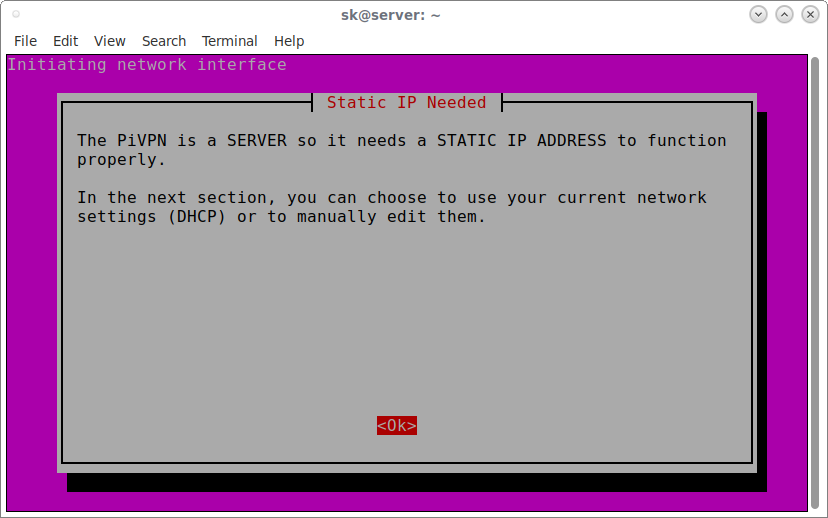
Click OK to continue.

PiVPN needs a STATIC IP ADDRESS to function properly.
If you have more than one network interface, Choose any one to configure it.

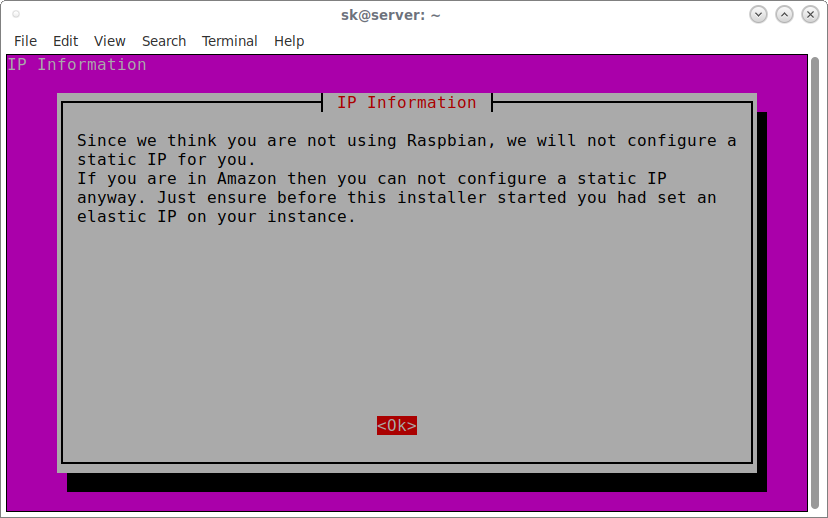
PiVPN will not configure Static IP address if you're not using Raspberry Pi device. For the purpose of this guide, I use Ubuntu 14.04, so it doesn't configure the static IP.
Next, choose a local user that will hold your ovpn configurations.

It is recommended to enable unattended-upgrades to update security updates automatically. Choose Yes to enable unattended-upgrades.

Choose a protocol.

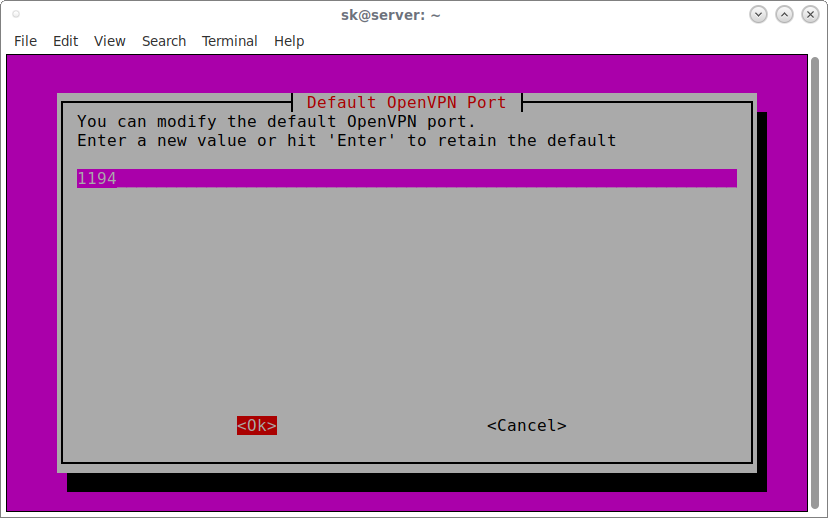
Choose OpenVPN port. Default value is enough for most cases.
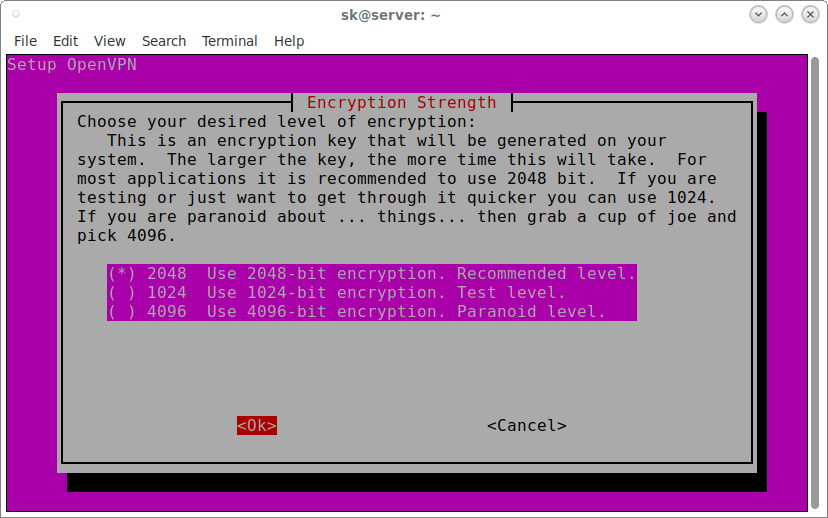
Choose your desired level of encryption. I go with the default value.
Click OK to generate Diffie-Hellman key:

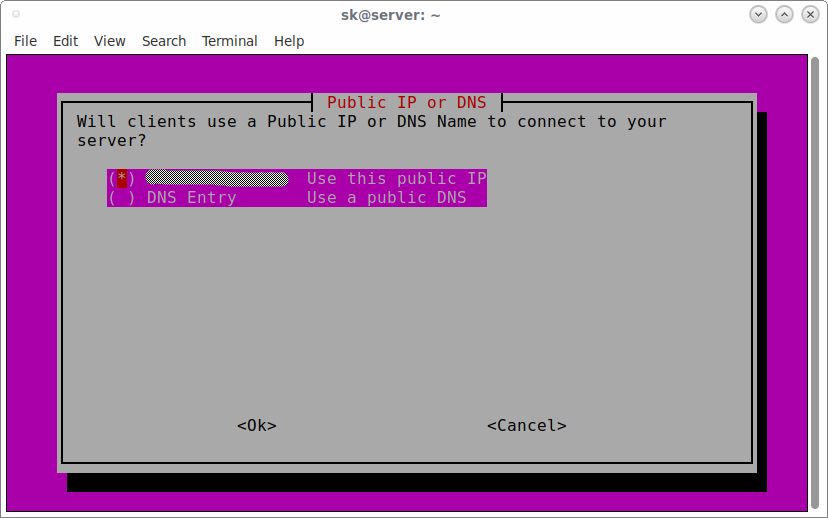
Next, choose whether the clients use public IP or DNS name to connect to server.
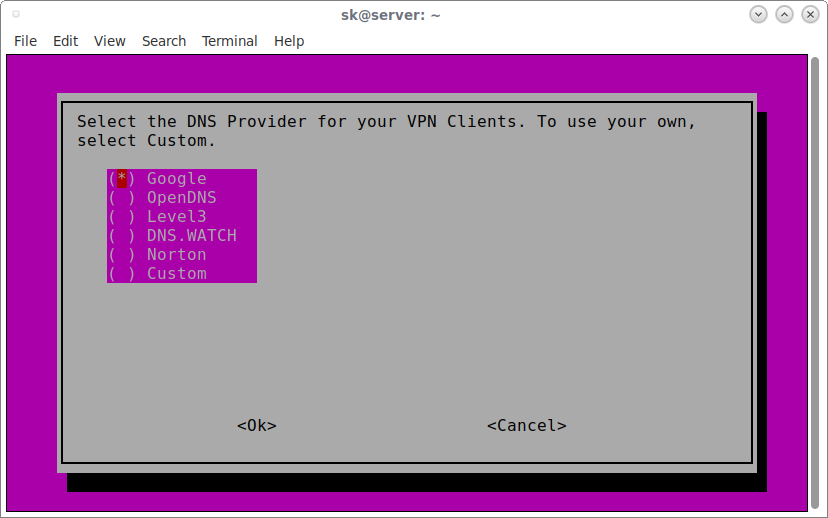
Choose the DNS Provider for your VPN Clients. To use your own, select Custom.
Congratulations! OpenVPN has been installed in your server.
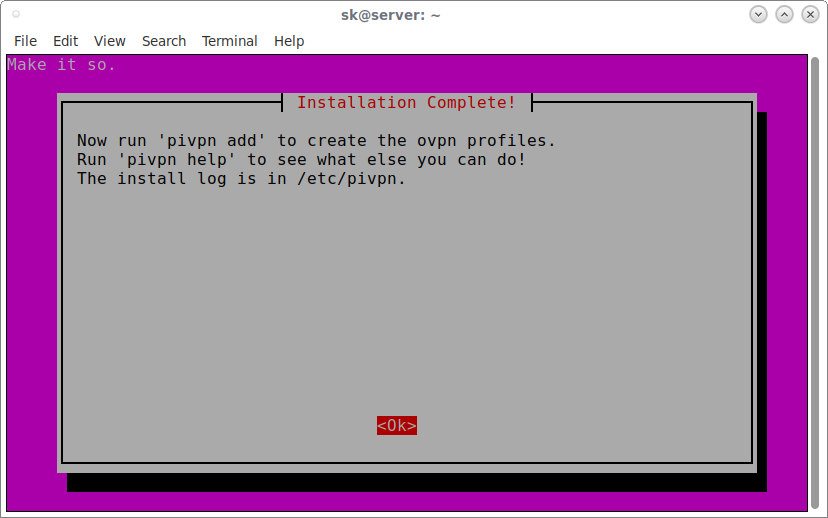
Finally, click Yes to reboot your system.

To check if OpnVPN service is running, enter the following command:
$ sudo service openvpn status
 * VPN 'server' is running
Check if OpenVPN is listening to the server:
$ ps auxww | grep openvpn
nobody 936 0.0 0.3 28624 2428 ? Ss 16:15 0:00 /usr/sbin/openvpn --writepid /run/openvpn/server.pid --daemon ovpn-server --cd /etc/openvpn --config /etc/openvpn/server.conf --script-security 2
sk 1206 0.0 0.1 11740 940 pts/1 S+ 16:15 0:00 grep --color=auto openvpn
As you can see, OpenVPN server is up and running! Let us go ahead and configure the clients.
Create a client ovpn profile
After rebooting the server, run the following command to create a client ovpn profile.
pivpn add
Or,
pivpn -a
Enter a name for your client system and a strong password.
Enter a Name for the Client: client ##ENTER client certificate name
Enter the password for the client: ##ENTER password
Enter the password again to verify: ##ENTER password again
spawn ./easyrsa build-client-full client

Note: using Easy-RSA configuration from: ./vars
Generating a 2048 bit RSA private key
..................................................+++
.....................................+++
writing new private key to '/etc/openvpn/easy-rsa/pki/private/client.key.YlVMZrBWgj'
Enter PEM pass phrase:ubuntu

Verifying - Enter PEM pass phrase:ubuntu

-----
Using configuration from /etc/openvpn/easy-rsa/openssl-1.0.cnf
Check that the request matches the signature
Signature ok
The Subject's Distinguished Name is as follows
commonName :PRINTABLE:'client'
Certificate is to be certified until Jul 9 09:47:17 2027 GMT (3650 days)

Write out database with 1 new entries
Data Base Updated
Client's cert found: client.crt
Client's Private Key found: client.key
CA public Key found: ca.crt
tls-auth Private Key found: ta.key

========================================================
Done! client.ovpn successfully created!
client.ovpn was copied to:
 /home/sk/ovpns
for easy transfer.
========================================================
If you don't want password for the client certificates, you can skip the password option using command:
pivpn add nopass
The client profiles will be stored under /home/username/ovpns. To verify it, run:
$ ls /home/sk/ovpns/
client.ovpn
You need to copy the profiles to your client systems in order to connect with the OpenVPN server.
For example, you copy the client profiles using scp command like below.
cd /home/sk/ovpns/
scp client.ovpn sk@192.168.43.150:/etc/openvpn/
Here, 192.168.43.150 is my openvpn client's IP address.
List all certificates
To list all valid and revoked certificates, run:
pivpn list
Or,
pivpn -l
Sample output:
: NOTE : The first entry should always be your valid server!

::: Certificate Status List :::
 :: Status || Name ::
 Valid :: server
 Valid :: client
Revoke a client ovpn profile
To revoke a client ovpn profile, run:
pivpn revoke
Or,
pivpn -r
Remove PiVPN
Don't like PiVPN? You can uninstall it by running the following command:
pivpn -u
Or,
pivpn uninstall
And, that's all for now. In the next guide, I will explain how to authenticate OpenVPN clients. Hope this helps. If you find our guides useful, please spend a moment to share them on your social, professional networks and support OSTechNix!
Cheers!
Resource:
Thanks for stopping by!
Help us to help you:
- Subscribe to our Email Newsletter : Sign Up Now
- Support OSTechNix : Donate Via PayPal
- Download free E-Books and Videos : OSTechNix on TradePub
- Connect with us: Facebook | Twitter | Google Plus | LinkedIn | RSS feeds
Have a Good day!!
9 comments
So I have it all set up, and I have OpenVPN installed on my computer and Android phone, but how do I connect to the Pi?
Pull the .ovpn file from the Pi for the user you want, and send it to each device. Easiest thing to do is email it but there are other ways that the app provides for. Open the file in the Open VPN app and then when put in the details for your server/username and the password you generated during the setup of that user. Device will then connect.
Bear in mind that the combination of the password and the .ovpn file is effectively the keys to your front door – control them carefully.
i have configured it correctly and how to view the status of connected client in the raspberrry pi please do mention it.
Installing and using PiVPN was the easiest method of setting up OpenVPN I have come across in the last 3 years of trying to setup a VPN. After setting it up on 3 separate Pi’s at 3 separate locations and importing the ovpn file into the OpenVPN app on my phone it connected right away.
Now if I could just get someone to help me translate the ovpn file settings so I could use the settings to connect my router. The router runs a version of Tomato that has a built in OpenVPN client and server but I have yet to get it to connect to the Pi because I don’t know how to transfer the settings based on the ovpn file created on the PI.
I get this error in the OpenVPN client when it tries to connect:
Sat May 18 16:06:08 2019 TLS Error: TLS key negotiation failed to occur within 60 seconds (check your network connectivity)
Sat May 18 16:06:08 2019 TLS Error: TLS handshake failed
Sat May 18 16:06:08 2019 SIGUSR1[soft,tls-error] received, process restarting
Sat May 18 16:06:08 2019 MANAGEMENT: >STATE:1558209968,RECONNECTING,tls-error,,,,,
I have my own PiHole DNS server running. So how do I implement my Pihole as choosen DNS Server??
@Betr Magin
check encryption strength is set to 2048 while installing otherwise you’ll have this error, check your openvpn logs and you will have something like
ovpn-server[1372]: OpenSSL: error:1408518A:SSL routines:ssl3_ctx_ctrl:dh key too small
remove it from your system fast as you can. It is a complete bug!!!
Thank you for the easy install with PiVPN.
The main issue I am having is that I am not able to access any computers on my local network.
There is no route in any of the config files. I added some (push “routes”) but still no access.
Can someone please add and example config file; Client and or Server; that has local route options configured?
Thank You in advance.