Proxmox is my preferred hypervisor to deploy various containers and VMs. Sometimes, I want to create a VM inside another VM. Meaning - I just want to host a guest hypervisor(i.e VM) in my physical Proxmox hypervisor. Have you ever wondered how to setup a guest hypervisor in a host hypervisor? In this guide, I will show you how to enable nested virtualization in Proxmox VE and then enable VT-X in the guest hypervisor.
Table of Contents
What Is Nested Virtualization?
Nested virtualization is a feature that allows you to run a virtual machine inside another virtual machine while still using the hardware acceleration from the host system.
To put this in other words, nested virtualization is a mechanism of running a hypervisor inside of a virtual machine (VM), which itself runs on a hypervisor.
Enable Nested Virtualization In Proxmox
The following steps must be performed in the physical Proxmox host.
First, let us make sure the nested virtualization feature is enabled in the physical Proxmox hypervisor.
If your Proxmox hypervisor is Intel CPU, run the following command to check if nested virtualization is enabled in it.
# cat /sys/module/kvm_intel/parameters/nested
N
If it is AMD CPU, run:
# cat /sys/module/kvm_amd/parameters/nested
N
You may get "N" or "0" and "Y" or "1" as output. If the output is "N" or "0", it means that the nested virtualization feature is not enabled. If the output is "Y" or "1", the nested feature is enabled.
In my Proxmox host, the nested virtualization is not yet enabled. So I am going to enable it using the following command as root user:
# echo "options kvm-intel nested=Y" > /etc/modprobe.d/kvm-intel.conf
On AMD Proxmox host, run this command:
# echo "options kvm-amd nested=1" > /etc/modprobe.d/kvm-amd.conf
Please note - We append Y for INTEL CPUs and 1 for AMD CPUs to enable nested feature.
Now, reboot the system or reload the kernel modules to take effect the changes:
# modprobe -r kvm_intel
# modprobe kvm_intel
On AMD Proxmox host, run:
# modprobe -r kvm_amd
# modprobe kvm_amd
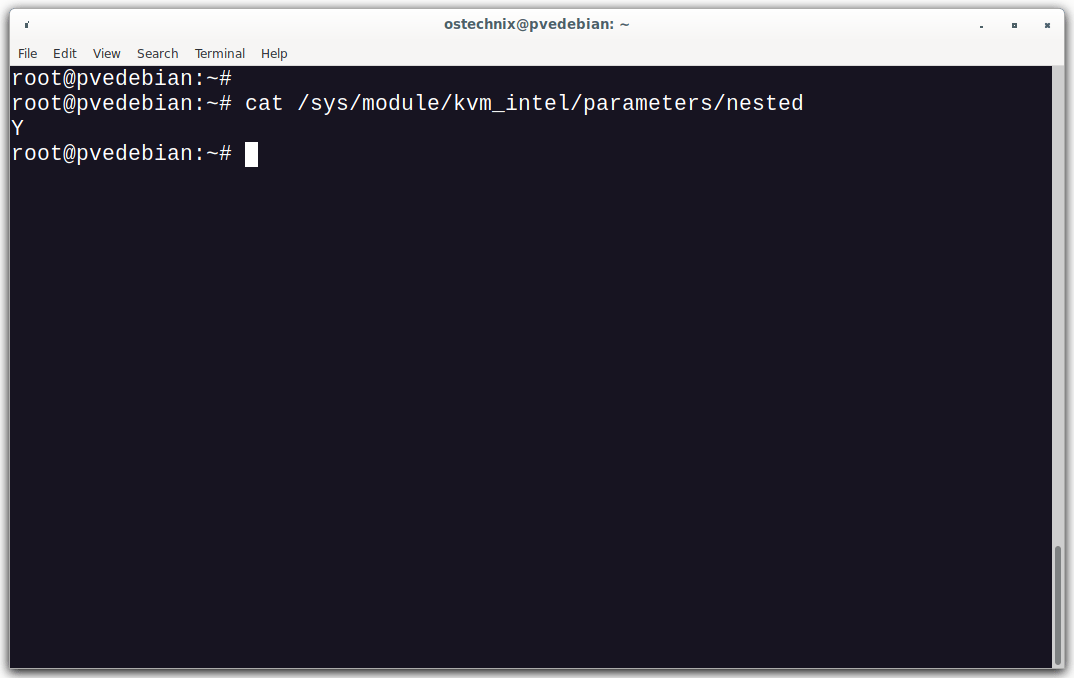
Now check again if nested virtualization is enabled in the physical Proxmox host:
# cat /sys/module/kvm_intel/parameters/nested
Y
If it is AMD CPU, run:
# cat /sys/module/kvm_amd/parameters/nested
Y
As you see in the above output, nested virtualization feature is enabled in the Proxmox host.
Check If VT-X Is Enabled In Virtual Machines
As you may already know, in order to host guest machines in any system, the CPU should support virtualization technology(VT-X) and the VT-X should be enabled.
There are several ways to check if a CPU supports VT-X. The following tutorial lists a few methods to find if VT-X feature is enabled in a system.
How To Find If A CPU Supports Virtualization Technology (VT)
For the purpose of this guide, I will be using Debian 11 desktop. Let us check if VT-X is enabled in one of our virtual machine.
# egrep --color -i "svm|vmx" /proc/cpuinfo
If you don't see any output, it means that the VT-X is not yet enabled. Let us enable it now.
Enable VT-X In Virtual Machines
After enabling the nested virtualization feature in the Proxmox host, you must enable Virtualization technology(VT-X) in the virtual(guest) machines to make it as a hypervisor.
You can enable VT-x from CLI or Proxmox web UI.
Enable VT-X For Proxmox Guest Machines From Command Line
Turn off the virtual machine in which you want to enable the nested virtualization feature.
To enable virtualization technology in a virtual amchine, simply set the CPU type of the VM to "host" using command:
# qm set <VMID> --cpu host
Example:
# qm set 105 --cpu host
Replace "105" with your virtual machine's ID. Now the Virtual machine has become hypervisor, so you can now create containers and virtual machines inside this VM.
Enable VT-X For Guest Machines From Proxmox Web UI
Make sure the VM is turned off.
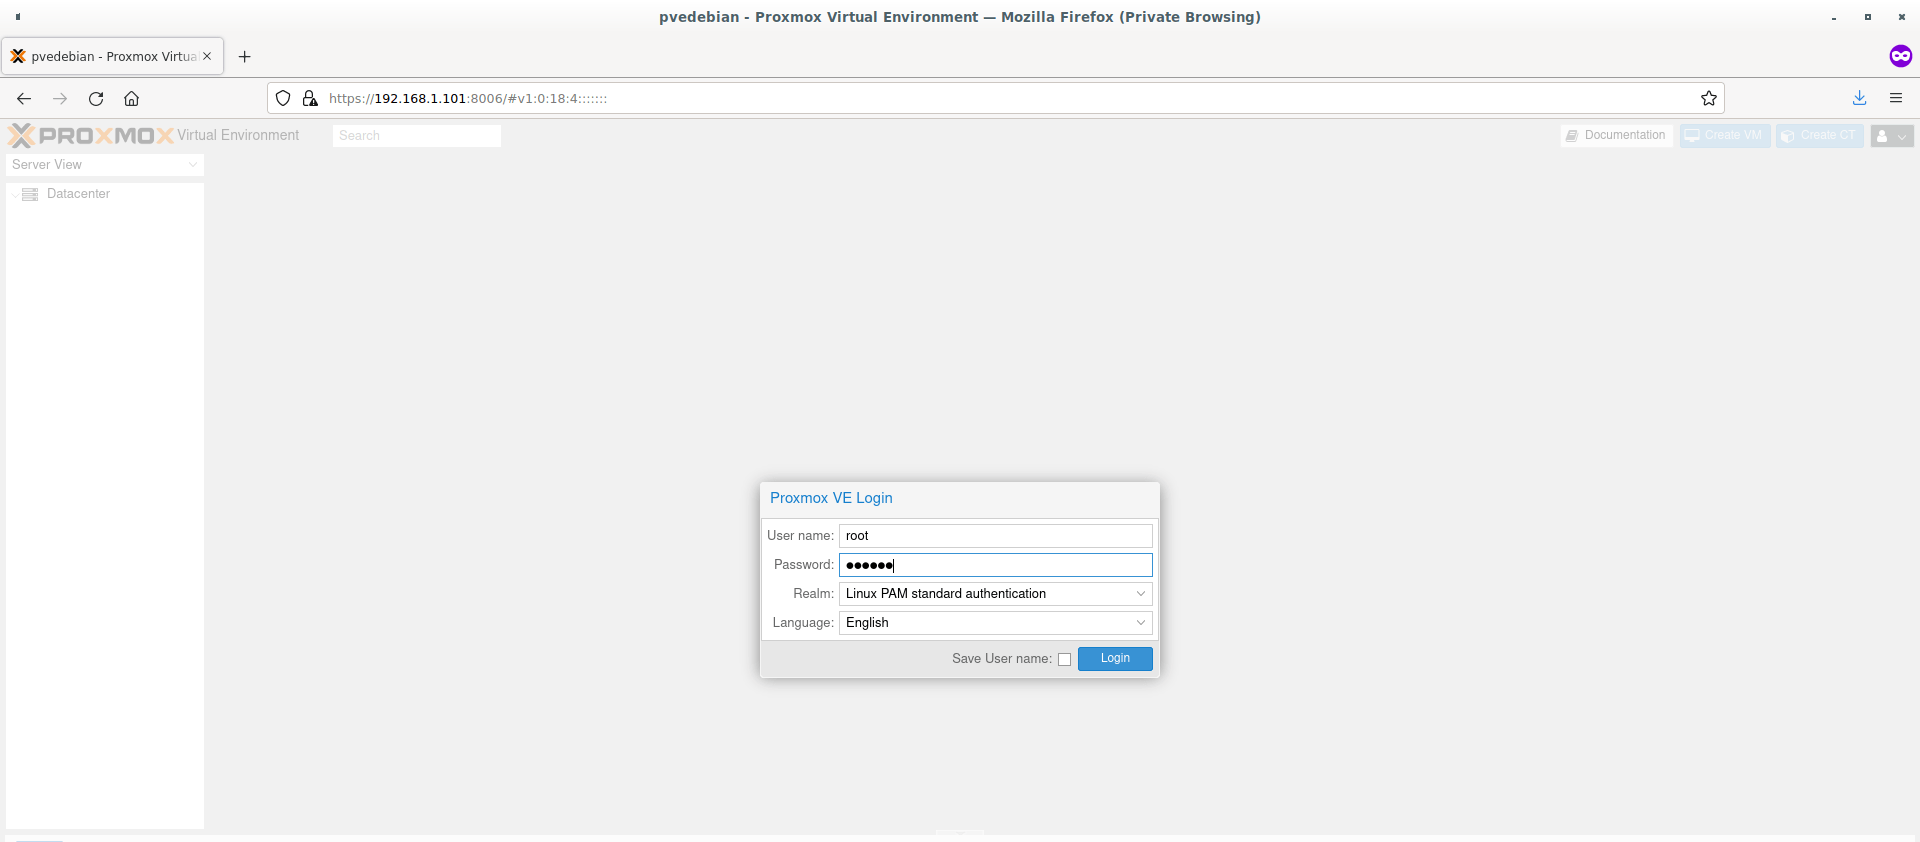
Open your Proxmox web UI by visiting to https://proxmox-ip:8006. Enter the user name and password to login to Proxmox web dashboard.
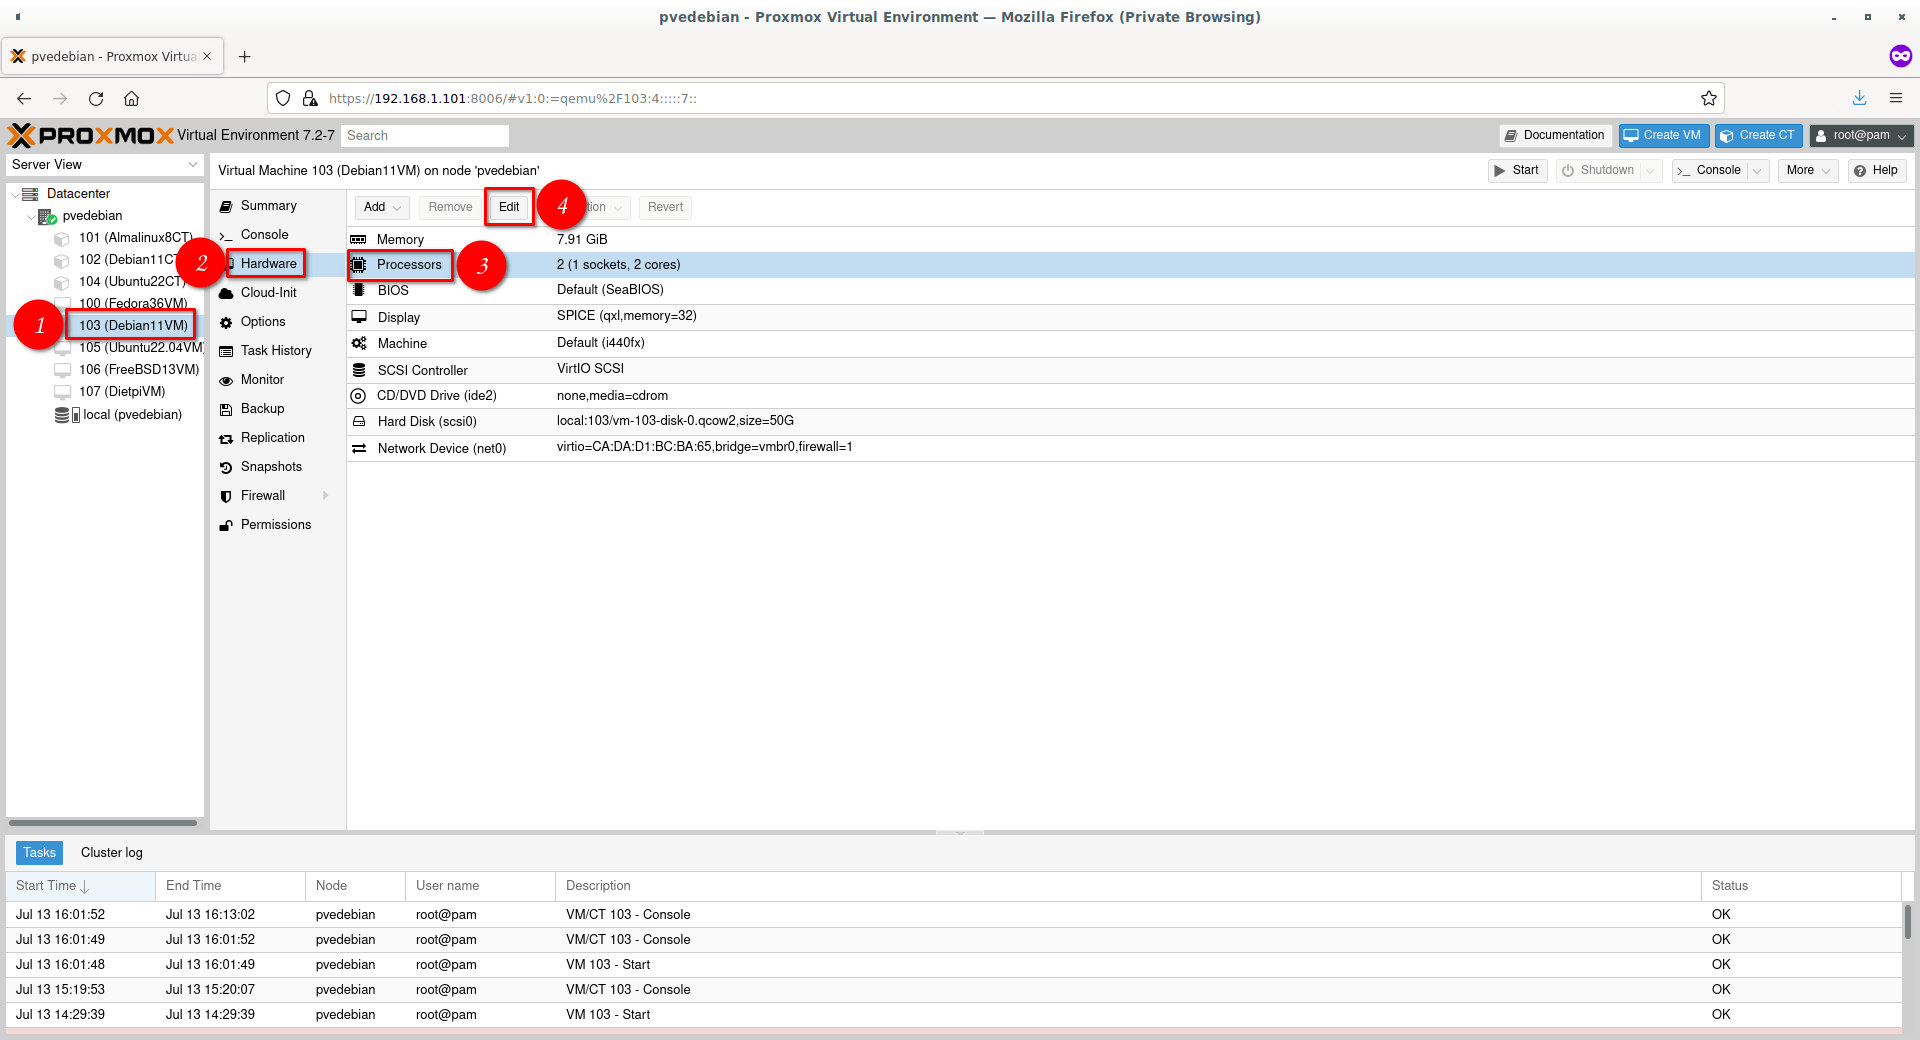
Go to Virtual machine(i.e. Debian 11) -> Hardware. Select "Processors" and click Edit or Double click Processors option.
Choose CPU type as "host".
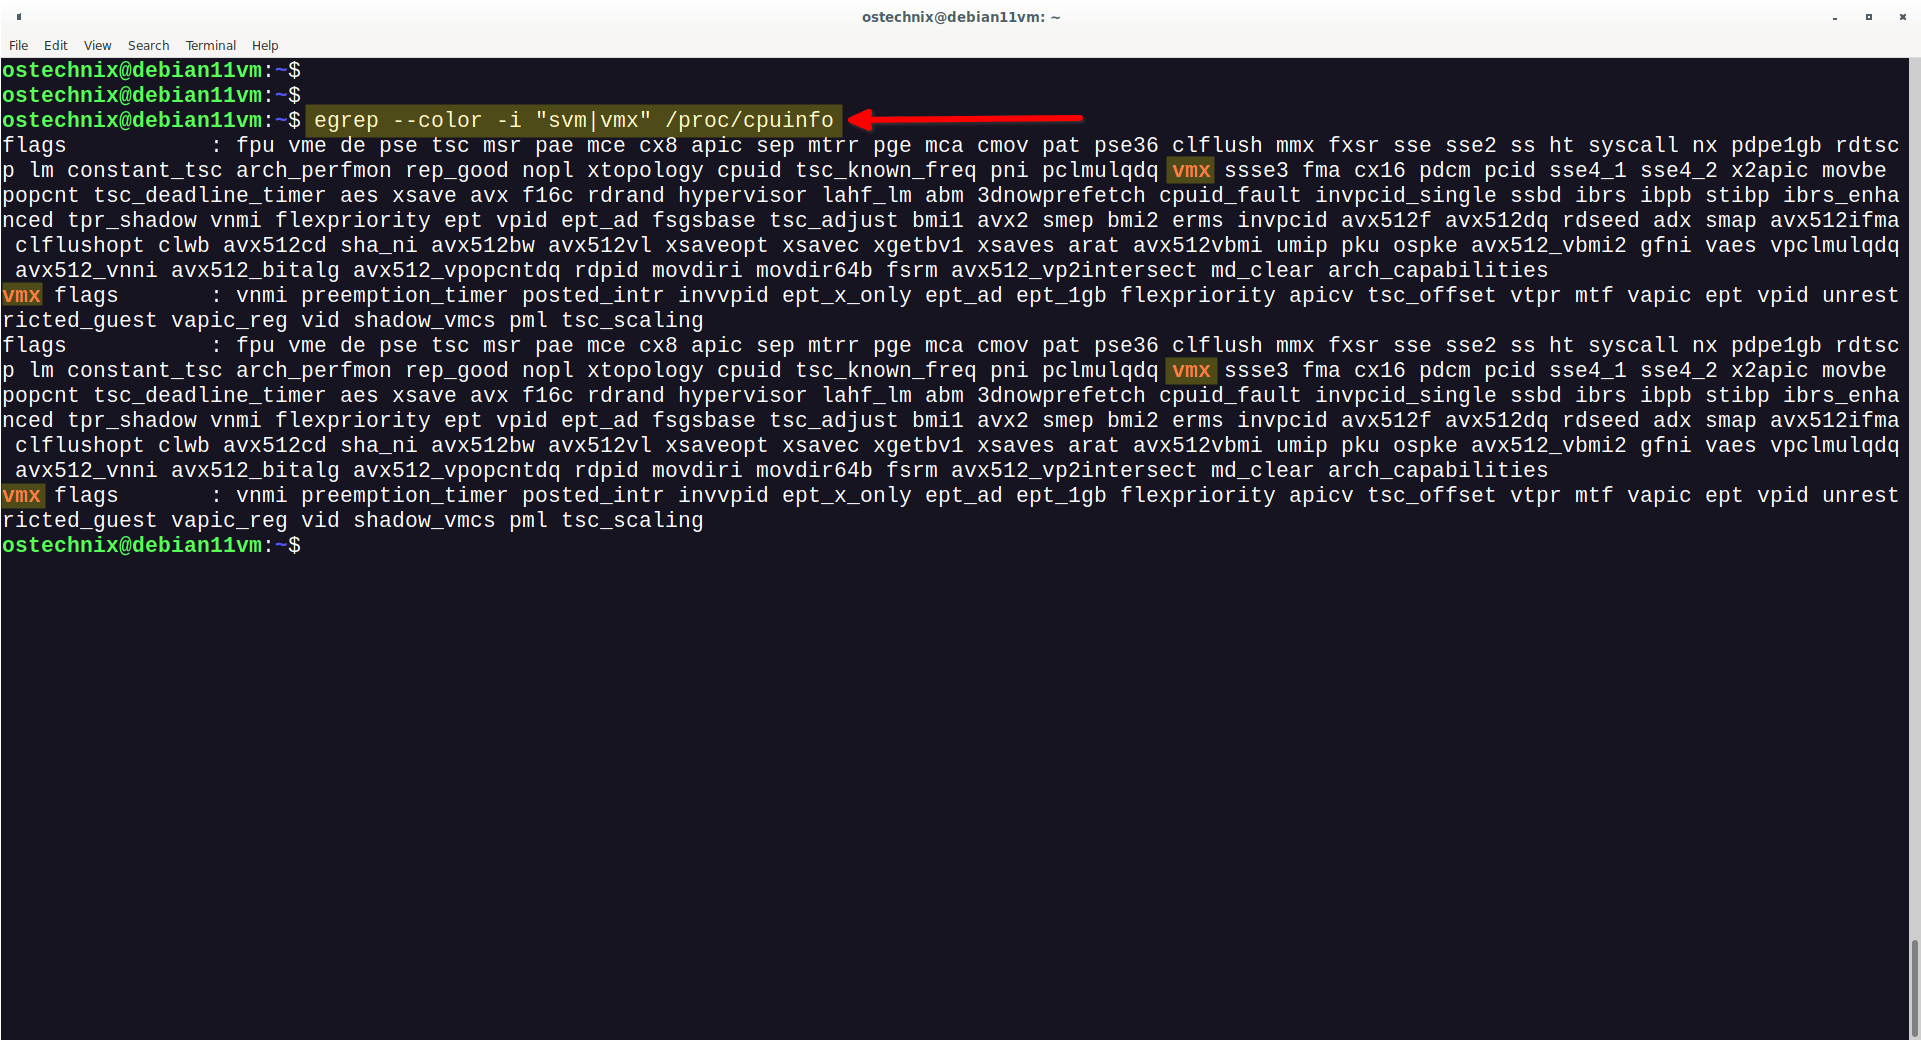
Now start the VM. Once the VM is started, check again if VT-X is enabled in the virtual machine.
$ egrep --color -i "svm|vmx" /proc/cpuinfo
If you see "vmx" (Intel-VT technology) or "svm" (AMD-V support) in the output, congratulations! The VT-X feature is enabled.
The virtual machine has now become a hypervisor. You can install any hypervisor application such as KVM, Proxmox, Quickemu, Virtualbox, VMware etc., in the virtual machine and start hosting containers and VMs in it.
Conclusion
In this guide, we discussed what is nested virtualization and how to enable nested virtualization in Proxmox. We also learned how to enable VT-X feature in a Proxmox virtual machine in order to run containers and virtual machines in it.


2 comments
I’m the author of the Gorgeous-GRUB repository.
I forgot the install process for themes as it’d been a while since I used Linux, so I found this site through a quick search and was beyond surprised to suddenly see my repo mentioned here!
Thanks so much for mentioning it, it’s so satisfying to see something I made help others!
Yes, here is the actual link to Gorgeous-Grub article. It is fantastic. https://ostechnix.com/change-grub-theme-in-linux/