In this tutorial, we will discuss what is Proxmox VE (Virtual Environment) and how to install Proxmox VE to setup server virtualization environment to create and manage virtual machines and containers.
Table of Contents
What is Proxmox VE?
Proxmox VE is full-featured, highly secure GNU/Linux system that can be used to deploy and manage virtual machines, and containers. It is based on Debian Linux distribution with modified RHEL kernel.
Proxmox fills the gap between high performance Linux virtualization and the missing parts - easy deployment and management.
It comes with a simple, easy to usable web interface that allows you to easily create, configure and manage VMs, containers, software-defined storage and networking, high-availability clustering and many out-of-the box tools on a single solution.
All VMs and containers can be managed from a central place. We can create and manage virtual machines by simply selecting the node where should it run.
With Proxmox VE, you can join multiple physical servers to one VE cluster. This flexible mult-master cluster eliminates a single point of failure.
We can backup and restore the running VMs. Even the running virtual servers can be moved from one physical host to another without downtime.
It includes RESTful web API which can be used to enable integration for third party management tools.
In a nutshell, Proxmox
- is an enterprise-grade virtualization solution,
- is capable of handling several hundred virtual machines,
- provides central management for all guests,
- provides clustering,
- offers online backup solution,
- supports live migration,
- supports 32 and 64 bit guests.
For more details, visit Proxmox website link given at the end of this guide.
Install Proxmox VE step by step
Installing Proxmox VE is fairly simple and straight forward. You can Proxmox VE on a top of existing Debian or install a standalone version. In this guide, we will be installing the standalone version.
Download the latest Proxmox installer ISO from the link below.

After downloading Proxmox VE ISO, create bootable USB with Proxmox ISO. There are many bootable USB creation tools available to create a bootable USB medium. We already have reviewed a few bootable USB creation applications. You can pick any one that suits you.
Command line bootable USB creation tools:
- How To Create Multiboot USB Drives With Ventoy In Linux
- How To Create Bootable USB Drive Using dd Command
- Bootiso Lets You Safely Create Bootable USB Drive In Linux
Graphical bootable USB creation tools:
- Create Bootable USB Drive With Ventoy WebUI In Linux
- Create Bootable USB Drives And SD Cards With Etcher In Linux
- Popsicle – Create Multiple Bootable USB Drives At Once
- Create Bootable USB Drive With USBImager In Linux
- Kindd – A Graphical Frontend To dd Command
After creating Proxmox bootable USB, boot your system with the newly created bootable usb drive.
You will be pleased with Proxmox installer welcome screen. Choose 'Install Prxomox VE' option and hit enter.

Click 'I agree' button to accept the license agreement and continue the Proxmox installation.

Next, choose target hard drive to install Proxmox and click Next. The Proxmox installer will automatically partition the selected hard disk, install all required packages and finally make the system bootble from the hard disk. Please note that all existing partitions and data will be lost.

If you want to manually create partitions change filesystem (Default is EXT4), click 'Options' in the above screen and create the partitions of your choice and change the desired filesystem.

I go with automatic partition scheme.
Next, choose your country location and timezone.

Provide a password for the 'root' user and enter a valid email id. Please make sure you've provided a strong password that has at least 8 characters including numbers and special characters.

Enter hostname, ip address, netmask, gateway, and DNS. You must provide a valid network details to access proxmox configuration interface after installation.

You will see the summary of installation. If it is OK for you, click Next to start Proxmox installation. Or, simply click Previous button to go back and change the values accordingly.

Now, the Proxmox installation process will begin. It will take a few minutes to complete.

If you have checked the option that says "Automatically reboot after successful installation" in the previous screen, your system will automatically reboot upon successful installation. If you didn't check that option, you will see the Installation successful message. Remove the installation medium and hit Reboot button.
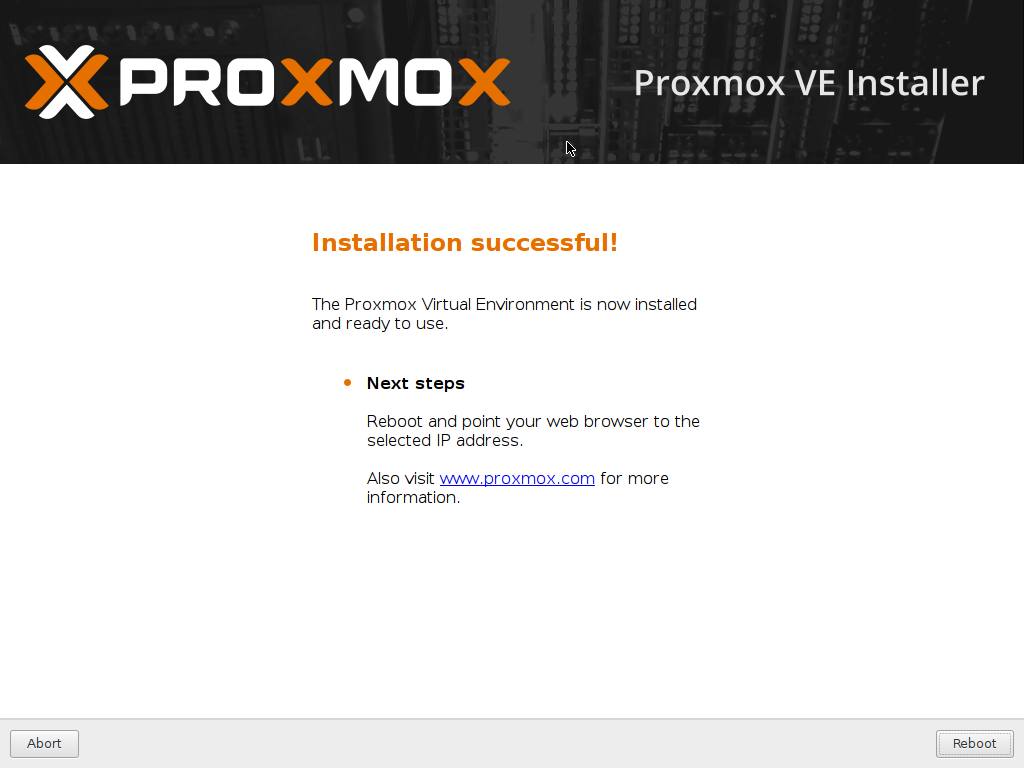
Congratulations! Proxmox VE is installed and ready to use.
Enter the username (root) and password (the one you have created during installation) to login to Proxmox console.

As mentioned earlier, Proxmox is based on Debian. So, you can install any additional applications or update it as the way you do in Debian. Say for example, to update Proxmox, simply run:
# apt update && apt upgrade
We have installed Proxmox. Next, we will see how to access the web console.
Access Proxmox Server via SSH
SSH is pre-configured in Proxmox. So you can access the Proxmox server from any system from LAN via SSH like below.
$ ssh root@192.168.122.100
Replace the IP address with your Proxmox server's IP.

Access Proxmox Web Interface
You need a web browser to access Proxmox VE web UI. The vanilla Proxmox doesn't have a GUI. You need to access the web dashboard either from a remote system's browser or install any Desktop Environment on Proxmox VE with a web browser and start configuring it.
Enter the URL - https://IP_Address:8006 in the address bar. You will be asked to enter the user credentials. Type root and its password to continue. You may need to open the port 8006 in firewall/router in case you're accessing the Proxmox web dashboard.

Here is how Proxmox dashboard looks like.

On left side of the Proxmox web UI, you will see the list of available Proxmox servers. On the right side, you will find the proxmox server details, such as storage, users, permissions, groups, roles etc.
From Proxmox web dashboard, you can do all administrative related tasks such as creating, modifying, managing users, groups, roles, virtual machines, and containers etc. We will discuss them in detail in our upcoming articles.
Resource: