A few days ago, we discussed how to install Ubuntu 20.04 LTS desktop. Today, we will show you how to install Ubuntu 20.04 LTS server with screenshots. If you already have Ubuntu 18.04 LTS server on your system, you can simply upgrade it to Ubuntu 20.04 LTS server. If you don't wish to upgrade, but want a fresh installation of Ubuntu 20.04 LTS server on your machine, this guide is for you!
Table of Contents
Create Ubuntu 20.04 LTS Bootable Disk
Download the latest Ubuntu 20.04 LTS server edition from here and make bootable USB drive using any one of the programs given below.
- Etcher – A Beautiful App To Create Bootable SD Cards Or USB Drives
- Bootiso Lets You Safely Create Bootable USB Drive
Install Ubuntu 20.04 LTS Server
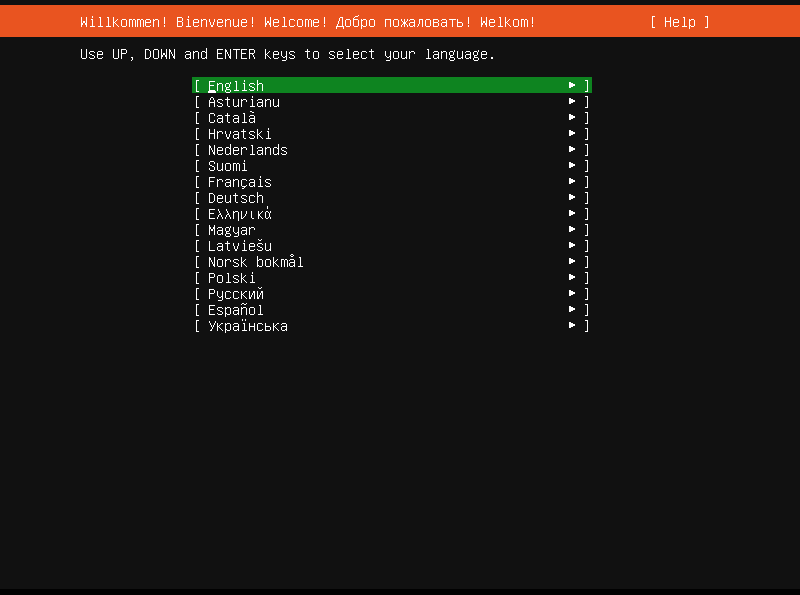
Boot your system with the newly created bootable USB drive. You will be greeted with the following screen. Select your language and press ENTER to continue.
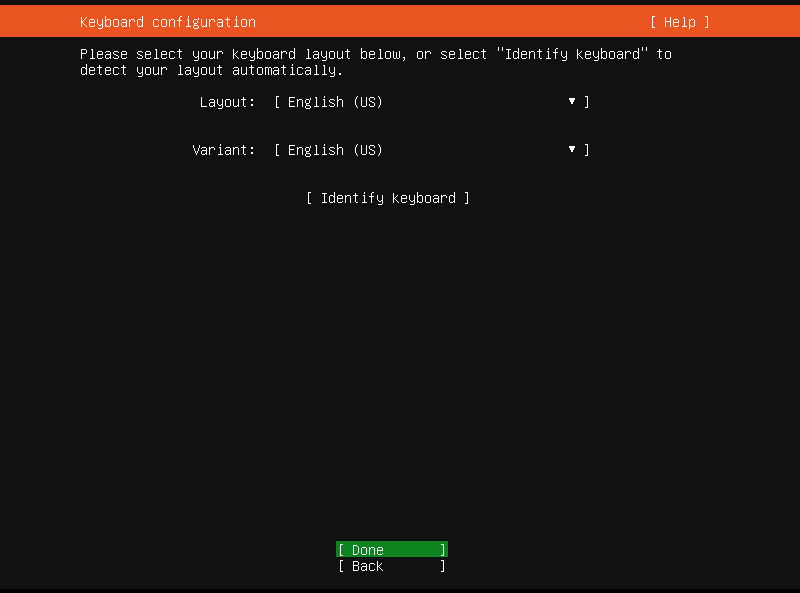
Next, select your preferred keyboard layout or you can select "Identify your keyboard" option to choose your keyboard layout automatically. After choosing the Keyboard layout, select "Done" and hit ENTER.
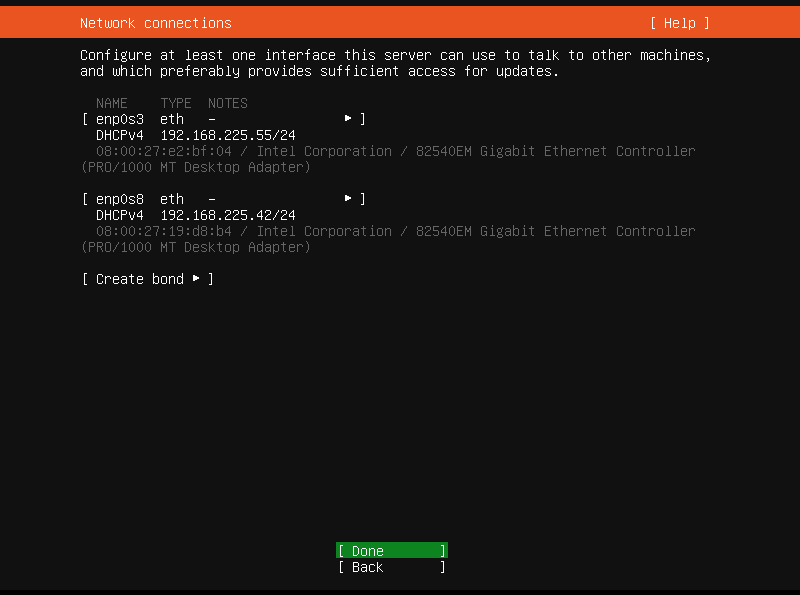
Next, configure at least one Network interface card to allow this server to talk to other systems in the network. If you have DHCP server on your network, IP address will be automatically allocated to all available interfaces. If you don't want automatic IP address, choose the network interface using UP/DOWN arrow and configure the IP address manually. After configuring network settings, choose "Done" and hit ENTER to continue.
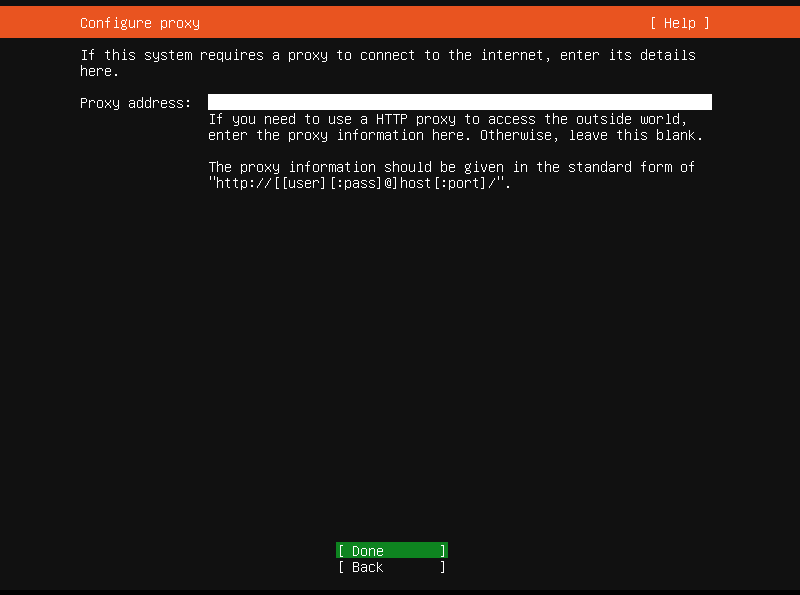
If your Ubuntu server is behind a proxy server, you need to enter the proxy server details here. Otherwise, simply leave it empty and hit ENTER to continue.
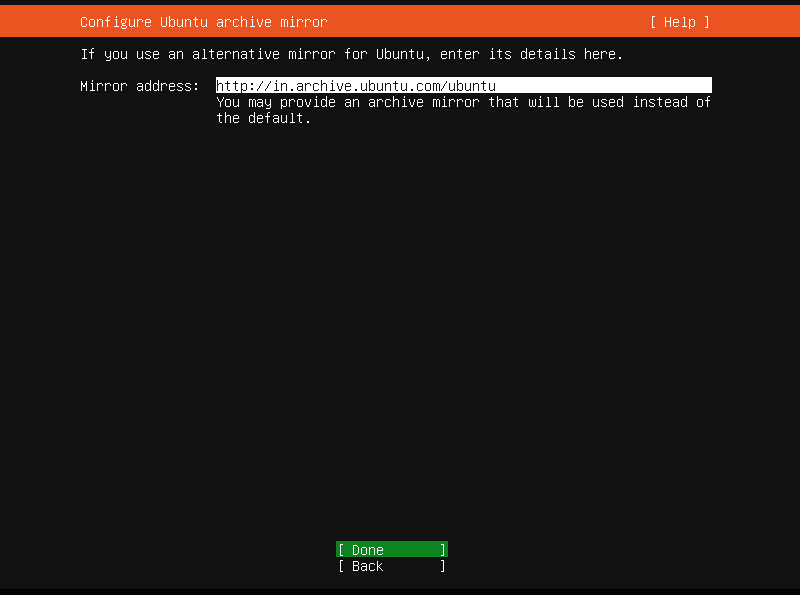
Next, you need to configure Ubuntu archive mirror. A default mirror will be selected automatically for you. If you don't want the default mirror, enter Mirror address here and hit ENTER to continue.
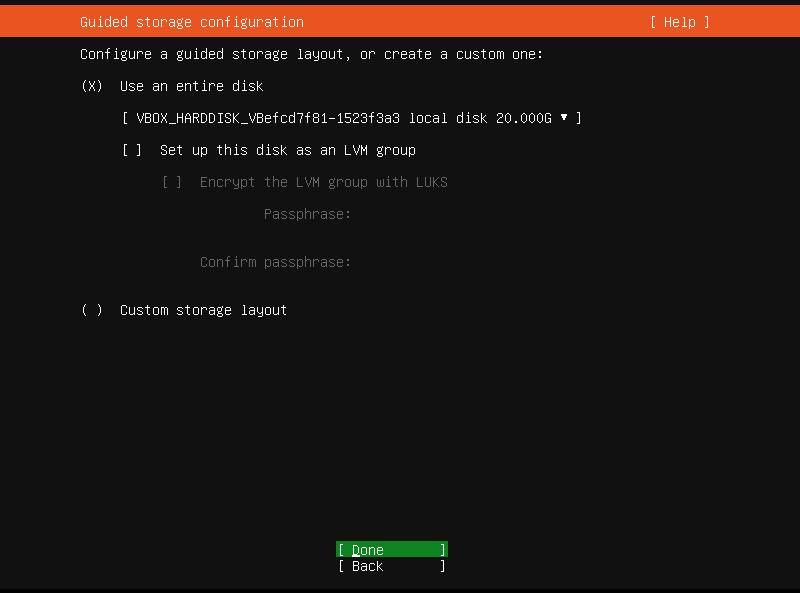
Next, configure the disk layout i.e. partition your hard disk. You will be given tow choices. Choose any one of the given partition methods that suits to you.
- Use entire disk : This method will erase entire hard drive and automatically partition the drive. Recommended for newbies. If you choose this option, you can optionally set LVM and encrypt the LVM configuration with LUKS.
- Custom storage layout : This is for intermediate and advanced users to manually setup partitions of their choice.
After configuring the storage, choose "Done" and hit ENTER to continue.
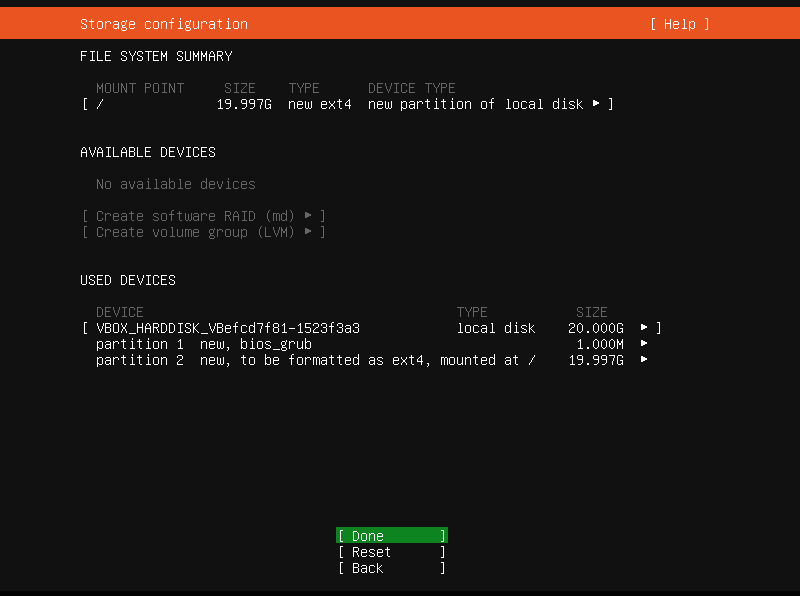
Review the current file system configuration. If it is OK for you, press ENTER to continue or go back and reconfigure storage as your wish.
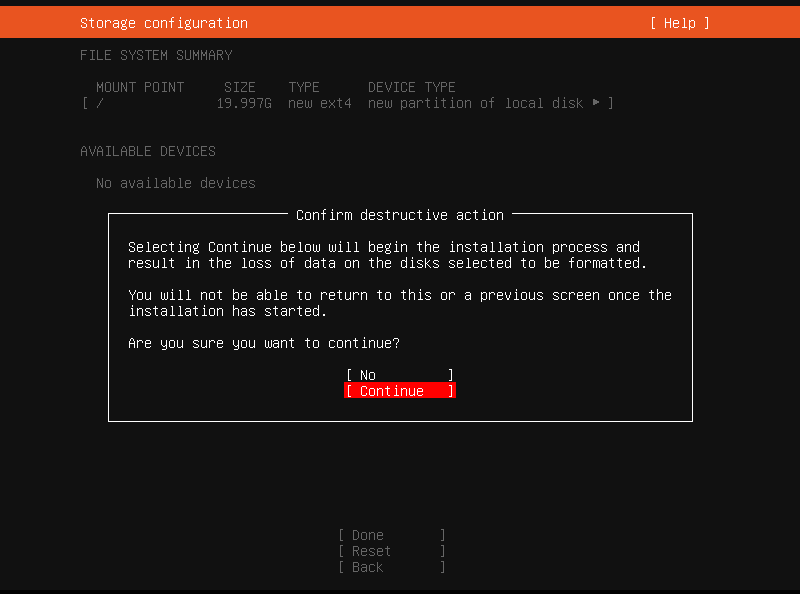
Choose "Continue" and press ENTER to write the changes in your disk.
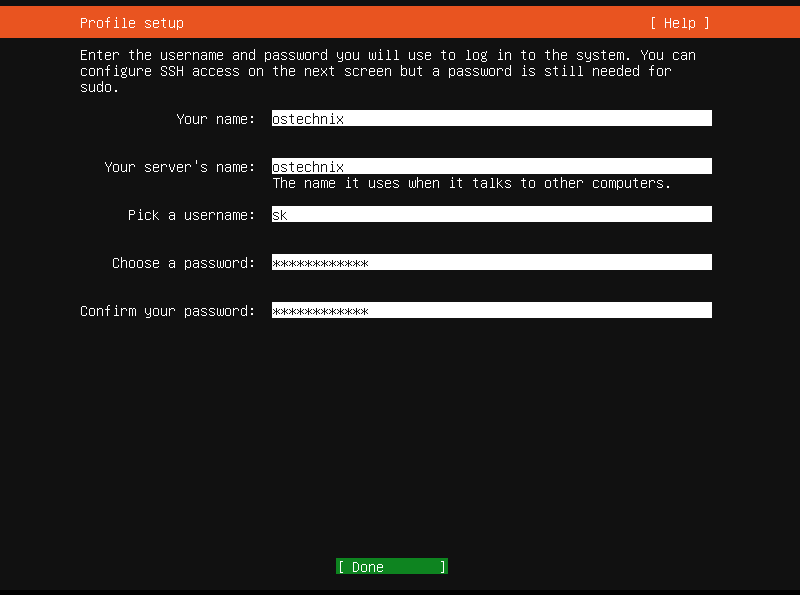
Now, enter your server system's details such as your name, server's name, the username and its password you will use to log in to the server. Press ENTER to continue.
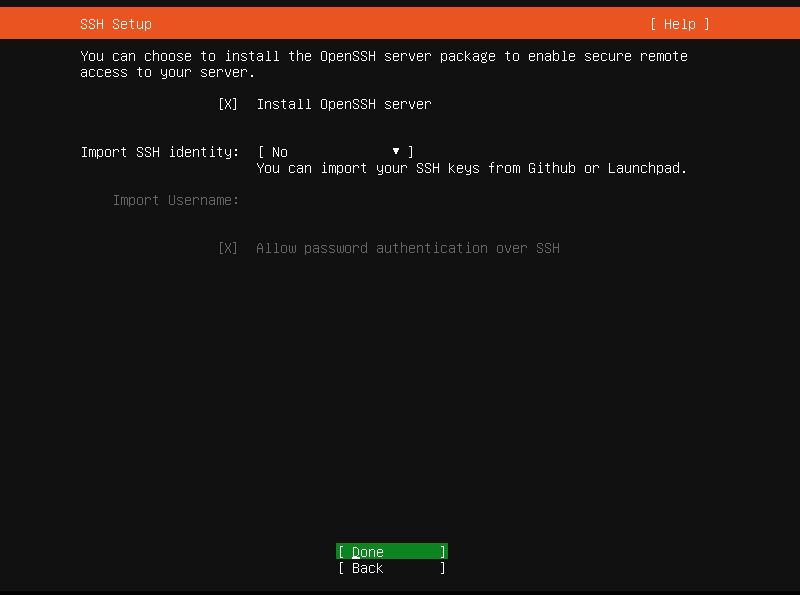
Next, you can choose to install openSSH server which allows you to access this server remotely from any system on the network. Press SPACE button to select/deselect. If you don't do this now, you can install it later once the installation is completed. SSH is important to access the Ubuntu server from anywhere, so I choose it. Press ENTER to continue.
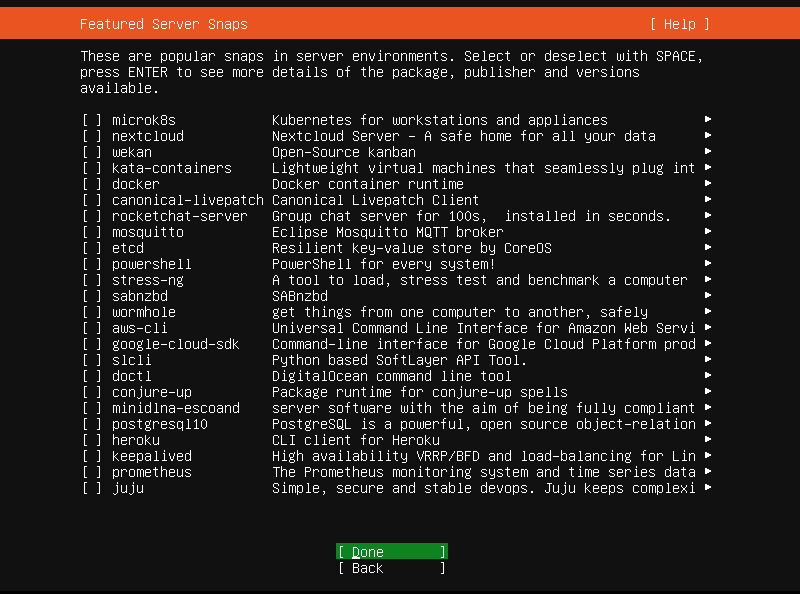
Next, choose the list of available featured snap packages for your Ubuntu system. They will be installed along with the Ubuntu server installation. Select or deselect them with SPACE. Press ENTER to view more details of a snap application. This is optional and you can also do this later.
The Ubuntu 20.04 LTS installation will start now. It will take a while depending upon the package selection and the Internet speed.
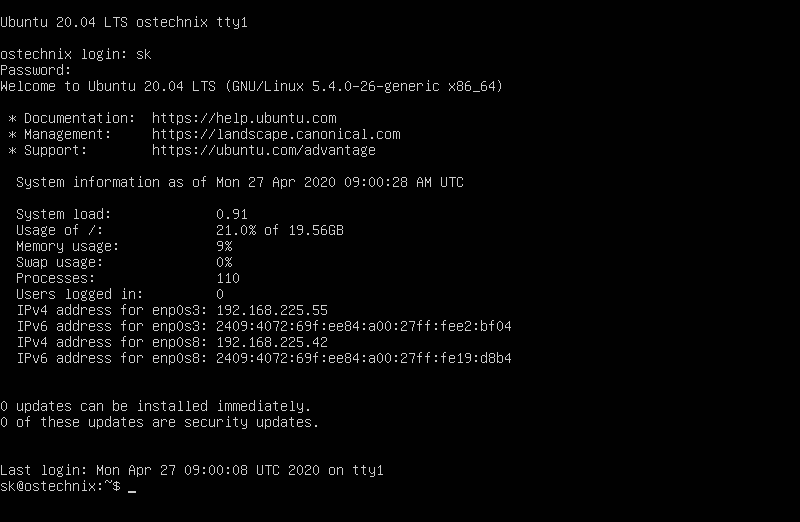
After Ubuntu 20.04 LTS server is installed successfully, reboot it to finish the installation.

Congratulations! Ubuntu 20.04 LTS server is ready to use!
Hope this helps.
Thanks for stopping by!
Help us to help you:
- Subscribe to our Email Newsletter : Sign Up Now
- Support OSTechNix : Donate Via PayPal
- Download free E-Books and Videos : OSTechNix on TradePub
- Connect with us: Reddit | Facebook | Twitter | LinkedIn | RSS feeds
Have a Good day!!
1 comment
Thank you! Helped a lot