Ubuntu 18.04, codenamed Bionic Beaver, is out! If you haven't upgrade to Ubuntu 18.04 LTS version yet, this tutorial will teach you how. Just in case you don't aware, the current long-term support (LTS) edition Ubuntu 16.04 is supported until April 2021 and the current normal edition Ubuntu 17.10 is supported until July 2018. That means you will get the updates until 2021 for Ubuntu 16.04 LTS and July 2018 for Ubuntu 17.10. So, it's not necessary to upgrade your Ubuntu 16.04 LTS or Ubuntu 17.10 to the latest available version unless you want to use new updated programs, new features and other major improvements in Ubuntu 18.04 LTS edition.
The method of upgrading between LTS releases and normal edition to LTS is quite same, except a small change in the Software updater. Let us get started.
Table of Contents
Upgrade To Ubuntu 18.04 LTS [Desktop And Server]
First things first
First of all, backup your important data before starting the upgrade process. Backup your $HOME folder, important configuration files, browser settings and whatever you consider important.
Upgrade To Ubuntu 18.04 LTS Desktop
Then, update current Ubuntu system using command:
$ sudo apt-get update && sudo apt-get dist-upgrade
Once the update is completed, reboot it to apply the updates.
$ sudo reboot
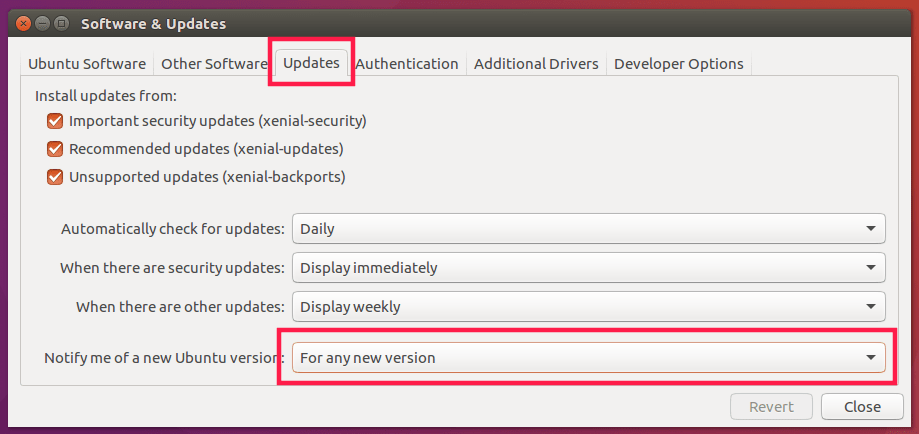
Now, open up the Software & updates either from Unity Dash or application launcher.

For Ubuntu 16.04 LTS desktop:
In the Software & updates window, go to Updates section, make sure you have selected "For long-term support versions" from the "notify me of new Ubuntu version" drop down box.

For Ubuntu 17.10 desktop:
If you're upgrading from Ubuntu 17.10 to 18.04 LTS, choose "For long-term support versions" from the "notify me of new Ubuntu version" drop down box in the Updates section.
Click Close. This will update the source lists.
Now, start the upgrade process using command:
$ sudo update-manager -d
You will see a message something like below.
“The software on this computer is up to date.
However, Ubuntu 18.04 LTS is available now (you have 16.04)”.
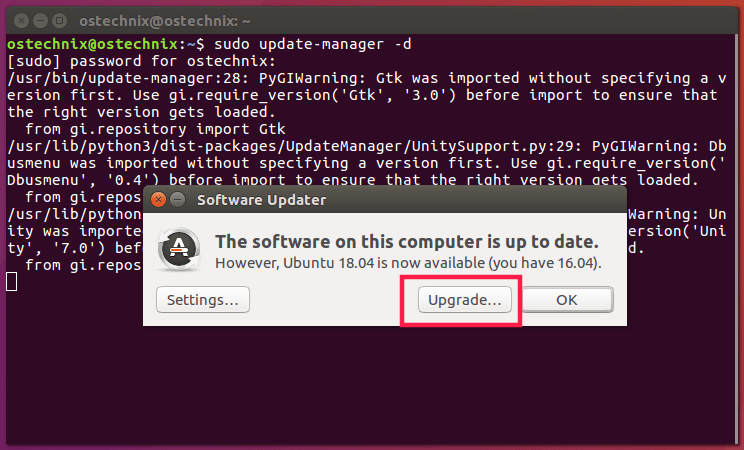
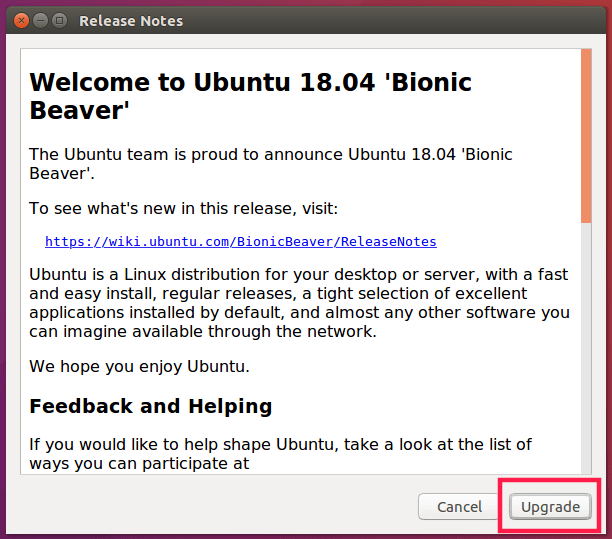
Click Upgrade to continue. After few seconds, you will be greeted with Ubuntu Bionic Beaver release notes screen.
Click Upgrade once again to continue the upgrade process.
The distribution upgrade process will start to setup new software channels for Ubuntu 18.04 LTS.
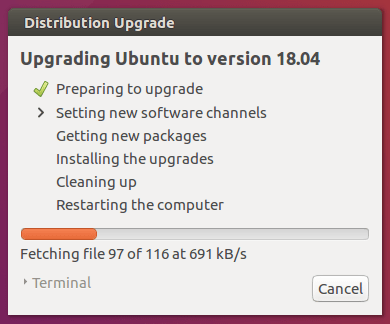
Finally, click "Start upgrade".

Now, sit back and relax. This will take while to complete depending upon the speed of your Internet connection. All necessary packages will be downloaded, upgraded and installed.

Once all packages are upgraded, click "Remove" to delete the unused packages. Finally, click "Restart now" to finish the upgrade. This will reboot your system to use brand new Ubuntu 18.04 LTS desktop.
Enter the password of your username to log in.

Congratulations! Here is the desktop of newly upgraded Ubuntu 18.04 LTS system.
The default desktop environment is Gnome. Ubuntu 18.04 LTS ships with both the traditional Xorg graphics stack as well as the newer Wayland based stack, but Xorg is the default display server. You see Unity in the below screenshot, because I upgraded from Ubuntu 16.04 LTS which is still has Unity DE.

That's it. Ubuntu 18.04 LTS desktop is completed. Let us see how to upgrade to server edition.
Upgrade To Ubuntu 18.04 LTS Server
Don't forget to backup your important data. Then, update the Ubuntu server with command:
$ sudo apt-get update && sudo apt-get dist-upgrade
Once the server is updated, reboot it to apply the updates.
$ sudo reboot
I strongly recommend everyone to use Screen tool when attempting to upgrade a remote server via SSH. This will keep running the upgrade the process in case your SSH session is dropped for any reason.
To install the screen tool, Enter:
$ sudo apt-get install screen
Once it's installed, start the screen session with command:
$ screen
If your SSH connection is broken when upgrading, you can re-attach to the upgrade session easily with command:
$ screen -Dr
Install the update-manager-core package if it is not installed already:
$ sudo apt-get install update-manager-core
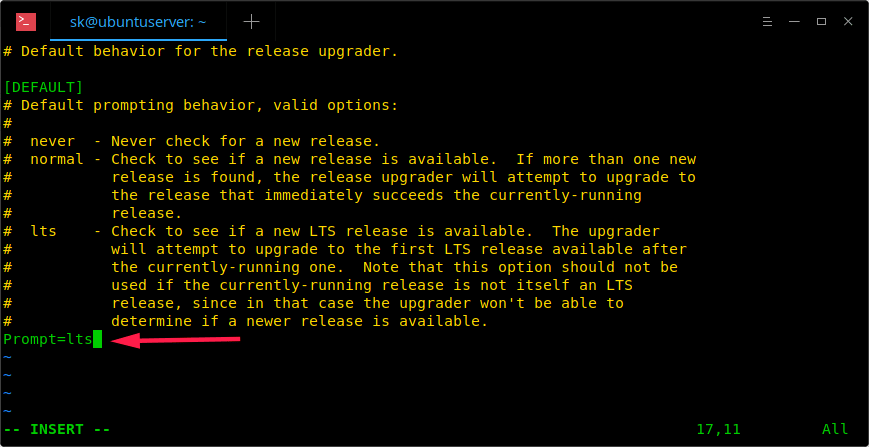
Then, edit the file /etc/update-manager/release-upgrades,
$ sudo nano /etc/update-manager/release-upgrades
If you're upgrading from Ubuntu 16.04 LTS to 18.04 LTS, you need to set prompting behavior as lts.
Prompt=lts
If you're upgrading from Ubuntu 17.10 to 18.04 LTS, set prompting behavior as normal.
Save and close the file.
Now, start the upgrade process with command:
$ sudo do-release-upgrade -d
If you're running the upgrade process under SSH session, the following warning message will appear. Just type "y" to continue.

Again, press Enter:

The upgrade wizard will display the number of packages which are going to be upgraded and which packages are going to be removed. Press "y" to start the upgrade process. This will take a while to complete depending upon the speed of your Internet connection. Sit back and have a cup of coffee.

During upgrade process, you might be prompted to restart some services during package upgrades without asking. Just select Yes, and press ENTER to continue.
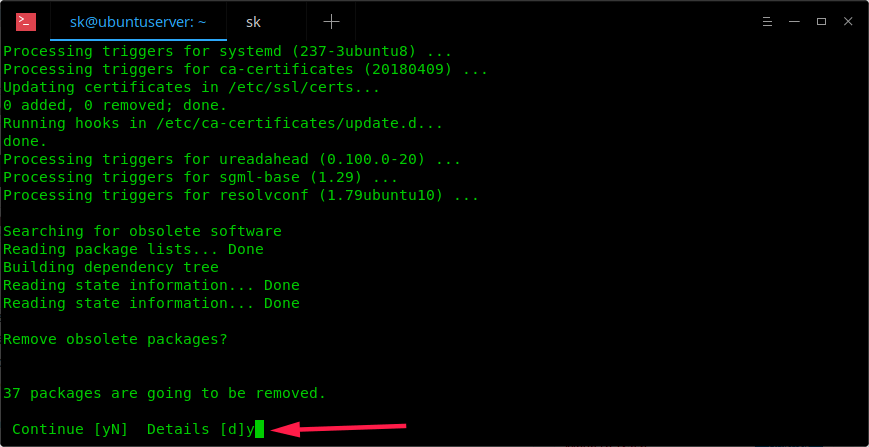
Type Y to remove the obsolete packages which are no longer required.
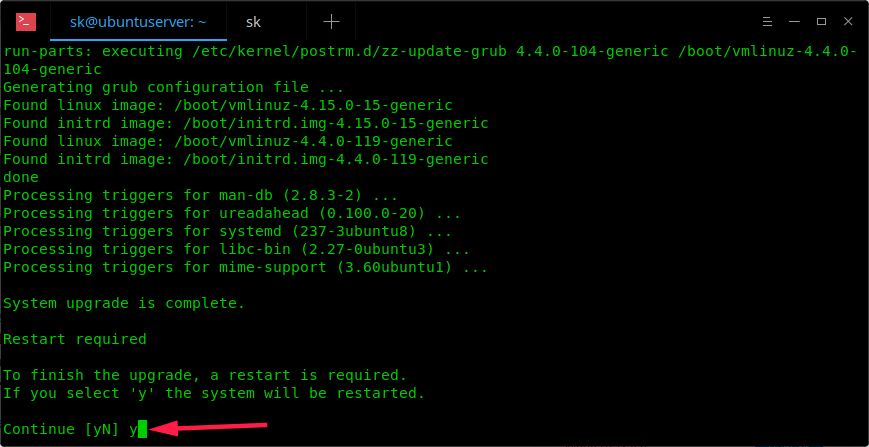
Again type "Y" to complete the upgrade process and reboot the system.
That's it. We just upgraded to Ubuntu 18.04 LTS server edition.

One thing you should remember before starting the upgrade is to change the prompting behavior to lts or normal depending upon the version you currently use. The rest is easy!
A personal note to the newbies. Do not try to attempt the upgrade process in production environment. Ask or leave it to the experienced administrators. They know what to do if the Upgrade process goes wrong.
Thanks for stopping by!
Help us to help you:
- Subscribe to our Email Newsletter : Sign Up Now
- Support OSTechNix : Donate Via PayPal
- Download free E-Books and Videos : OSTechNix on TradePub
- Connect with us: Reddit | Facebook | Twitter | LinkedIn | RSS feeds
Have a Good day!!