It is our last tutorial of NetServer's series. In our previous tutorials, we discussed how to,
Today, we will see how to use Server-manager, the web interface for NethServer and how to install different modules.
Getting started with NethServer's Server-manager
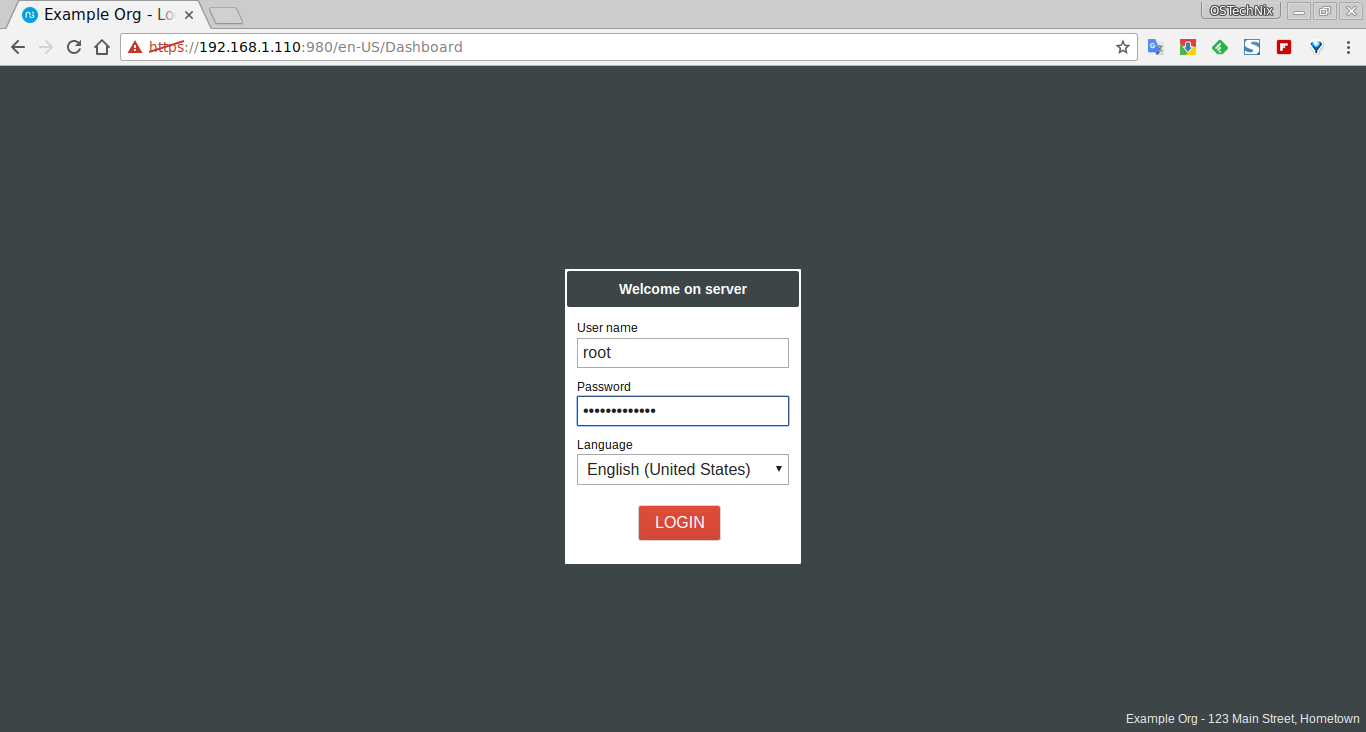
First log in to NethServer's dashboard using URL: https://Nethserver_IP_Address:980/
If you installed NethServer using ISO image, login to web interface using the following username and password.
- Username - root
- Password - Nethesis,1234
If you installed NethServer on top of CentOS minimal server, you can log in as root user and its password (The one you provided during installation).
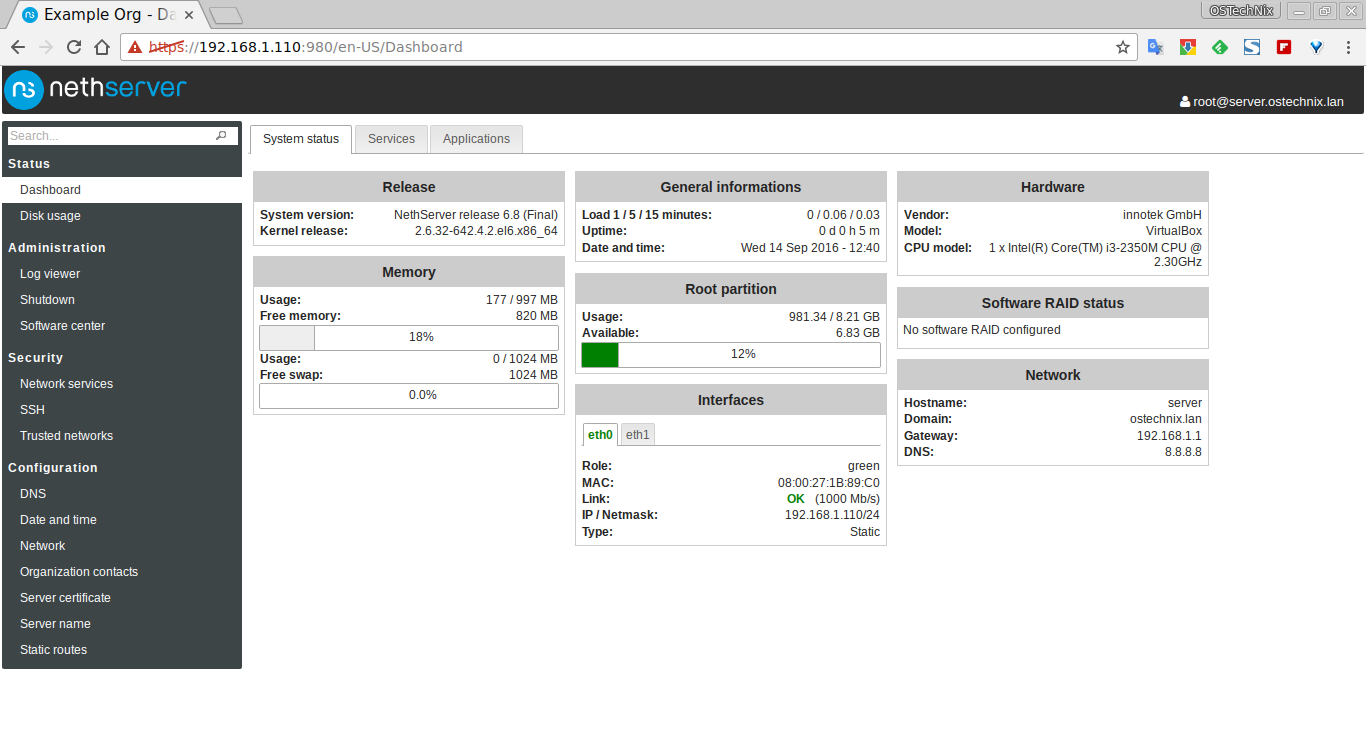
Dashboard:
The NethServer's Dashboard will look like below.
The first thing you should after logging into the server-manager is to change your root user password.
To do so, hover mouse pointer over the root user account on the top right corner and click Profile. Then, click Change password button to change the root user password.

Enter the current password followed by new strong password twice with combination of special characters, numbers, small and capital letters.
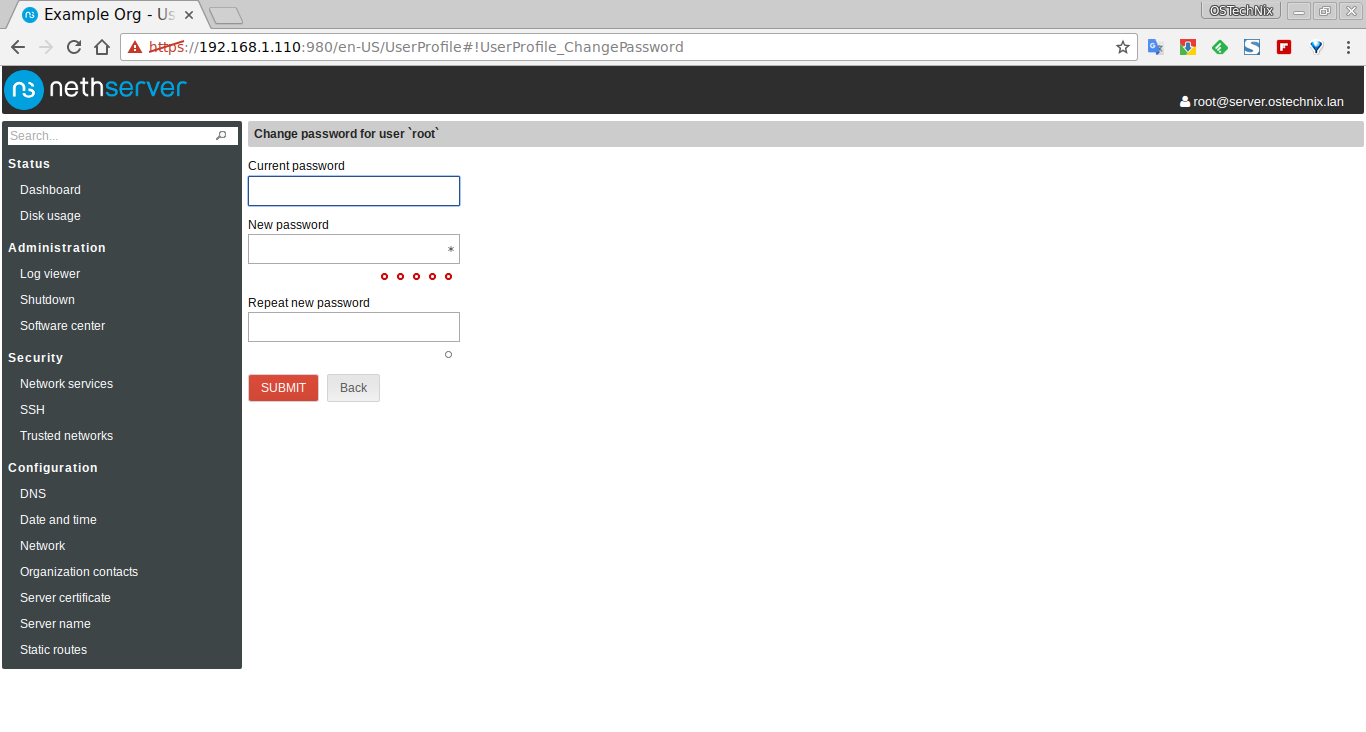
Click Submit after entering the new password. Log out and log in back with new password.
Let us go back to dashboard. The dashboard has three sections.
- System status - Displays NethServer's details
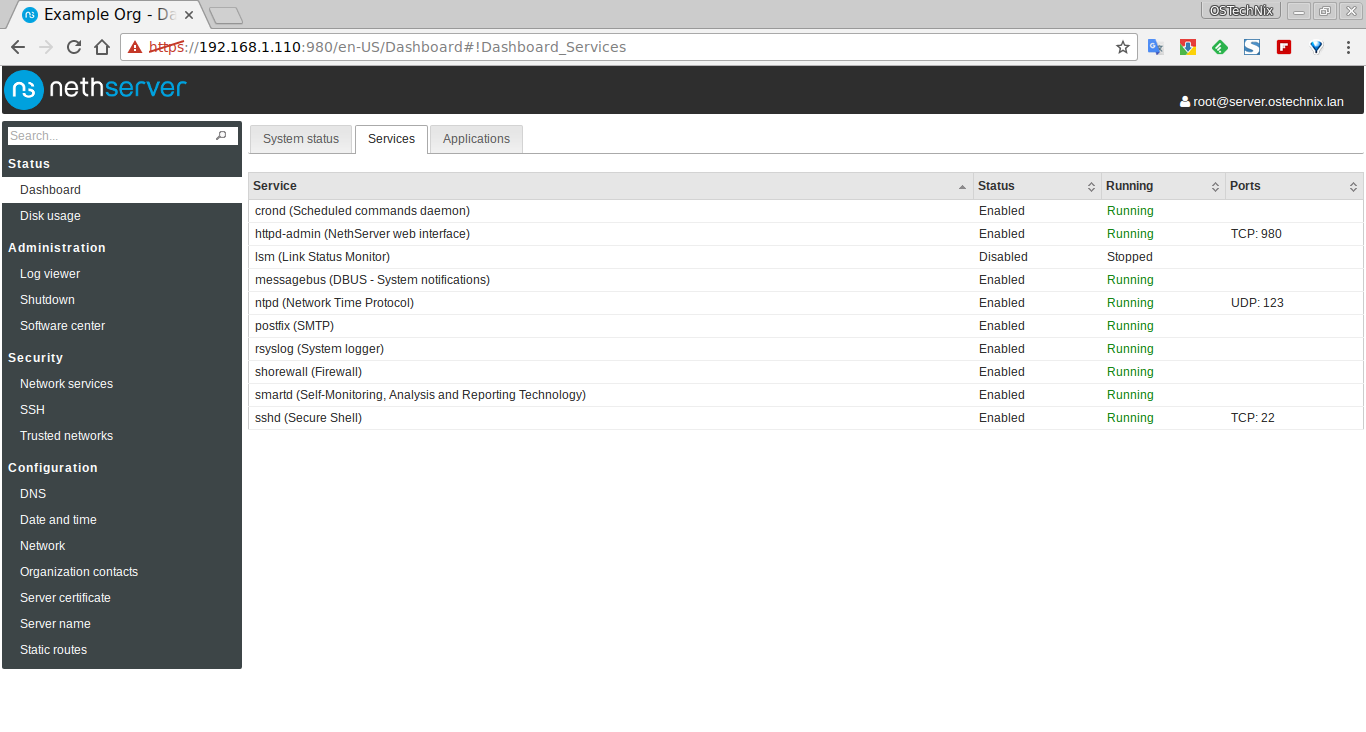
- Services - Displays the running services
- Applications - Displays the installed applications
System status section displays the NethServer's system details such as;
- NethServer's version
- Kernel details
- Memory usage details
- Date and time
- Uptime
- Disk usage
- Network card details
- Software RAID details
- Hostname, domain, gateway and DNS etc.
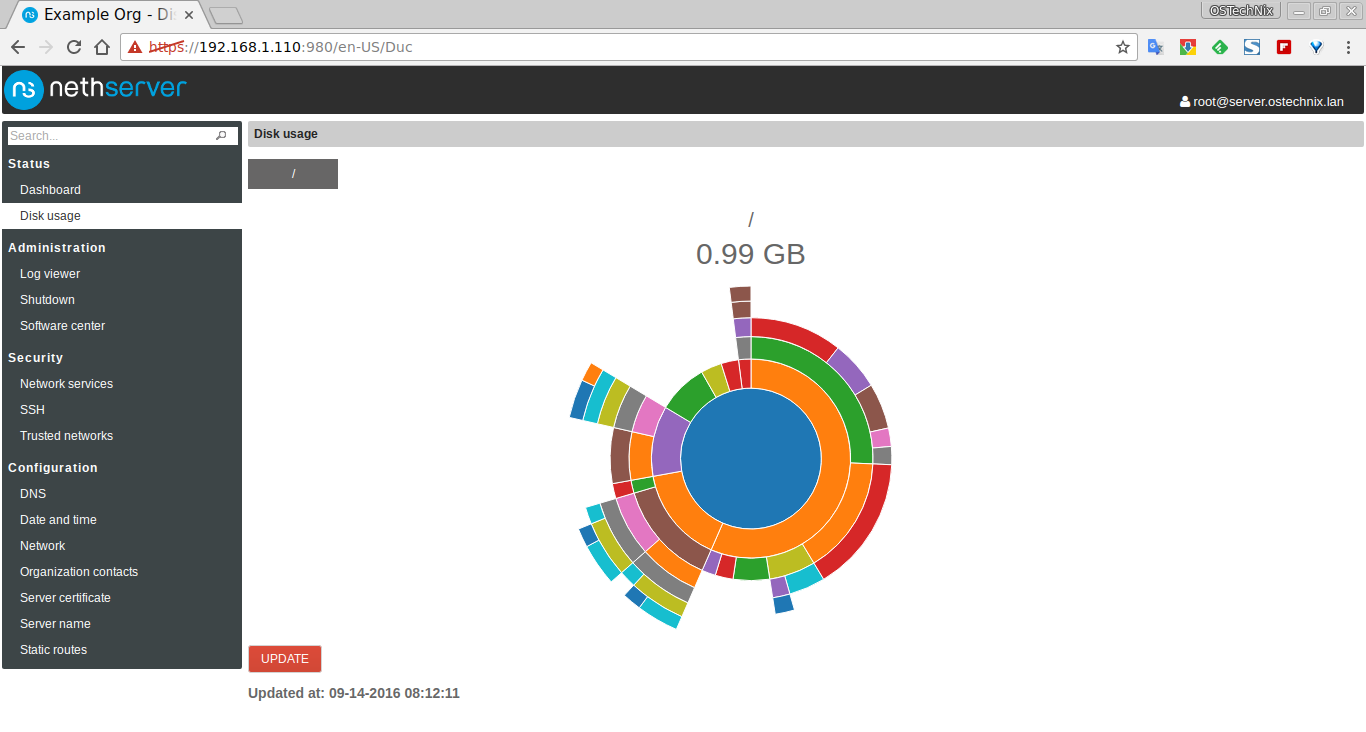
Disk usage:
This section visualizes the disk usage in different colors. Double click and Click on each color to browse the different directory trees.
Log viewer:
All logs can be found here. Click on the log file to view the log details.

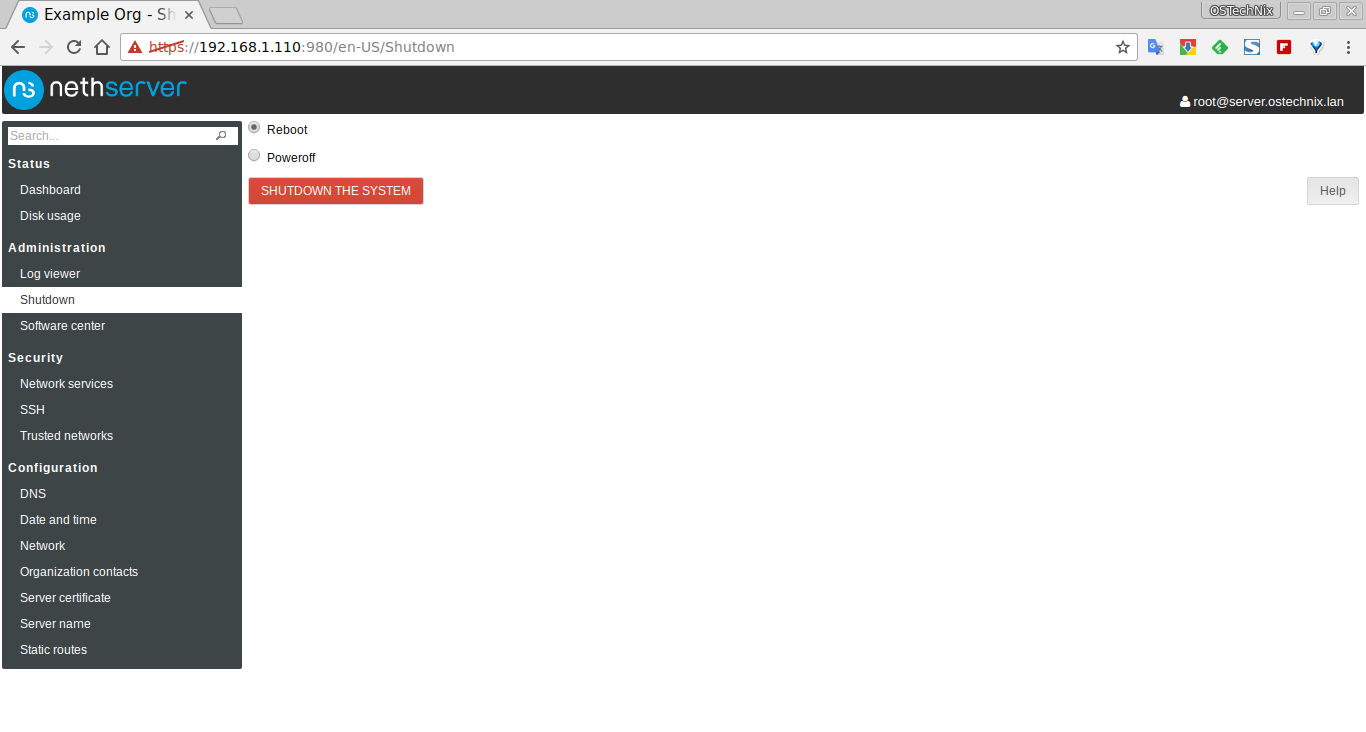
Shutdown:
In this section, you have options to power off or reboot the NethServer.
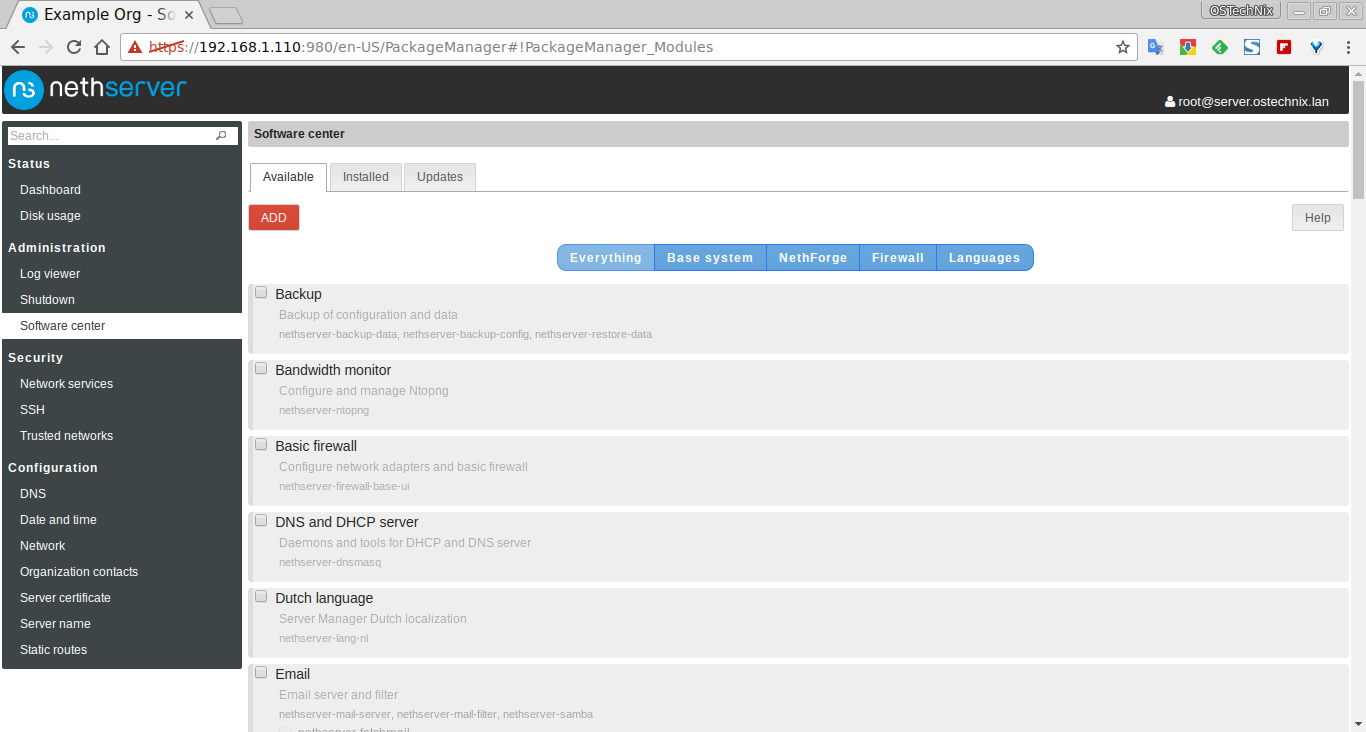
Software center:
This is the important section. In this section you can install new modules, update, and remove an installed module etc.
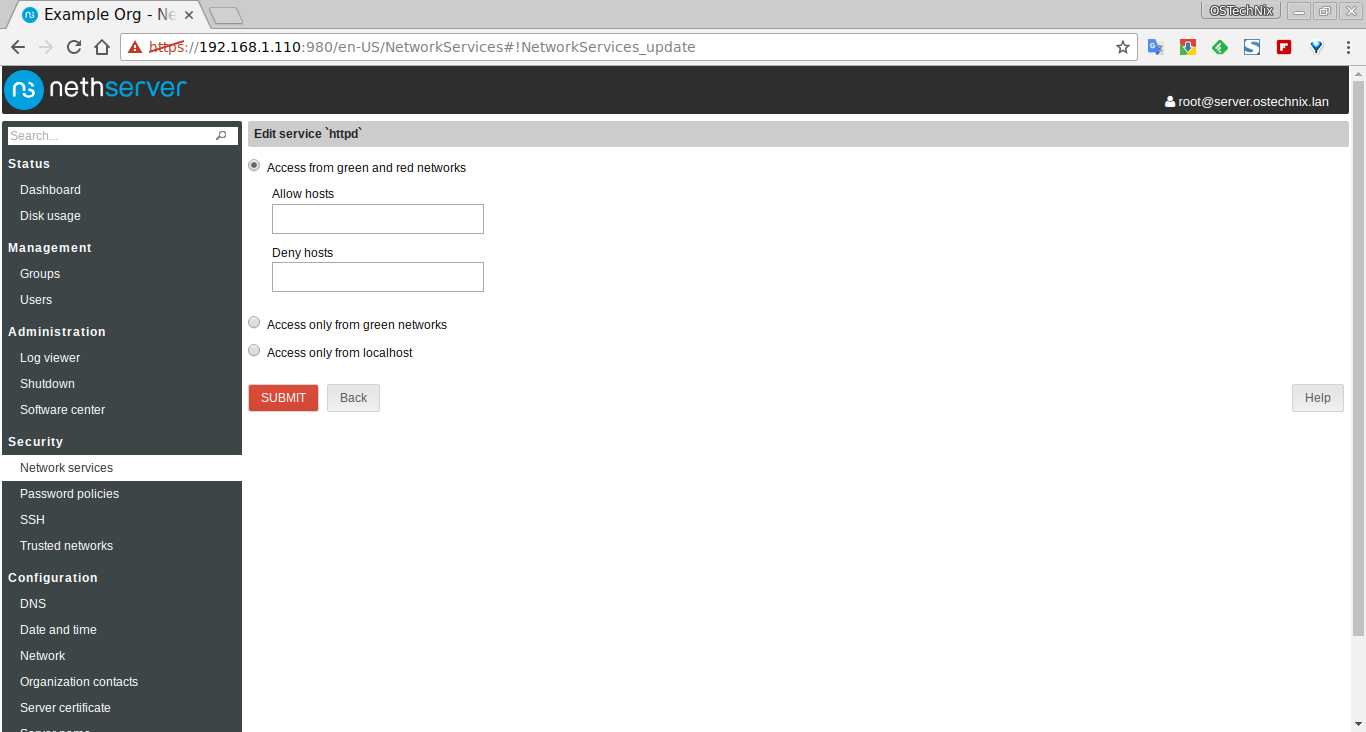
Network services
In this section, you can configure the network services for different zones. The zones are distinguished by separate color. The green color represents the local area network, blue represents the guests network, Orange represents DMZ networks, and red represents the public networks.
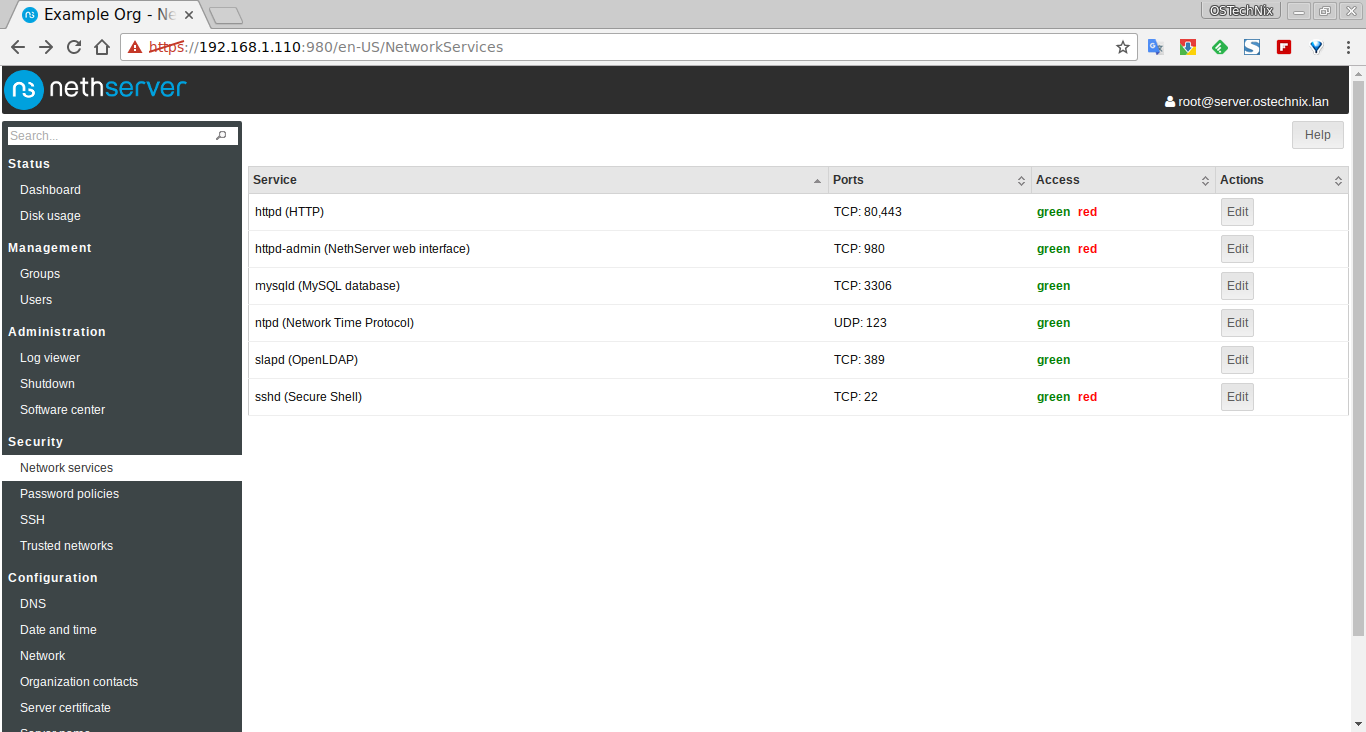
You can edit and define the service whether it should be accessed from a specified zone or not.
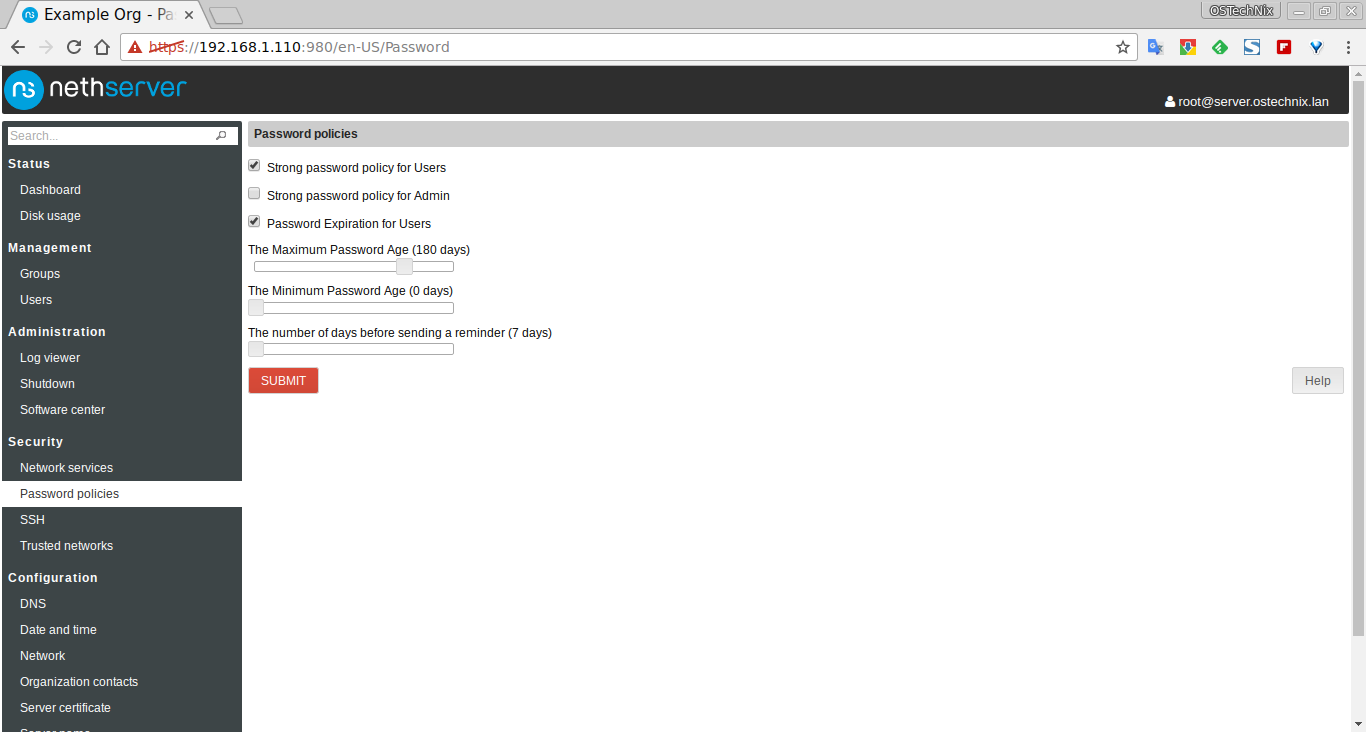
Password policies
You can define or adjust the password polices for users.
SSH
You change the default port of SSH here. I recommend you to choose a random number for SSH port which is hard to guess.
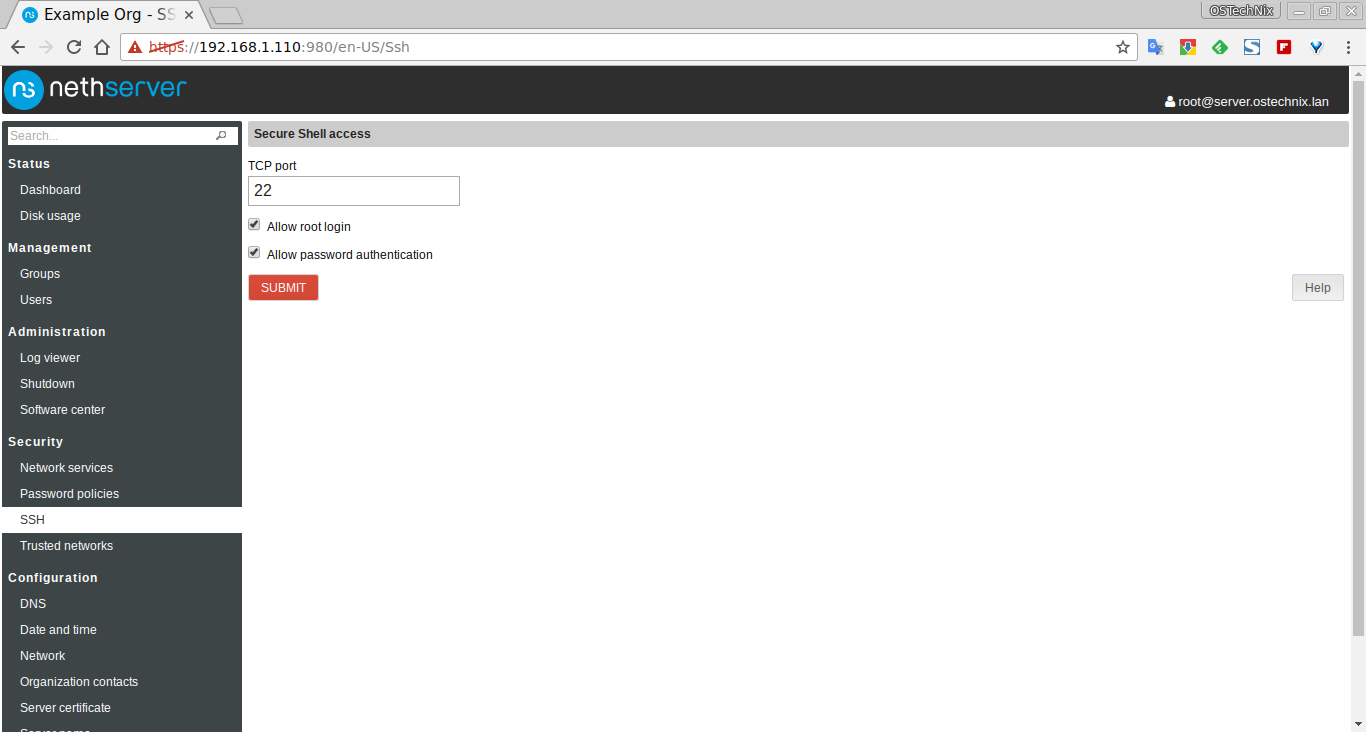
Also, you can allow or disallow SSH access for root user.
Trusted networks
This section shows the trusted networks. You can also have option to add a new trusted works.
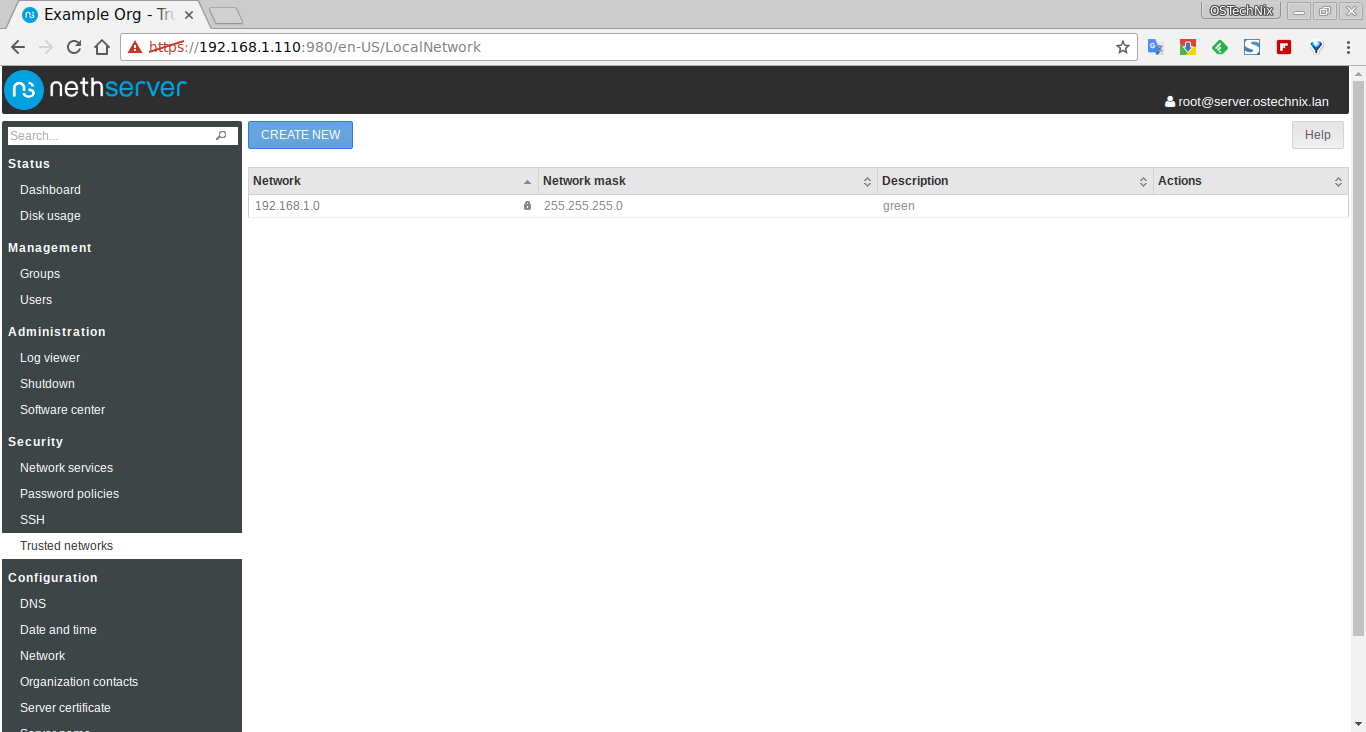
As you can see in the above screenshot, Trusted networks are in green zone. So, Hosts in the trusted networks can access the Server-manager, and Samba shared folders.
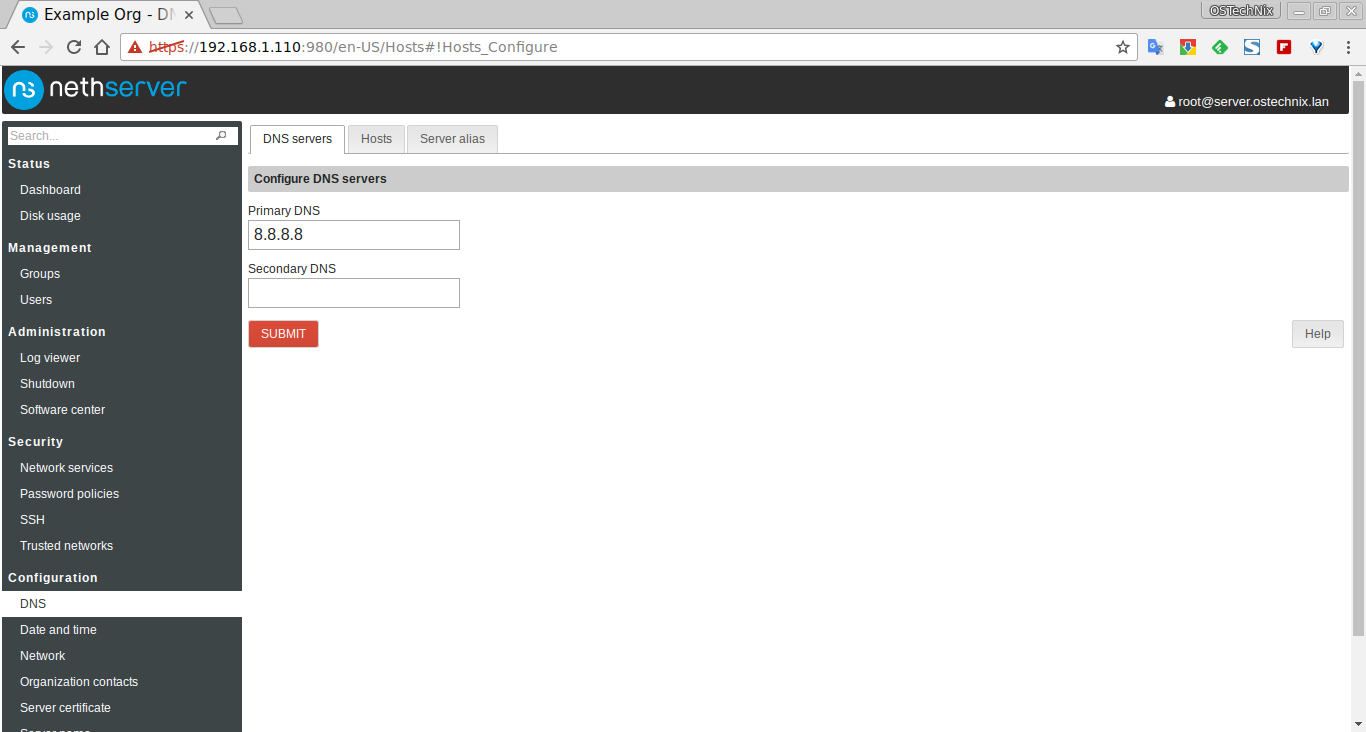
DNS
Here you can set DNS server details (Primary and secondary), host, host alias etc.
Date and time
Set the date and time for your NethServer here.

Network
Here, you can edit IP address details of a network card and assign it to different network zones.

Also, you can create a IP alias for your network card.
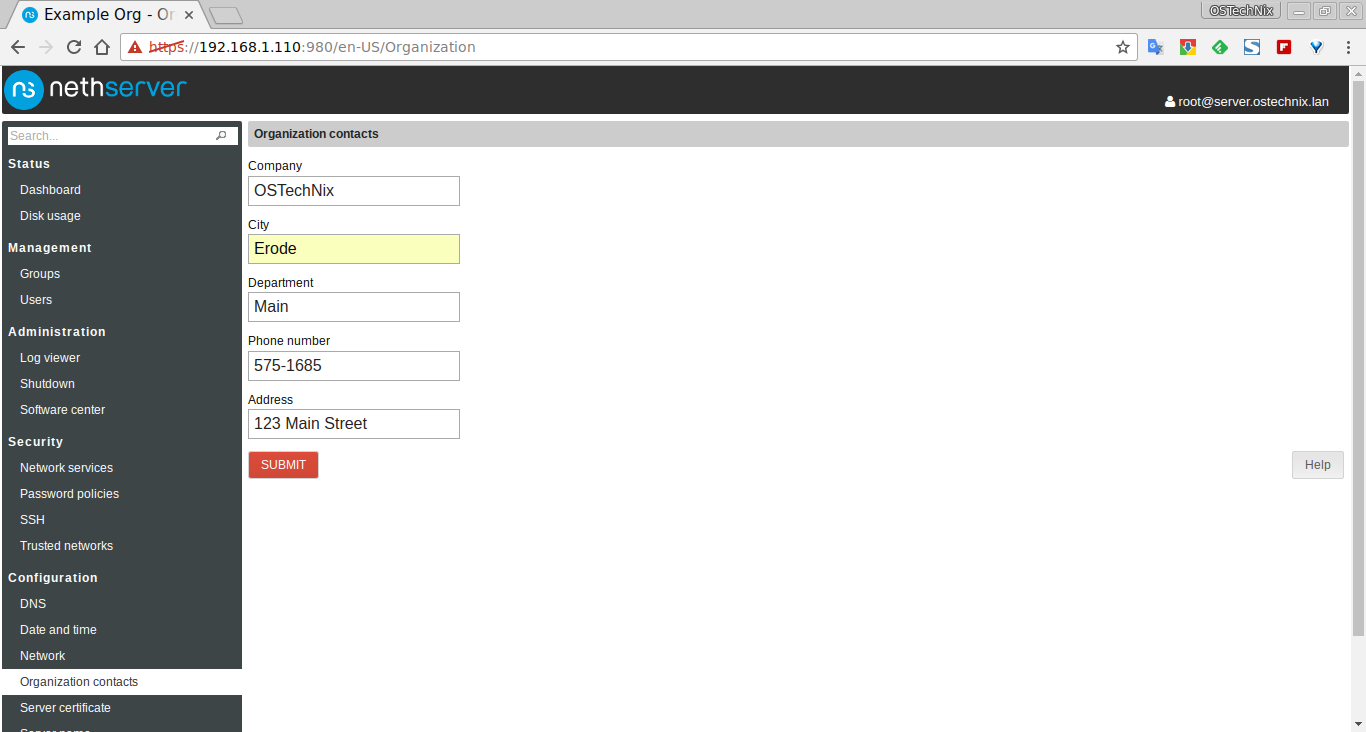
Organization contacts
You can update your contact details such s you company name, address, phone no etc.
Server name
Here set your NethServer's hostname and domain details.

Hope you got a basic idea about NethServer's Server-manager. Now, let us see how to install a module which is the main topic of this guide.
Installing modules from Server-manager
The beauty of NethServer is its simplicity. Installing, configuring, administrating NethServer and modules from Server-manager is pretty easy and straight forward.
Select any modules you want to install and click ADD button on the bottom to install it. For example, let us install WebTop groupware solution.
To do so, go to Soft center on the left side bar. Check the WebTop groupware checkbox and click ADD to install it.

NethServer will start to download, install and configure WebTop. Just sit back and relax.

After installing it, you can access WebTop groupware web interface with URL: https://<IP_Address>/webtop
The default username and password for WebTop's interface is admin/admin. You can change the password from the web interface.
You can find username and password for each module in the respective section in the NethServer's Administrator manual. It would be much better if the developers have included a way to display the Login credentials in a pop-up window or something else after installing each modules. We have to refer the administrator manual for each installed module. I recommend the developers to sort out this for better convenience for the users.
You can find all installed modules under Installed tab in Software center section.

That's all folks. I will be here with an another article soon. Until, then stay tuned with OSTechNix.
If you find this guide useful, please share it on your social networks.
Cheers!
Thanks for stopping by!
How can I benefit from this blog:
- Subscribe to our Email Newsletter : Sign Up Now
- Download free E-Books and Videos : OSTechNix on TradePub
- Connect with us: Facebook | Twitter | Google Plus | LinkedIn | RSS feeds
Have a Good day!!
2 comments
Hi, thanks for this article. But please let me know the important concept i.e, firewall policies, content filtering, blocking of users in the network, and setting up download limits not bandwidth limits. why I am asking these concepts because I was working in a small enterprise and I am using the Ubiquity edge router and it’s was very difficult for me to set up the above concepts. I set up the edge router by reading some articles on the internet and some videos on youtube but it didn’t work at all. So, I am planning to swift to setting up to Nethserver. I am thinking I can get much content on the internet for this open-source O.S but all articles are giving only basic set up and overview. Hoping your website give some positive response.
Hi, please check the Nethserver administrator manual. Everything is well documented. https://docs.nethserver.org/en/v7/index.html