Nextcloud is a free, open source, cross-platform file synchronization and sharing application. It is forked from popular cloud sync tool Owncloud. It allows you to securely sync and share files, folders, contacts, calendar appointments, bookmarks, and emails across multiple devices. It comes with easy to use web-based interface, so that you can access your files using a web browser, from anywhere, from any device, online or offline(Local area network). You can use it either in your home, office, and as well as large enterprises. It simply turns your system into a robust, and secure Cloud platform in minutes. Just store your files in your server, and start accessing them immediately from any devices using Nextcloud / ownCloud Desktop Sync Client, Android app, or iOS app. Nextcloud is available as free and enterprise version, which contains additional features like direct email, phone support from Nextcloud team, audio and video conferencing support, clustering support, migration from Owncloud support, and many. For more details, refer Nextcloud enterprise subscription link.
In this step by step tutorial, we will see how to install Nextcloud and how to use it in real time in Ubuntu 16.04 LTS server edition. Also, we will see how to access Nextcloud from a mobile device.
Table of Contents
Install Nextcloud in Ubuntu 16.04 LTS
First things first
First of all, make sure your Ubuntu server is updated to the most recent version.
To do so, run:
sudo apt-get update
sudo apt-get upgrade
sudo apt-get dist-upgrade
Then, deploy LAMP stack in your Ubuntu server as described in the following link.
Next, make sure you have installed the following php modules and some additional prerequisites:
sudo apt-get install php-gd php-json php-mysql php-curl php-intl php-mcrypt php-imagick php-zip php-dom php7.0-xml php-mbstring wget unzip
Then, We need to tweak some php settings in order to make Nextcloud work properly.
To do so, edit php.ini file:
sudo nano /etc/php/7.0/apache2/php.ini
Find and edit or modify the following values.
[...]

memory_limit = 512M

date.timezone = Asia/Kolkata

upload_max_filesize = 200M

post_max_size = 200M

[...]
Save and close the file. Restart Apache service to take effect the changes.
sudo systemctl restart apache2
Create database for Nextcloud
Next we need to configure a database and database user for Nextcloud. For the purpose of this tutorial, we will create a new database called "ncdb", database user "ncuser" with password "ubuntu". I recommend you to use any strong password which is not easy to guess by others.
Log in to mysql prompt using command:
mysql -u root -p
Enter the following commands one by one to create the database, database user:
CREATE DATABASE ncdb;
GRANT ALL PRIVILEGES ON ncdb.* TO 'ncuser'@'localhost' IDENTIFIED BY 'ubuntu';
FLUSH PRIVILEGES;
\q
Download Nextcloud
Head over to the following link and download the latest available Nextcloud version.
Or, Simply use the following command to download it.
wget https://download.nextcloud.com/server/releases/nextcloud-10.0.0.zip
As of writing this guide, the latest version was 10.0.0.
Then, Extract the downloaded zip with command:
unzip nextcloud-10.0.0.zip
Move the extracted folder to your web root directory i.e /var/www/html/ in our case.
sudo cp -r nextcloud/ /var/www/html/
Set the proper ownership permission to the nextcloud directory:
sudo chown -R www-data:www-data /var/www/html/nextcloud/
Next, create a /etc/apache2/sites-available/nextcloud.conf file:
sudo nano /etc/apache2/sites-available/nextcloud.conf
Add the following lines. Replace the path (/var/www/html/nextcloud/) with your own path values.
Alias /nextcloud "/var/www/html/nextcloud/"

<Directory /var/www/html/nextcloud/>
  Options +FollowSymlinks
  AllowOverride All

 <IfModule mod_dav.c>
  Dav off
 </IfModule>

 SetEnv HOME /var/www/html/nextcloud
 SetEnv HTTP_HOME /var/www/html/nextcloud

</Directory>
Save and close the file.
Then create a symlink to /etc/apache2/sites-enabled/ directory using the following command:
sudo ln -s /etc/apache2/sites-available/nextcloud.conf /etc/apache2/sites-enabled/nextcloud.conf
For Nextcloud to work correctly, we need to enable the following Apache modules.
sudo a2enmod rewrite
sudo a2enmod headers
sudo a2enmod env
sudo a2enmod dir
sudo a2enmod mime
Finally, restart Apache service to take effect the changes:
sudo systemctl restart apache2
Start Nextcloud web installer
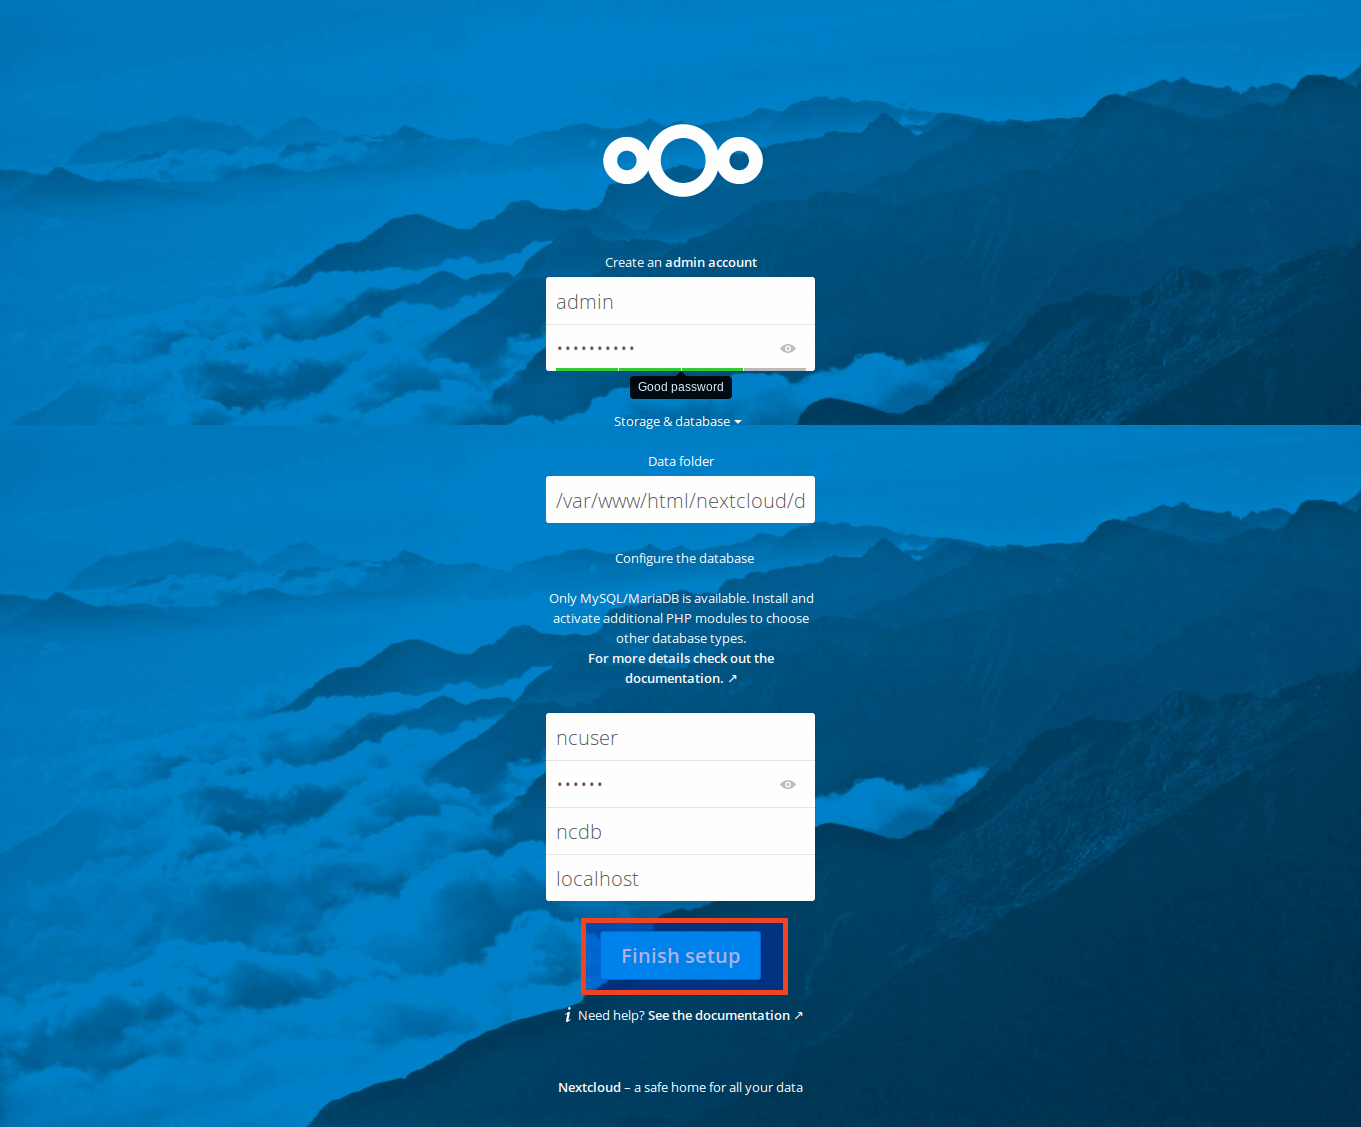
Open up your web browser and navigate to URL: http://IP_Address/nextcloud or http://domain_name/ nextcloud.
You should see the following screen. Create a new admin account, enter database user name, password, and database name. Finally, click Finish setup button.
Congratulations! Nextcloud is ready to use.
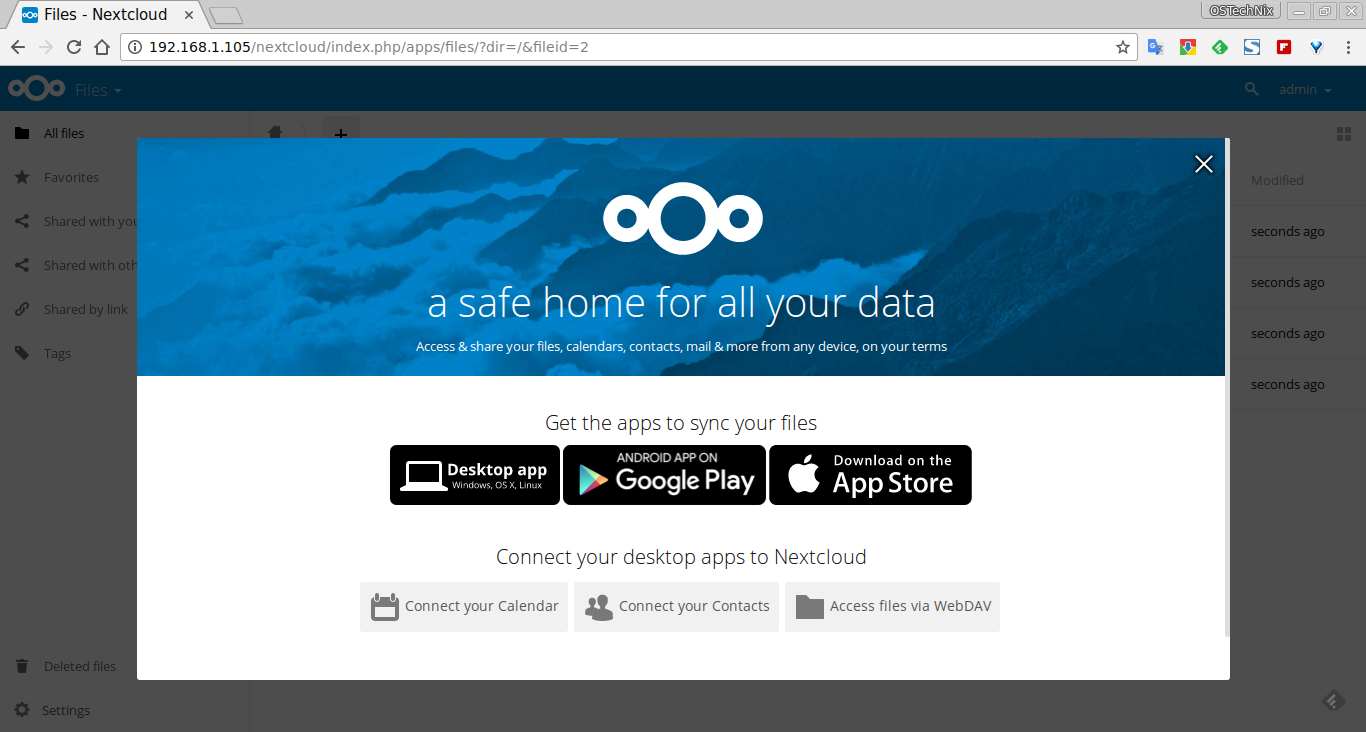
This is how Nextcloud admin user dashboard looks like.
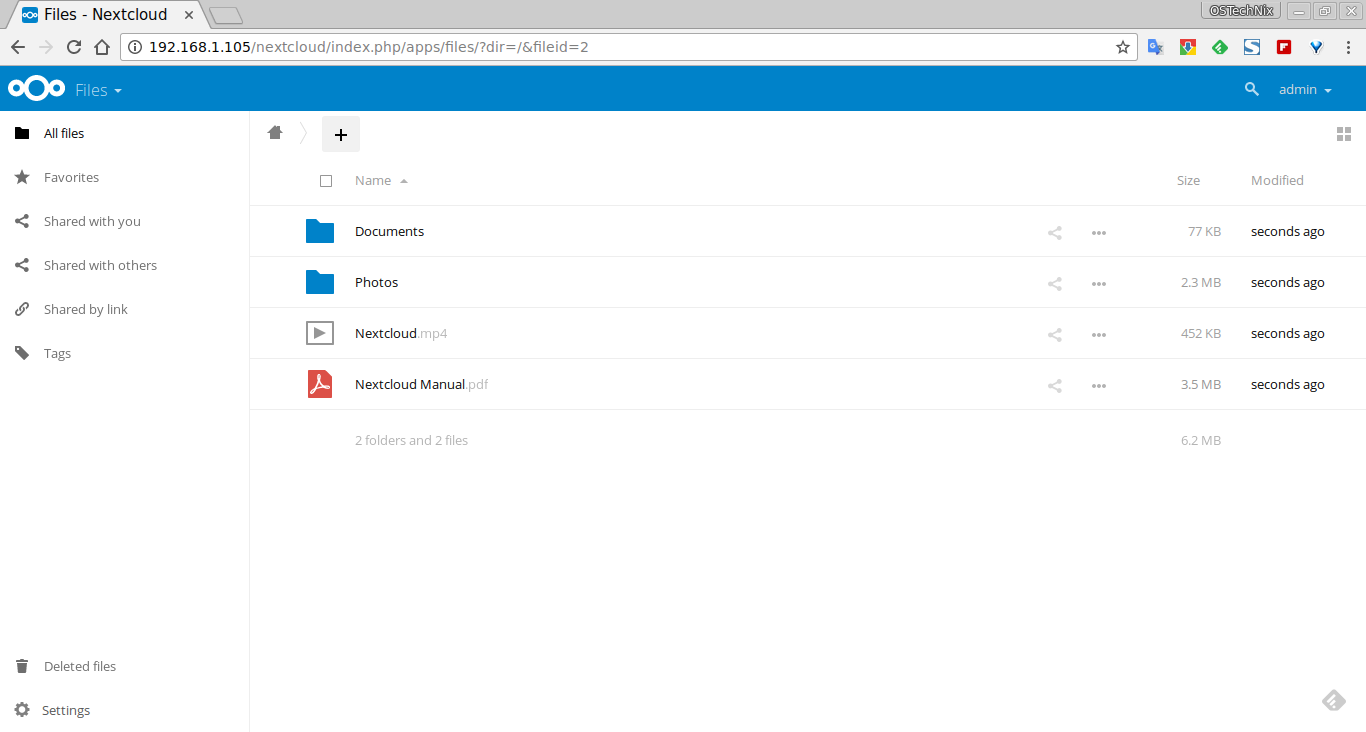
From here, you can upload files and folders and start sharing them with others.
Uploading files
To upload a file, click the (+) sign on the top, and select Upload.

Choose the files you want to upload. The selected files will be uploaded to your Nextcloud server.
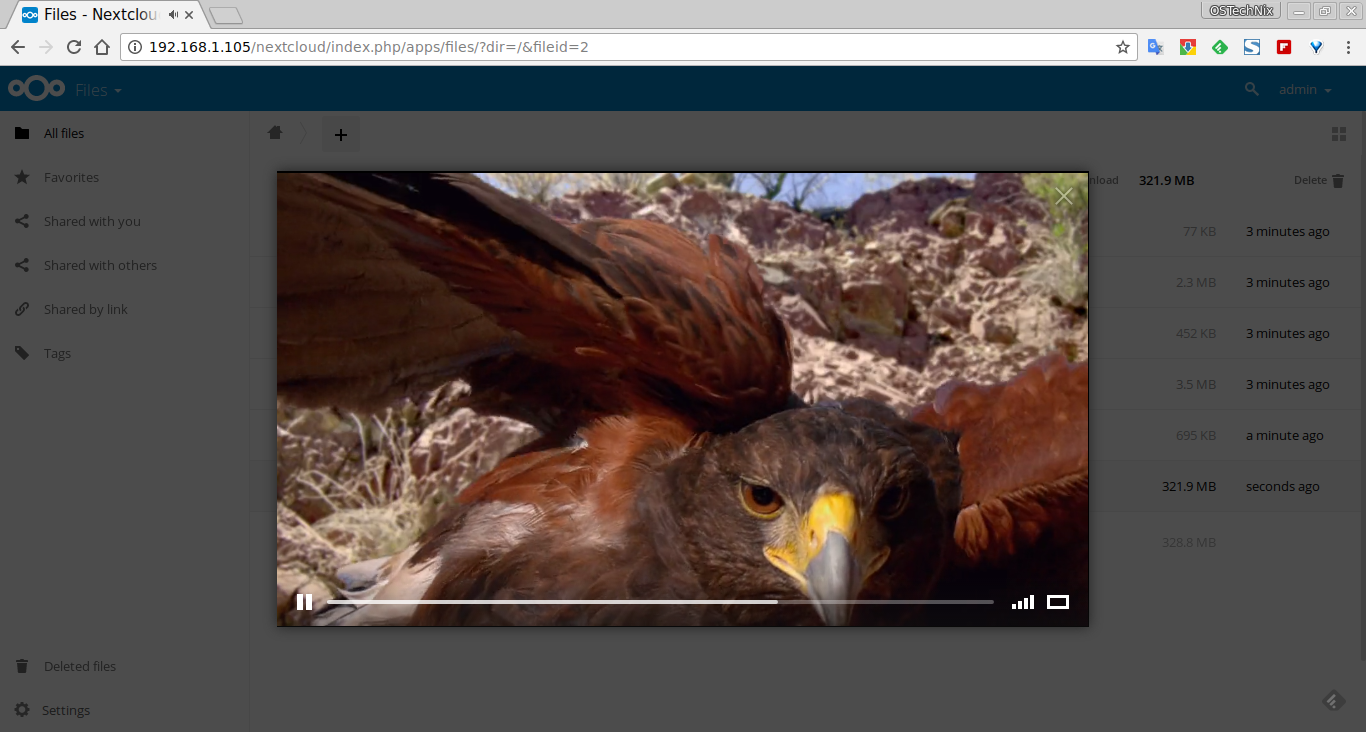
Click on the uploaded item to view it from the dashboard itself.
As you see in the below screenshot, I am playing a video file.
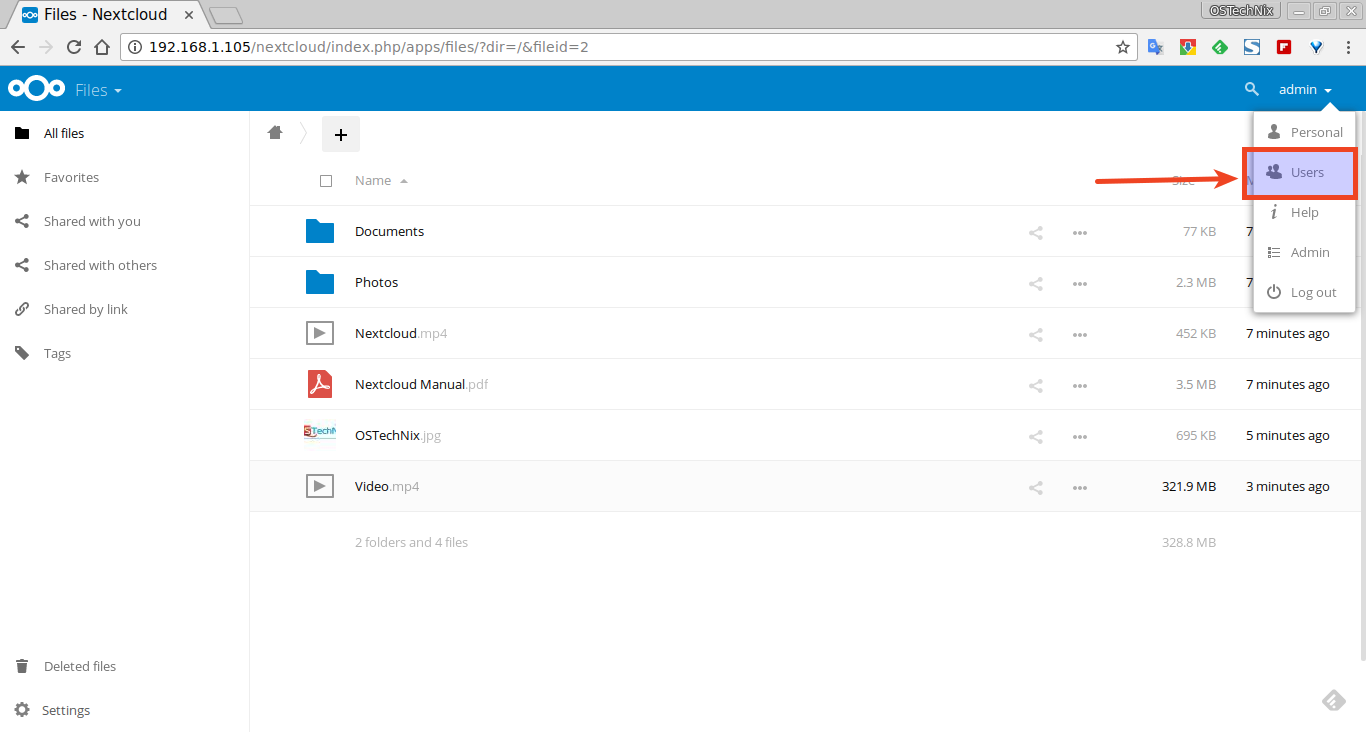
Creating users
To create a new user click admin drop-down link on the top right corner. And select Users.
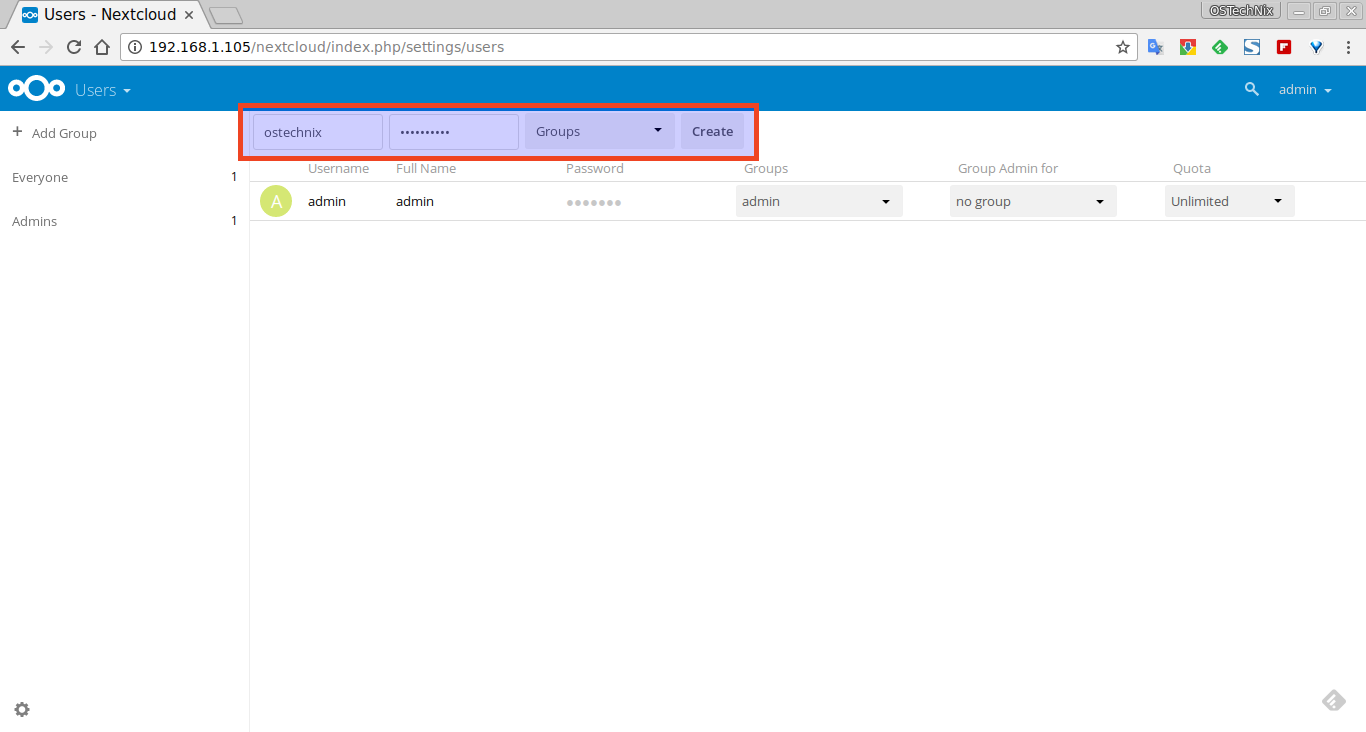
Enter the username and password for the new user:
Sharing files
To share any item, click on the share icon, select the users or groups you want to share with, and tick the Share link check box.
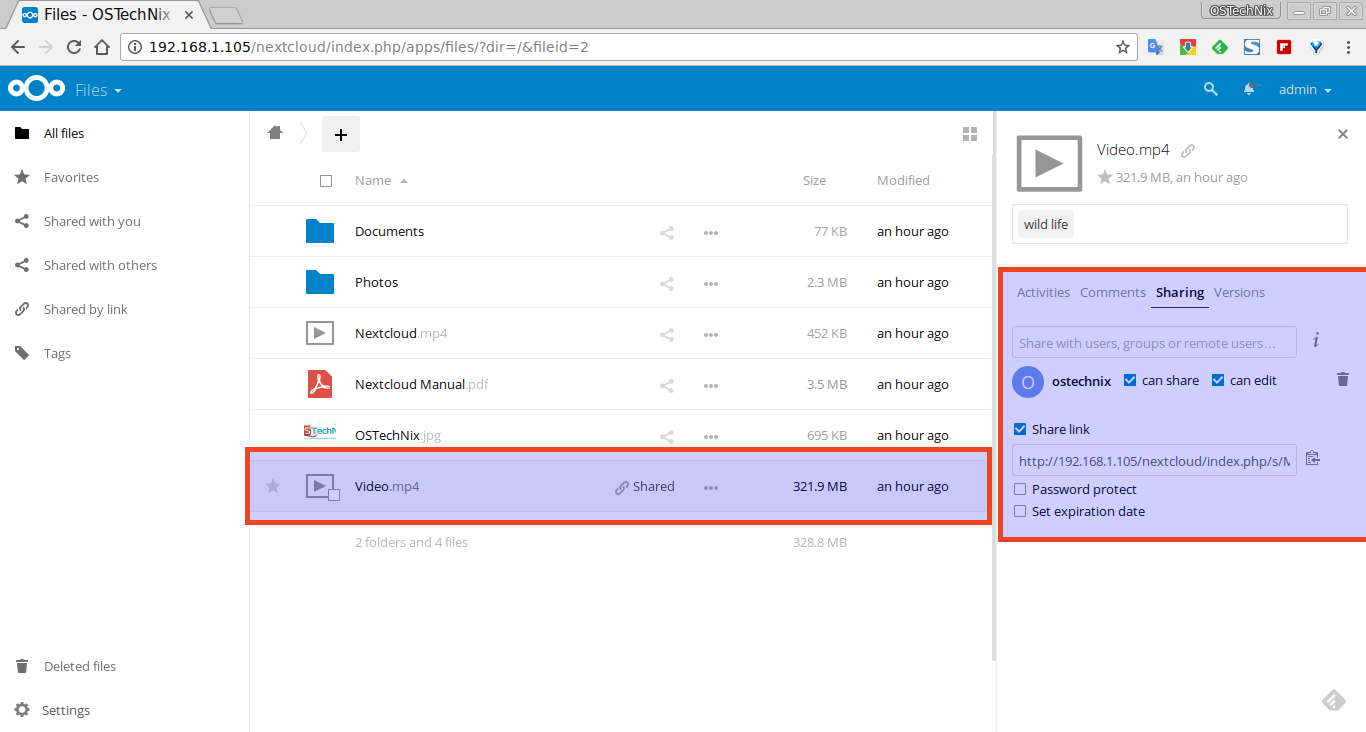
You can also set password protection and expiry date to the shared item.
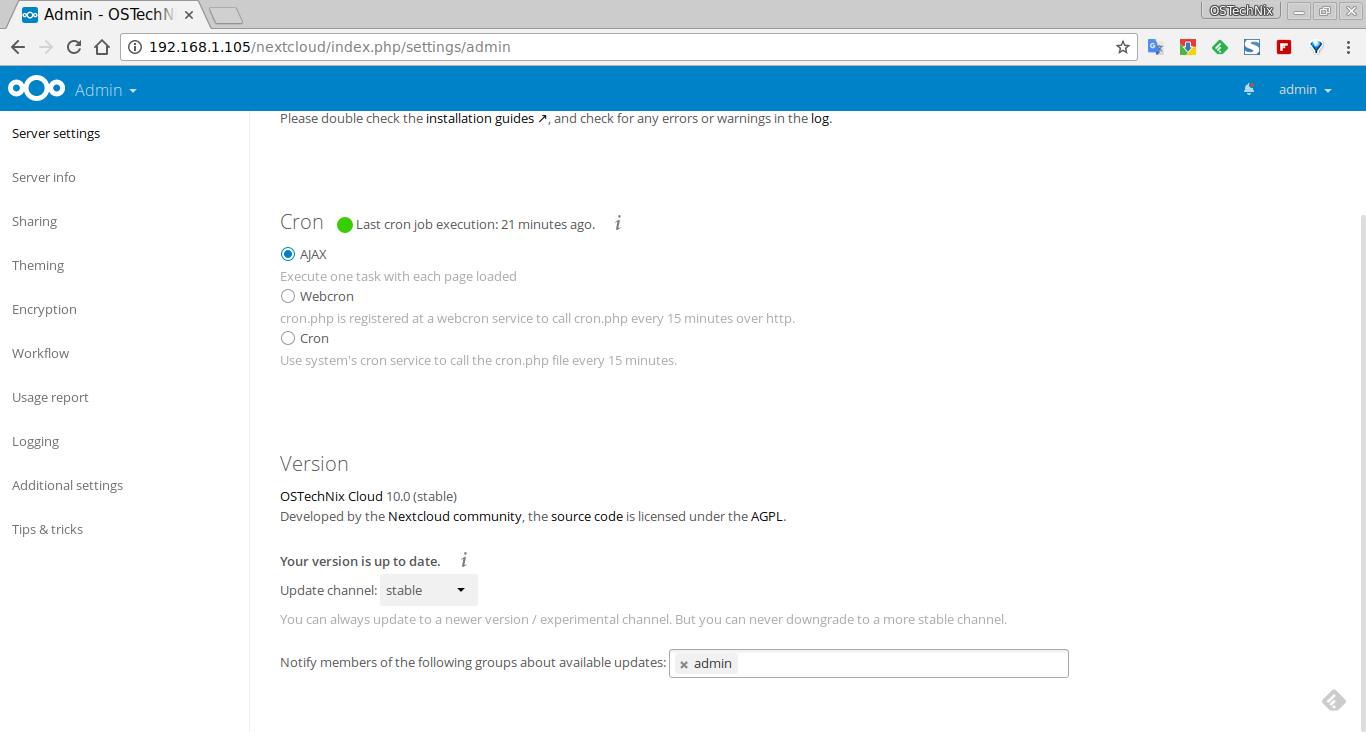
To access other administrative sections, go to admin -> Admin from the top right corner.
Access Nextcloud from Smartphones/Tablets
Nextcloud is available for Android, iOS, and Windows platforms. You can download and install the respective apps on your smartphones, tablets, and access your files from anywhere.
In Android devices, Go to the Google play store. Search and install Nextcloud app.
Once installed, launch it. You will see a screen like below. Enter the Nextcloud URL (Ex. http://IP_Address/nextcloud), login username and password.
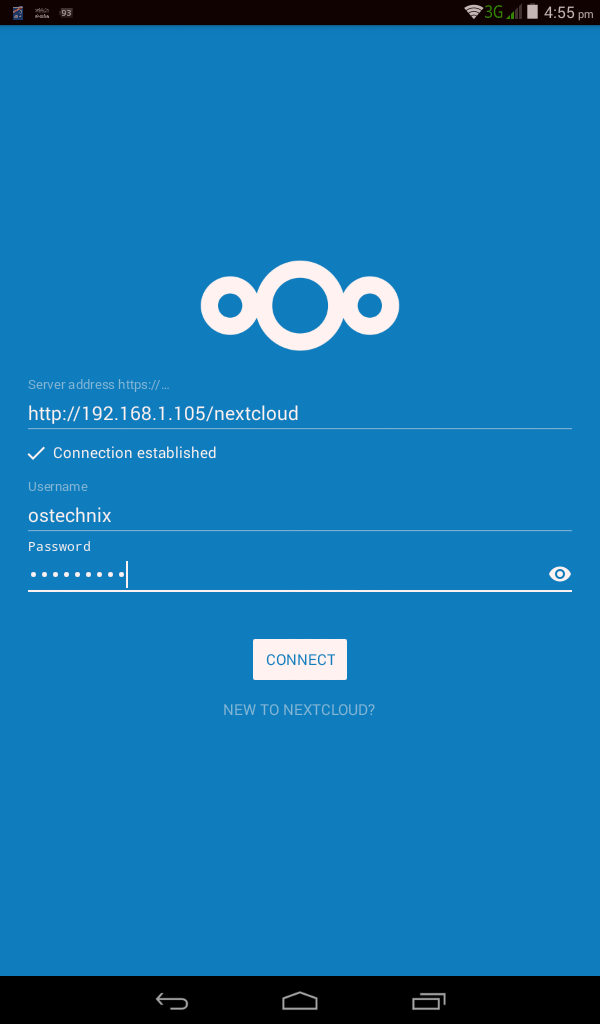
Here, 192.168.1.105 is my Nextcloud server's IP address.
Now, you can able to access the Nextcloud dashboard, and start accessing the shared files.

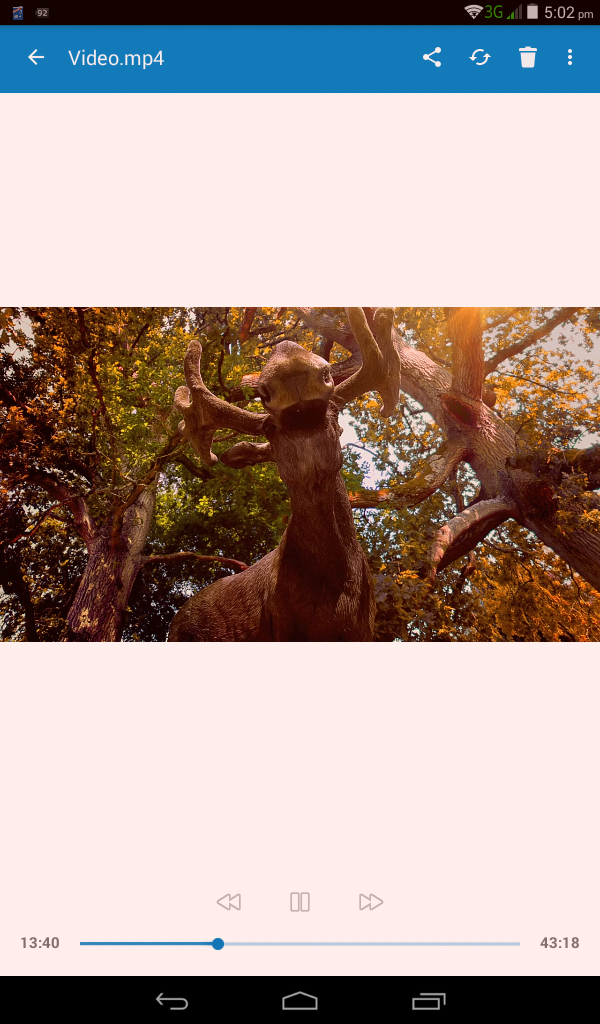
To view any file, just click on it. The file will start to download in your device. If you want to access it offline later, you can check the box "Set as available offline".

Once the file downloaded, it will automatically open.
You can also upload your own files and share it to your colleagues, family and friends.
For more details, I recommend you to refer the Nextcloud administration manual.
That's all for now folks. If you find this guide useful, please share it on your social networks and support OSTechNix.
Cheers!
Reference link:
Thanks for stopping by!
How can I benefit from this blog:
- Subscribe to our Email Newsletter : Sign Up Now
- Download free E-Books and Videos : OSTechNix on TradePub
- Connect with us: Facebook | Twitter | Google Plus | LinkedIn | RSS feeds
Have a Good day!!
1 comment
hi, thank you very much to spend so much efforts to share your knowledge. I’m a private beginner (to Linux, Apache, MySQL, Nextcloud) and I succeeded to follow your process after I failed to install Nextcloud as a snap package.
I started to learn because there are news that Apple will change the functionality of the Apple Server and skip functions like contacts, calendar etc.. I am not in favour to synch my contacts with publich cloud services.
Please allow some thoughts:
1. before to edit php.ini save a copy of the original (not my idea, found somewhere else during my researches)
2. delete nextcloud..zip and the unzipped folder from your download space after having copied to /var/www/html/
3. show also output of the mysql operations. The comment “no query” was confusing for me
4. for now, I just miss how I can implement a https call to my local Nextcloud, all browsers do not like http calls anymore, even I use Nextcloud within my LAN only.
5. if I would decide later to make Nextcloud also accessible from the Internet, how to make it possible (dynamic IP, firewalls of my cascaded routers and of Ubuntu Server rules etc.)?
Thank you very much again
Sincerely, Claus