GameHub is an unified gaming library that allows you to view, install, run and remove games on GNU/Linux operating system. It supports both native and non-native games from various sources including Steam, GOG, Humble Bundle, and Humble Trove etc. The non-native games are supported by Wine, Proton, DOSBox, ScummVM and RetroArch. It also allows you to add custom emulators and download bonus content and DLCs for GOG games. Simply put, Gamehub is a frontend for Steam/GoG/Humblebundle/Retroarch. It can use steam technologies like Proton to run windows gog games. GameHub is free, open source gaming platform written in Vala using GTK+3. If you're looking for a way to manage all games under one roof, GameHub might be a good choice.
Table of Contents
Install GameHub gaming platform on Linux
The author of GameHub has designed it specifically for elementary OS. So, you can install it on Debian, Ubuntu, elementary OS and other Ubuntu-derivatives using GameHub PPA.
$ sudo apt install --no-install-recommends software-properties-common
$ sudo add-apt-repository ppa:tkashkin/gamehub
$ sudo apt update
$ sudo apt install com.github.tkashkin.gamehub
GameHub is available in AUR, so just install it on Arch Linux and its variants using any AUR helpers, for example YaY.
$ yay -S gamehub-git
It is also available as AppImage and Flatpak packages in releases page.
If you prefer AppImage package, do the following:
$ wget https://github.com/tkashkin/GameHub/releases/download/0.12.1-91-dev/GameHub-bionic-0.12.1-91-dev-cd55bb5-x86_64.AppImage -O gamehub
Make it executable:
$ chmod +x gamehub
And, run GameHub using command:
$ ./gamehub
If you want to use Flatpak installer, run the following commands one by one.
$ git clone https://github.com/tkashkin/GameHub.git
$ cd GameHub
$ scripts/build.sh build_flatpak
Put All Games Under One Roof
Launch GameHub from menu or application launcher. At first launch, you will see the following welcome screen.
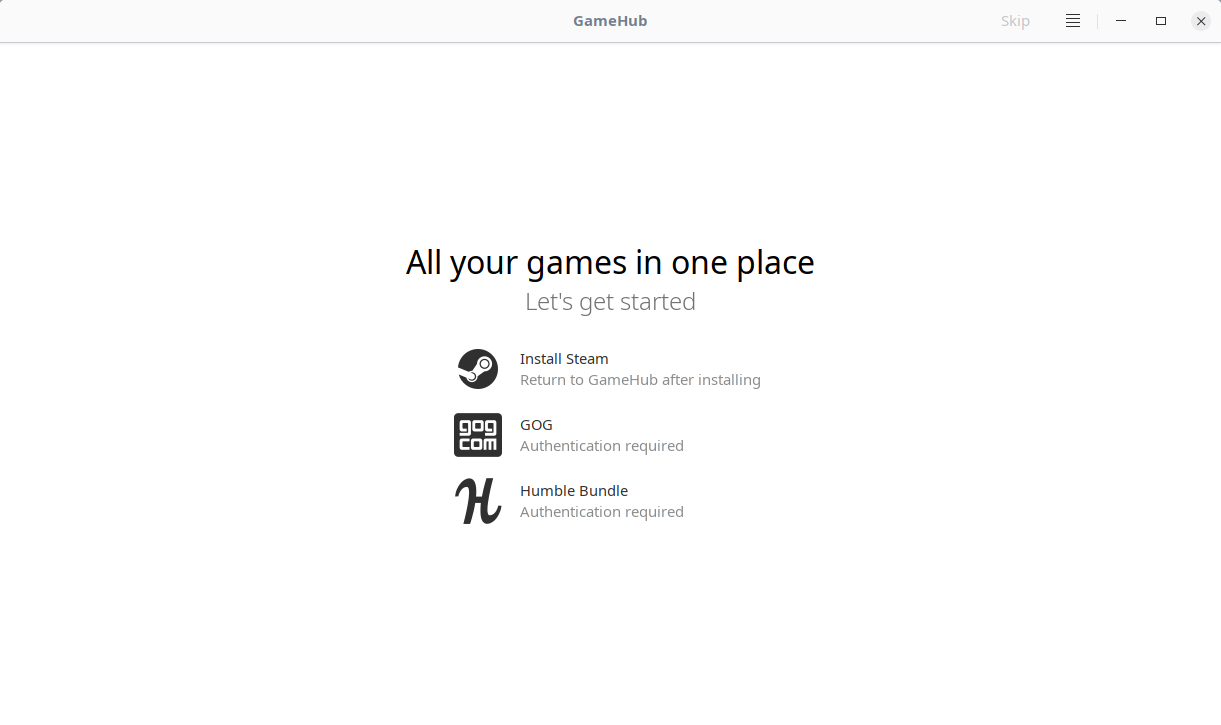
As you can see in the above screenshot, you need to login to the given sources namely Steam, GoG or Humble Bundle. If you don't have Steam client on your Linux system, you need to install it first to access your steam account. For GoG and Humble bundle sources, click on the icon to log in to the respective source.
Once you logged in to your account(s), all games from the all sources can be visible on GameHub dashboard.
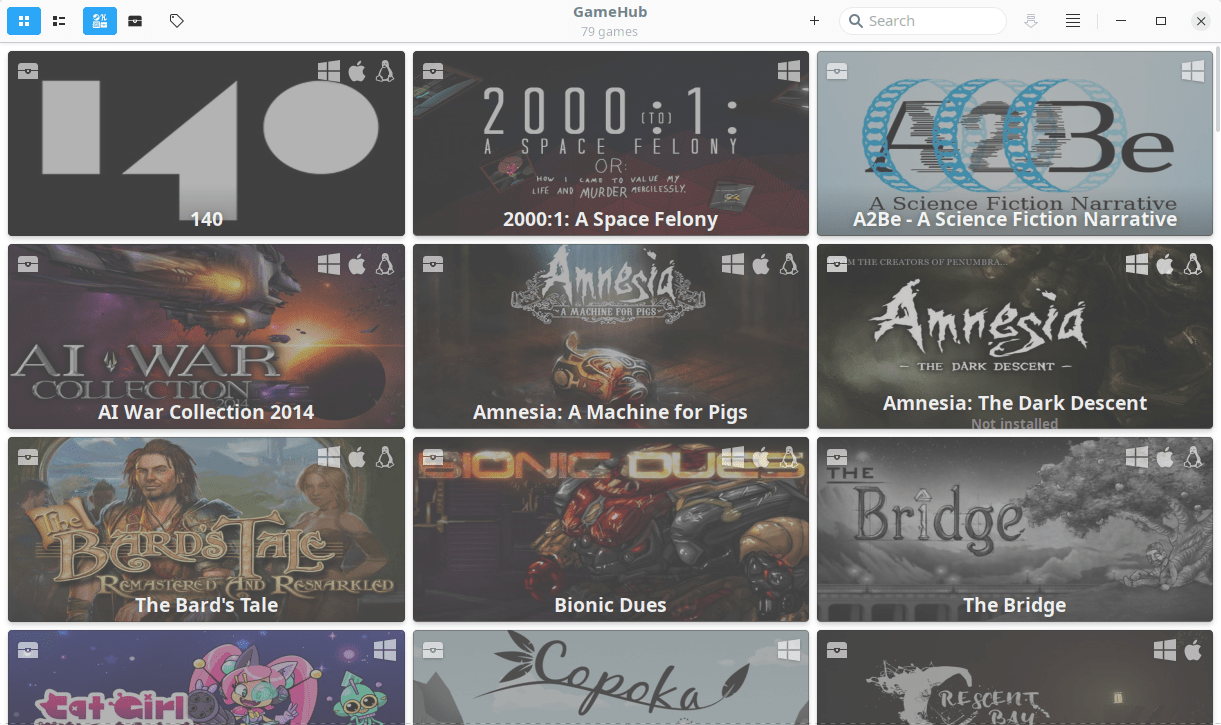
You will see list of logged-in sources on the top left corner. To view the games from each source, just click on the respective icon.
You can also switch between list view or grid view, sort the games by applying the filters and search games from the list in GameHub dashboard.
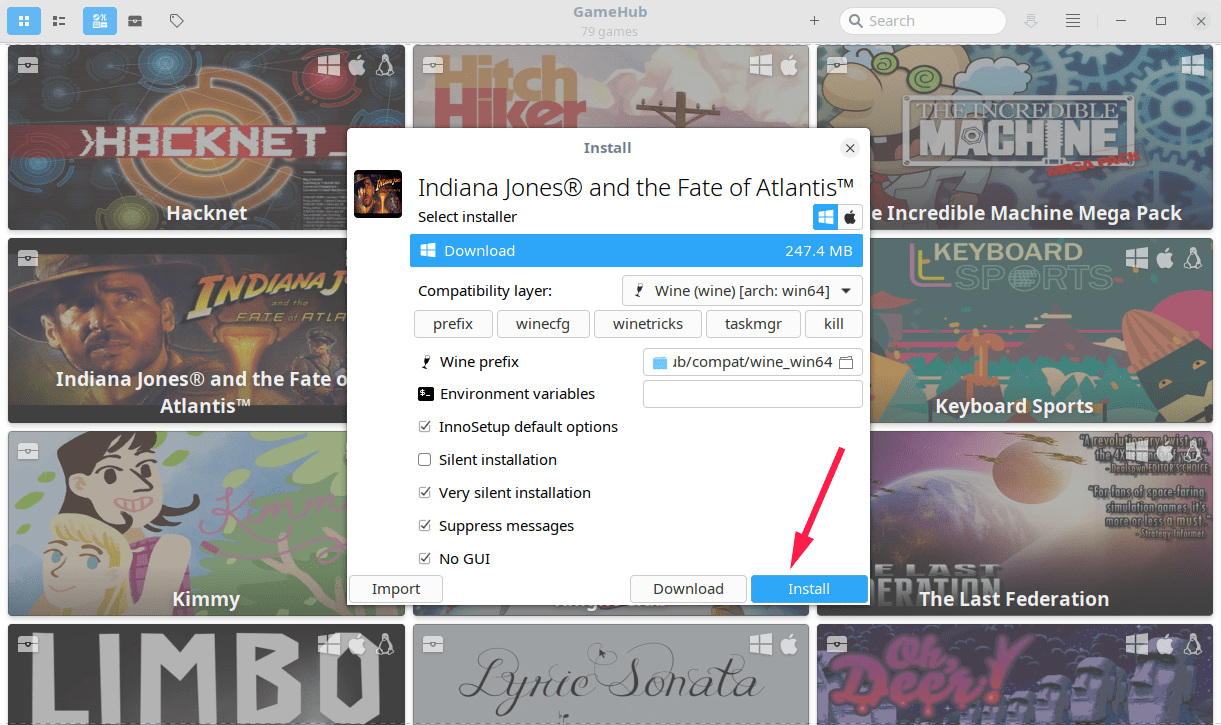
Installing a game
Click on the game of your choice from the list and click Install button. If the game is non-native, GameHub will automatically choose the compatibility layer (E.g Wine) that suits to run the game and install the selected game. As you see in the below screenshot, Indiana Jones game is not available for Linux platform.
If it is a native game (i.e supports Linux), simply press the Install button.
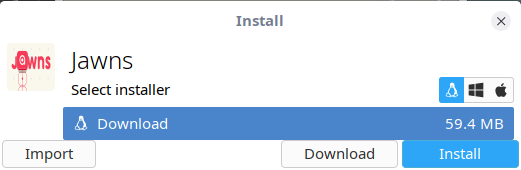
If you don't want to install the game, just hit the Download button to save it in your games directory. It is also possible to add locally installed games to GameHub using the Import option.
GameHub Settings
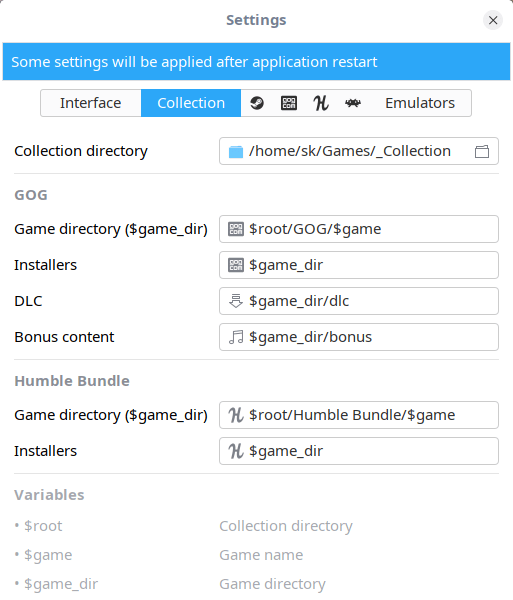
GameHub Settings window can be launched by clicking on the four straight lines on top right corner.
From Settings section, we can enable, disable and set various settings such as,
- Switch between light/dark themes.
- Use Symbolic icons instead of colored icons for games.
- Switch to compact list.
- Enable/disable merging games from different sources.
- Enable/disable compatibility layers.
- Set games collection directory. The default directory for storing the collection is $HOME/Games/_Collection.
- Set games directories for each source.
- Add/remove emulators,
- And many.
For more details, refer the project links given at the end of this guide.
Related read:
Resources:
Thanks for stopping by!
Help us to help you:
- Subscribe to our Email Newsletter : Sign Up Now
- Support OSTechNix : Donate Via PayPal
- Download free E-Books and Videos : OSTechNix on TradePub
- Connect with us: Reddit | Facebook | Twitter | LinkedIn | RSS feeds
Have a Good day!!