
Choosing a self-hosted CRM is not only about finding a place to store contacts and track deals. The bigger question is what you will need after the CRM is running.
A small business may start with leads, contacts, opportunities, and sales activities. Later, it may need quotations, invoicing, inventory, purchasing, accounting, or other business tools. Running a separate application for every requirement can make the setup harder to manage.
There are several self-hosted CRM platforms available today, and Odoo is one of them. Odoo can work as a CRM first and grow into a wider business management platform when you need more than CRM.
If you are considering Odoo for self-hosting, you can install it using Docker or directly from the source on a Linux server.
This guide covers both methods.
We will first set up Odoo with Docker and PostgreSQL. After that, we will install Odoo from source and look at the additional work involved in managing it directly on the server.
Table of Contents
Should You Self-Host or Choose a Custom CRM Provider?
Before investing time in a CRM, decide whether you want to self-host and manage it yourself or work with a provider specializing in custom CRM development.
Self-host your CRM if your main goal is to learn, evaluate its capabilities, configure standard features, and determine whether it fits your business.
Choose a CRM provider when you need a production-ready solution, significant customization, integrations, data migration, specialized workflows, or ongoing technical support.
If you choose a provider, evaluate them carefully before making a purchase decision. Do not select one based only on price or a convincing demo. Check their CRM experience, technical capability, understanding of your business, previous projects, customization approach, support, upgrade capability, and total long-term cost.
A good provider should first determine whether your requirements can be met through standard CRM features or configuration. Custom development should be recommended only when it is genuinely necessary.
If you prefer to manage the system yourself, the rest of this guide explains how to evaluate and self-host Odoo using Docker or a source installation.
Before jumping into the installation, let me give you a brief introduction to Odoo, its features, available editions, and the differences between them. This will give you a basic idea of what Odoo offers before we start setting it up.
What Is Odoo?
Odoo is a business application platform that includes CRM along with applications for sales, accounting, inventory, purchasing, manufacturing, project management, websites, marketing, and other business functions.
Odoo applications use a common database. This allows different parts of the system to work with the same customers, products, orders, invoices, and other business records.
For example, a sales team can manage an opportunity in CRM, create a quotation, confirm the sale, and continue with invoicing and delivery. The available workflow depends on the applications you install and configure.
Odoo is therefore broader than a traditional CRM. You can use only the applications you need and add others later.
Odoo Features
Odoo provides applications for different business areas:
| Area | Examples |
|---|---|
| CRM and Sales | CRM, Sales, Subscriptions, Rental |
| Finance | Accounting, Invoicing, Expenses |
| Supply Chain | Inventory, Purchase, Manufacturing, Barcode, Quality |
| Services | Project, Timesheets, Planning, Helpdesk, Field Service |
| Marketing | Email Marketing, Marketing Automation, Events, Surveys |
| Websites | Website, eCommerce, eLearning, Blog, Live Chat |
| Human Resources | Employees, Recruitment, Time Off, Attendances, Payroll |
| Productivity | Documents, Sign, Spreadsheet, Knowledge, Calendar, Discuss |
| Other | Point of Sale, Maintenance, Fleet, IoT |
The CRM application includes features such as leads, opportunities, sales pipelines, activities, quotations, lead assignment, lead scoring, and sales reporting.
You do not need to install every application. A self-hosted installation can start with CRM and the applications you actually need.
Odoo Community vs Enterprise
Odoo is available in two editions: Community and Enterprise.
Community is the open-source edition and is licensed under LGPLv3. Enterprise includes the Community code along with additional proprietary applications and features. Enterprise software is covered by the Odoo Enterprise Edition License.
For someone planning a self-hosted installation, the main differences are:
| Community | Enterprise | |
|---|---|---|
| Open-source license | LGPLv3 | No |
| CRM | Yes | Yes |
| Sales | Yes | Yes |
| Core Odoo framework | Yes | Yes |
| Enterprise applications and features | No | Yes |
| Self-hosting | Yes | Yes, with a valid subscription |
| Source installation | Yes | Yes |
| Docker installation | Yes | Yes |
The exact features included in each edition can change between Odoo releases. Check the documentation for the specific Odoo version before installing additional modules.
Hosting and installation are different
Community and Enterprise are editions of Odoo. Docker, source installation, Odoo Online, and Odoo.sh describe how or where Odoo runs. They are not separate Odoo editions.
This distinction is important when planning a self-hosted installation.
With self-hosting, you manage the Linux server, Odoo installation, PostgreSQL database, storage, backups, updates, and network access.
There are several ways to install Odoo on your own server. In this guide, we will cover two of them:
- Docker: Odoo and PostgreSQL run in containers.
- Source installation: Odoo runs directly in a Linux environment with its required dependencies.
The rest of this guide focuses on these two self-hosted methods.
Method 1: Self-Host Odoo with Docker
Docker makes Odoo easy to run and easy to maintain. You get a clean install, simple backups, and an easy path to update later.
I assume you are comfortable with basic Docker and Linux commands. It walks through a real setup, from an empty server to a working Odoo instance.
What You Need
| Requirement | Minimum |
|---|---|
| OS | Ubuntu 22.04 or newer (24.04, 26.04 all work) |
| RAM | 2 GB (4 GB recommended) |
| Disk | 20 GB free |
| Docker | Engine 24+ with Compose v2 |
Check your Docker version first:
docker --version
docker compose version
If you see version numbers for both, you are ready. If not, install Docker:
sudo apt update
sudo apt install -y docker.io docker-compose-v2
sudo usermod -aG docker $USER
Log out and log back in after this last command. This lets you run Docker without sudo.
Step 1: Create a Project Folder
mkdir odoo-docker && cd odoo-docker
mkdir config addons
The config folder holds Odoo settings. The addons folder holds custom modules, if you add any later.
Step 2: Create the Environment File
Odoo needs a database password. Store it in a .env file, not in the compose file. This keeps your password out of version control.
cat > .env << 'EOF'
DB_PASSWORD=change_me_to_a_strong_password
EOF
Replace the password with a real one. Use a password manager to generate it.
Step 3: Write the Docker Compose File
Create docker-compose.yml with this content:
services:
  db:
    image: postgres:18
    restart: unless-stopped
    environment:
      - POSTGRES_DB=postgres
      - POSTGRES_USER=odoo
      - POSTGRES_PASSWORD=${DB_PASSWORD}
      - PGDATA=/var/lib/postgresql/data/pgdata
    volumes:
      - odoo-db-data:/var/lib/postgresql/data/pgdata
    healthcheck:
      test: ["CMD-SHELL", "pg_isready -U odoo"]
      interval: 10s
      timeout: 5s
      retries: 5

  odoo:
    image: odoo:19.0
    restart: unless-stopped
    depends_on:
      db:
        condition: service_healthy
    ports:
      - "8069:8069"
      - "8072:8072"
    environment:
      - HOST=db
      - USER=odoo
      - PASSWORD=${DB_PASSWORD}
    volumes:
      - odoo-web-data:/var/lib/odoo
      - ./config:/etc/odoo
      - ./addons:/mnt/extra-addons

volumes:
  odoo-db-data:
  odoo-web-data:
This file defines two services: db (PostgreSQL) and odoo (the app). They talk to each other over Docker's internal network. You do not need to expose the database port to the outside.
Note: If you want to access Odoo dashboard from your local system only, change these lines:
ports:
      - "8069:8069"
      - "8072:8072"
to:
ports:
      - "127.0.0.1:8069:8069"
      - "127.0.0.1:8072:8072"
Step 4: Add a Basic Odoo Config
Create config/odoo.conf:
nano config/odoo.conf
with following content:
[options]
addons_path = /mnt/extra-addons
data_dir = /var/lib/odoo
admin_passwd = change_me_master_password
The admin_passwd is different from the database password. It protects database creation and deletion inside Odoo's own interface. Set it to a strong, unique value.
Step 5: Start the Stack
docker compose up -d
Check that both containers are running:
docker compose ps
You should see db and odoo with a status of Up or healthy.
Step 6: Open Odoo
Go to http://your-server-ip:8069 in your browser. If you are on the server itself, use http://localhost:8069.
Odoo shows a database creation screen. Fill in:
- Master password (the
admin_passwdyou set) - Database name
- Your email and password (this becomes your admin login)
Click Create Database.
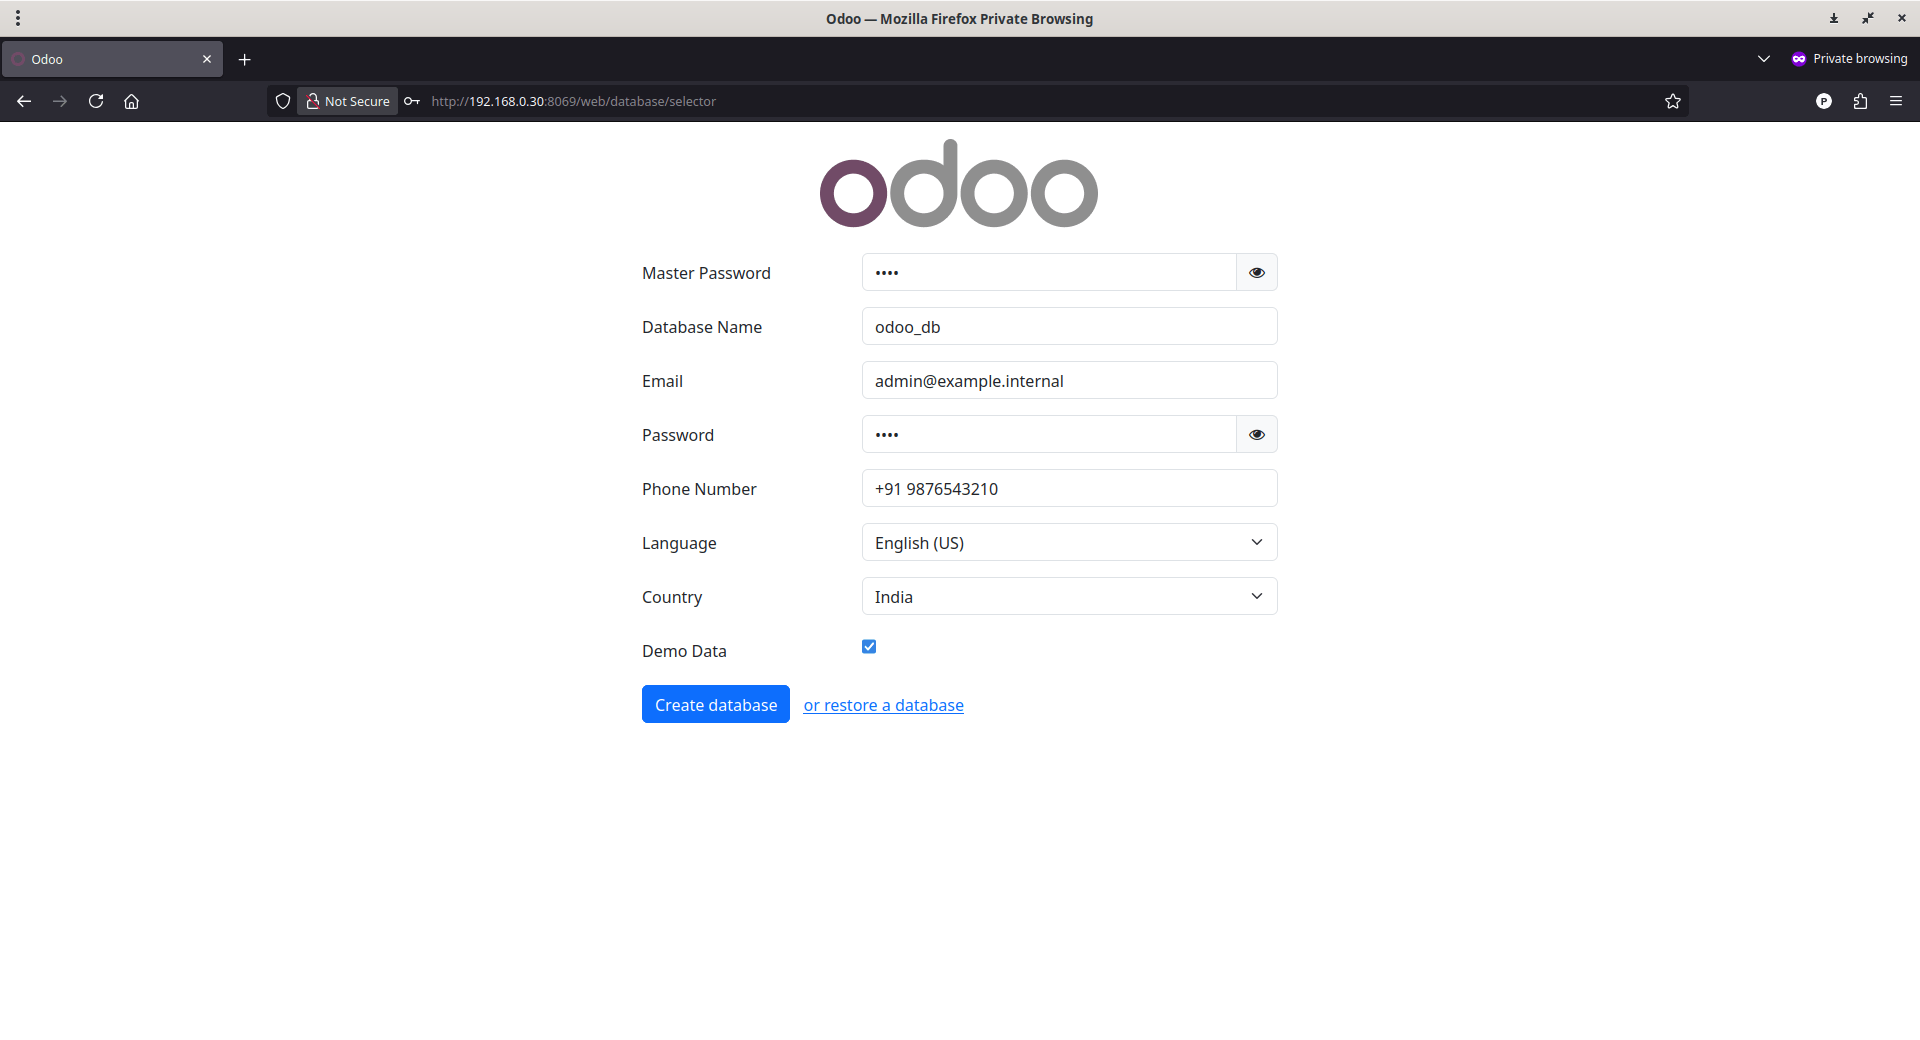
Odoo builds your first database. This takes one to two minutes.
Once the database is created, you will be automatically redirected to the Odoo web dashboard.
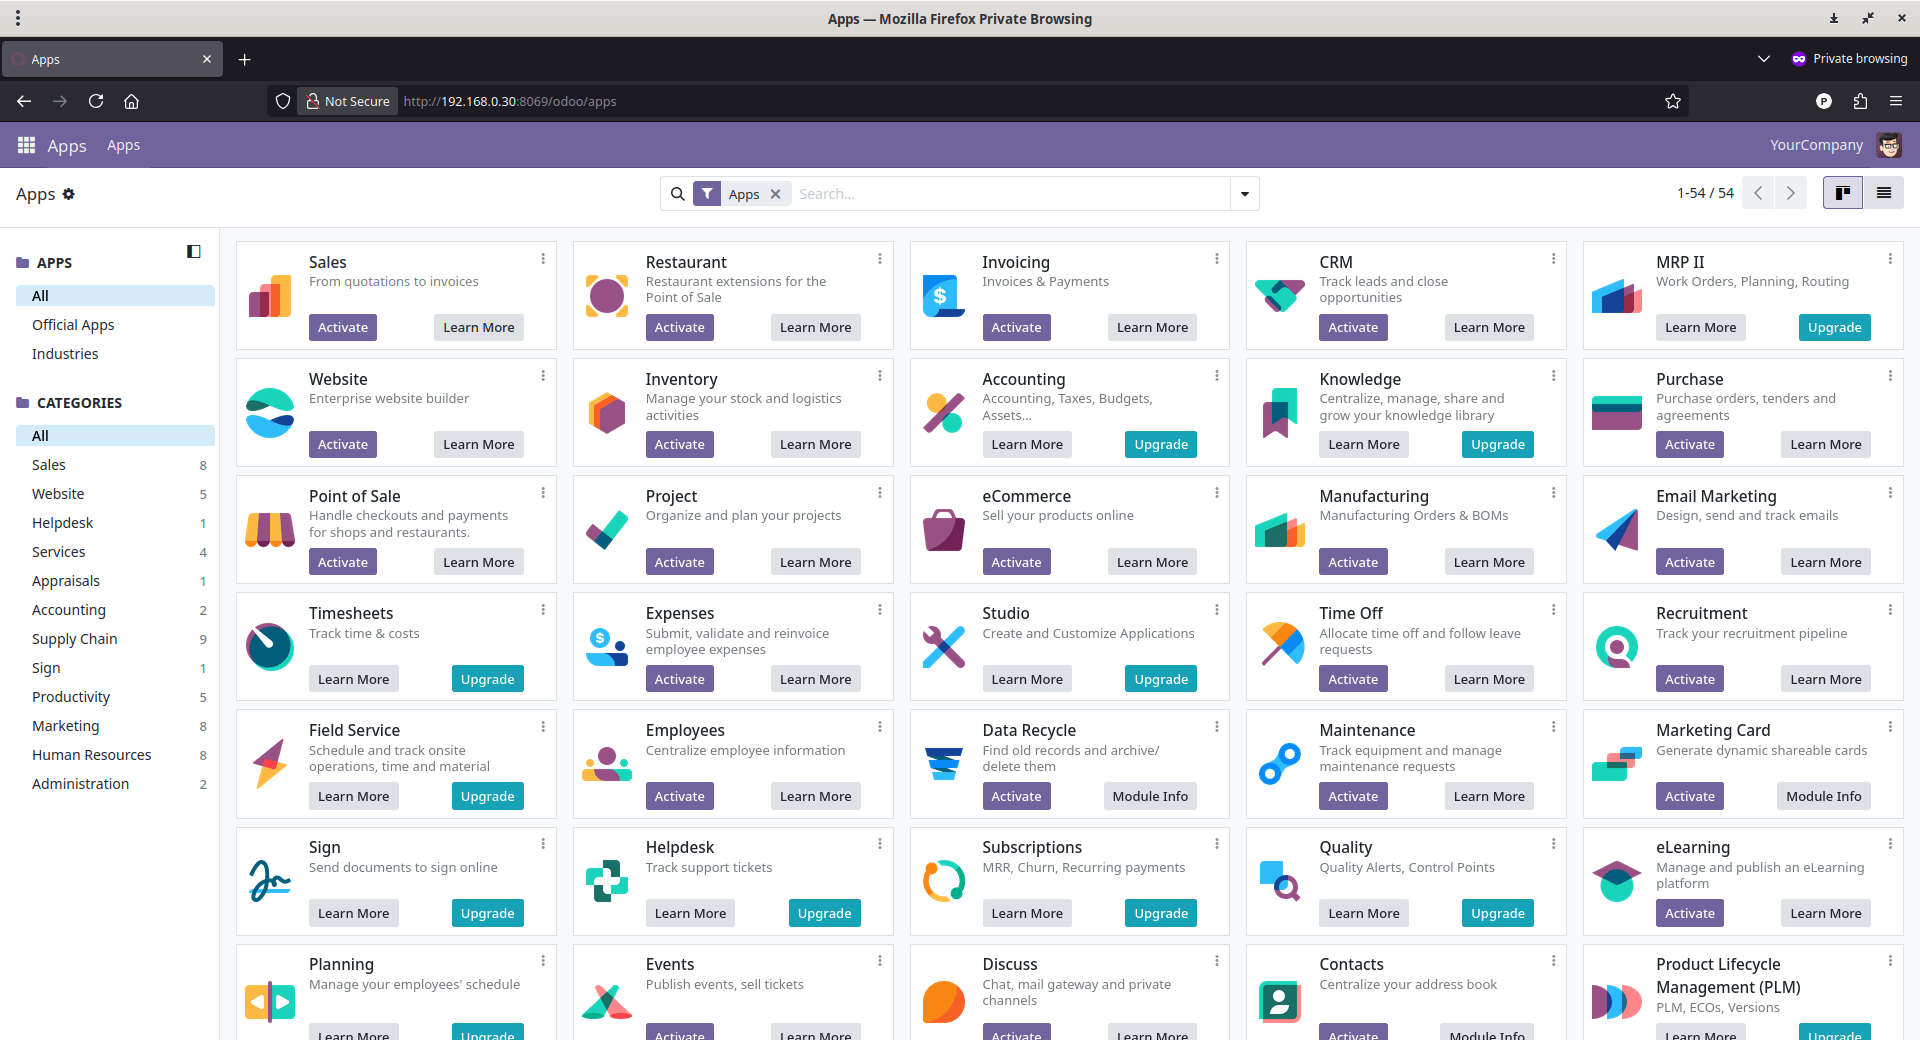
You now have a working Odoo 19 instance running on Docker, backed by PostgreSQL 18.
The setup uses named volumes for data safety, keeps ports local until you add a reverse proxy, and separates your database password from your Odoo master password.
Next steps: set up HTTPS with a reverse proxy, schedule automatic backups, and test a restore before you put real customer data into the system.
If the Ports Are Bound to 127.0.0.1
If the compose file only exposes ports to 127.0.0.1, Odoo will not be reachable from outside your server yet. This is for security.
You should put a reverse proxy (nginx or Caddy) in front of Odoo. The proxy handles HTTPS and forwards traffic to port 8069. Running Odoo directly on the public internet without HTTPS is not safe.
A minimal nginx site block looks like this:
server {
    listen 443 ssl;
    server_name crm.example.com;

    ssl_certificate /etc/letsencrypt/live/crm.example.com/fullchain.pem;
    ssl_certificate_key /etc/letsencrypt/live/crm.example.com/privkey.pem;

    location / {
        proxy_pass http://127.0.0.1:8069;
        proxy_set_header Host $host;
        proxy_set_header X-Forwarded-For $proxy_add_x_forwarded_for;
        proxy_set_header X-Forwarded-Proto $scheme;
    }

    location /longpolling {
        proxy_pass http://127.0.0.1:8072;
    }
}
After adding a reverse proxy, add this line to config/odoo.conf:
proxy_mode = True
This tells Odoo to trust the proxy headers. Without it, Odoo may generate wrong links and redirect loops.
Backups
Your data lives in two Docker volumes: odoo-db-data and odoo-web-data. Back up both, not just one. The database holds your records. The filestore holds uploaded files and attachments.
Database backup:
docker compose exec db pg_dump -U odoo -d your_database_name > backup.sql
Filestore backup:
docker run --rm -v odoo-docker_odoo-web-data:/data -v $(pwd):/backup alpine \
  tar czf /backup/filestore-backup.tar.gz -C /data .
Run both commands on a schedule with cron. Test your restore process at least once. A backup you never tested is not a real backup.
Updating Odoo
Odoo ships nightly builds for each major version. To update within the same version:
docker compose pull
docker compose up -d
This pulls the latest image for Odoo 19 and restarts the container. Your data stays in the volumes, so this is safe for minor updates.
Major version upgrades (for example, 19 to 20) need a different process. Odoo does not support in-place major upgrades through Docker alone. Test major upgrades on a copy of your database first.
Common Problems
| Problem | Likely Cause | Fix |
|---|---|---|
| "Connection refused" on port 8069 | Container still starting | Wait 30 seconds, check docker compose logs odoo |
| Database creation screen keeps reloading | Wrong admin_passwd or DB not ready | Check docker compose logs db for errors |
| Uploaded files disappear after restart | Filestore not in a named volume | Confirm odoo-web-data volume exists with docker volume ls |
| Login redirects to wrong URL | Missing proxy_mode behind reverse proxy | Add proxy_mode = True to odoo.conf |
Method 2: Install Odoo from Source
This installation was tested with:
Operating System: Ubuntu 26.04 LTS
RAM:              8 GB
Disk:             30 GB
Odoo:             19.0 Community
Python:           3.14.4
Git:              2.53.0
PostgreSQL:       Ubuntu PostgreSQL package
Installation:     Odoo source installation
Purpose:          Test / learning VM
This is intended for learning and evaluation, not production deployment.
Why Source Installation?
Odoo provides both packaged and source installations.
For this VM we use the source installation because the Odoo 19 .deb package currently documents support for Ubuntu 24.04 LTS (Noble), while this VM uses Ubuntu 26.04.
The source installation allows Odoo to be run directly from the Git source tree and is also useful for learning, development, customization, and running multiple Odoo versions.
Install PostgreSQL
Update Ubuntu:
sudo apt update
sudo apt upgrade -y
Install PostgreSQL:
sudo apt install -y postgresql postgresql-client
Verify:
sudo systemctl is-active postgresql
Expected Output:
active
Verify PostgreSQL:
psql -l
You should initially see:
postgres
template0
template1
Install Git and Python Dependencies
Install the required development packages:
sudo apt install -y \
    git \
    python3 \
    python3-pip \
    python3-venv \
    python3-dev \
    libxml2-dev \
    libxslt1-dev \
    zlib1g-dev \
    libsasl2-dev \
    libldap2-dev \
    libssl-dev \
    libjpeg-dev \
    libpq-dev \
    libffi-dev \
    build-essential
Verify Python:
python3 --version
Verify Git:
git --version
Download Odoo 19 Community Source
Move to the home directory:
cd ~
Clone the Odoo 19 branch:
git clone --depth 1 --branch 19.0 \
    https://github.com/odoo/odoo.git odoo
Enter the directory:
cd ~/odoo
Verify the branch:
git branch --show-current
Expected:
19.0
Create Python Virtual Environment
From the Odoo directory:
cd ~/odoo
Create the virtual environment:
python3 -m venv odoo-venv
Activate it:
source odoo-venv/bin/activate
Verify:
python --version
And:
which python
The Python path should contain:
~/odoo/odoo-venv/bin/python
Install Odoo Python Dependencies
Make sure the virtual environment is active:
cd ~/odoo
source odoo-venv/bin/activate
Install the dependencies:
pip install -r requirements.txt
Wait for the command to finish successfully.
Create PostgreSQL User and Database
Create a PostgreSQL role corresponding to the current Ubuntu user:
sudo -u postgres createuser -d -R -S $USER
Next, create a database:
createdb $USER
Verify:
psql -l
You should now see a database named after your Ubuntu username.
For example:
ostechnix
postgres
template0
template1
Start Odoo
Activate the virtual environment:
cd ~/odoo
source odoo-venv/bin/activate
Start Odoo:
./odoo-bin
Odoo should report that the HTTP service is running on port 8069.
Typical output:
HTTP service (werkzeug) running on ...:8069
Keep this terminal open while Odoo is running.
Initialize the Odoo Database
If the database exists but has not yet been initialized, stop Odoo:
Ctrl+C
Then initialize the Odoo base module:
cd ~/odoo
source odoo-venv/bin/activate

./odoo-bin -d $USER -i base
Wait for the modules to finish loading.
Then Odoo can be accessed through the browser.
Access Odoo From Another Computer
Find the VM IP address:
hostname -I
For example:
192.168.0.30
From another computer on the same network, open:
http://192.168.0.30:8069
Replace the IP address with the actual VM address.
Odoo's default HTTP por 8069.
This is how Odoo login page looks like:
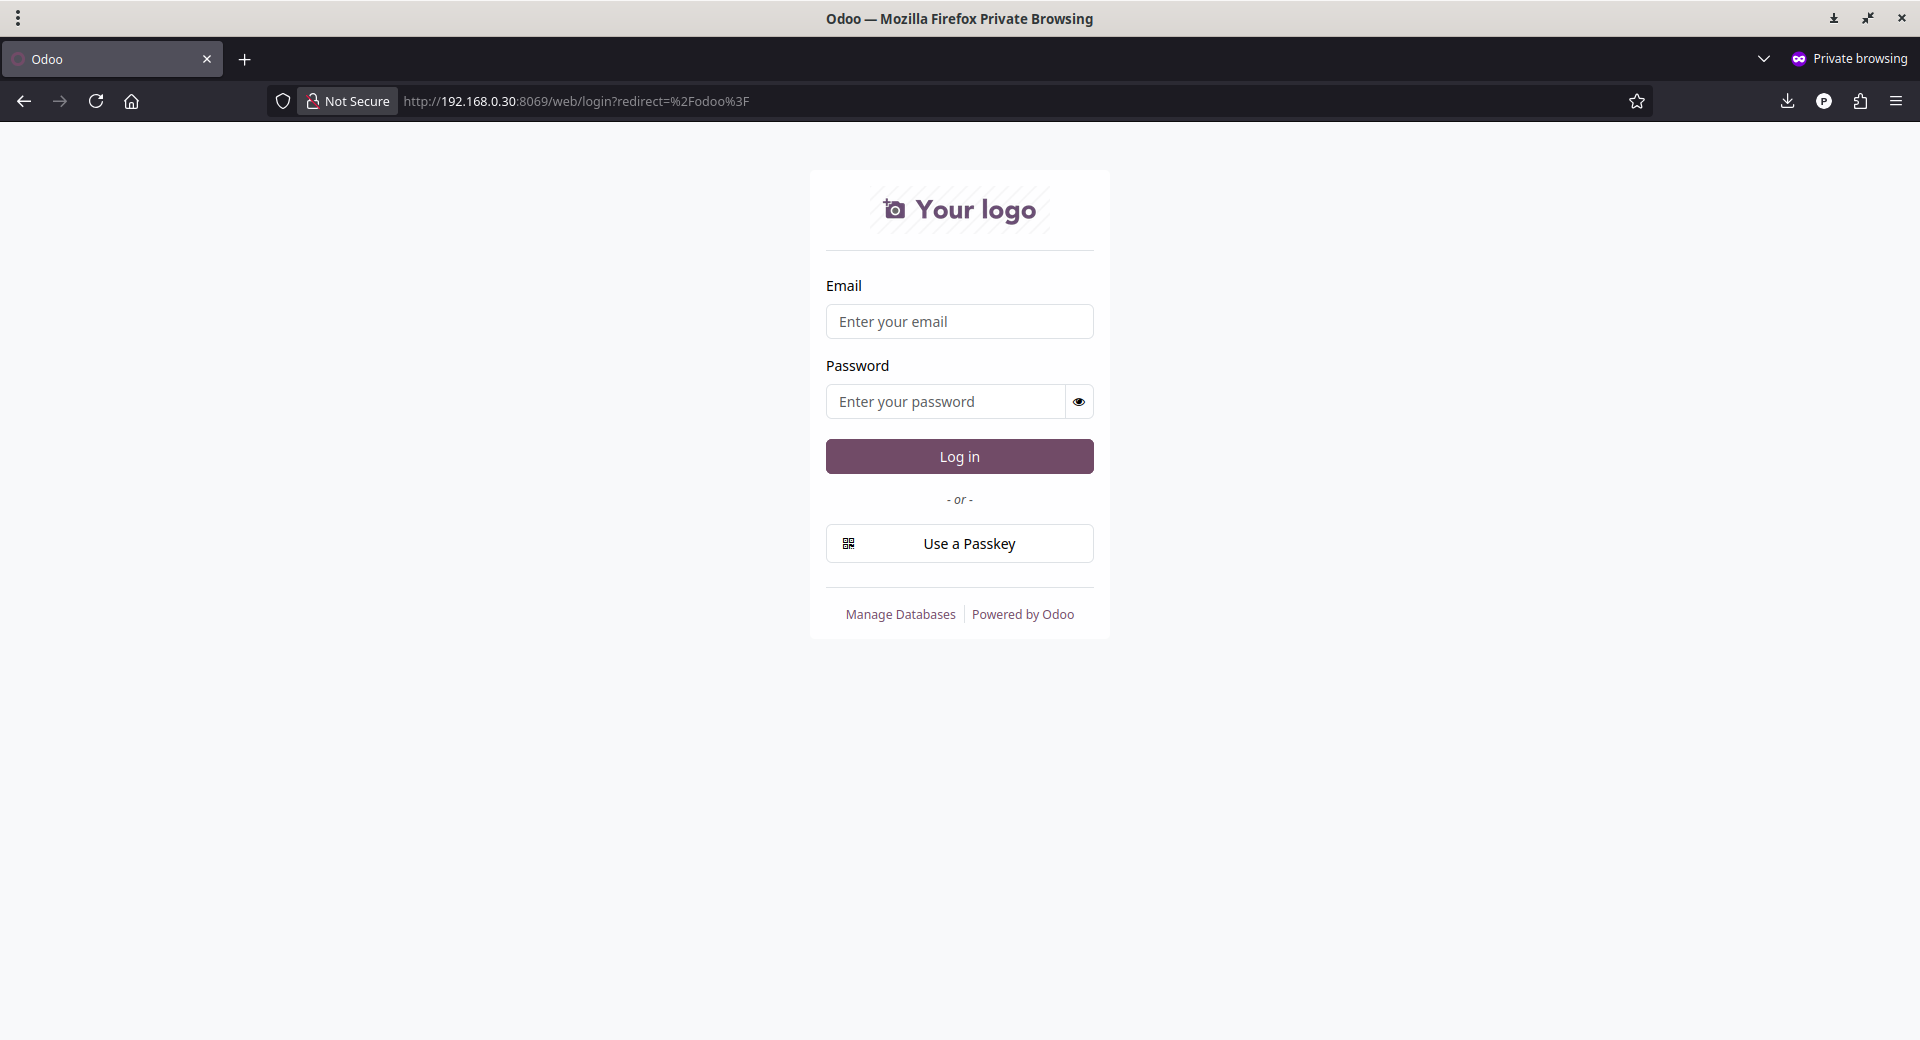
Initial Login
For the test database created during this installation, the initial administrator credentials were:
Username: admin
Password: admin
Immediately change the administrator password when using anything beyond a disposable test environment.
Here's how Odoo dashboard looks like:
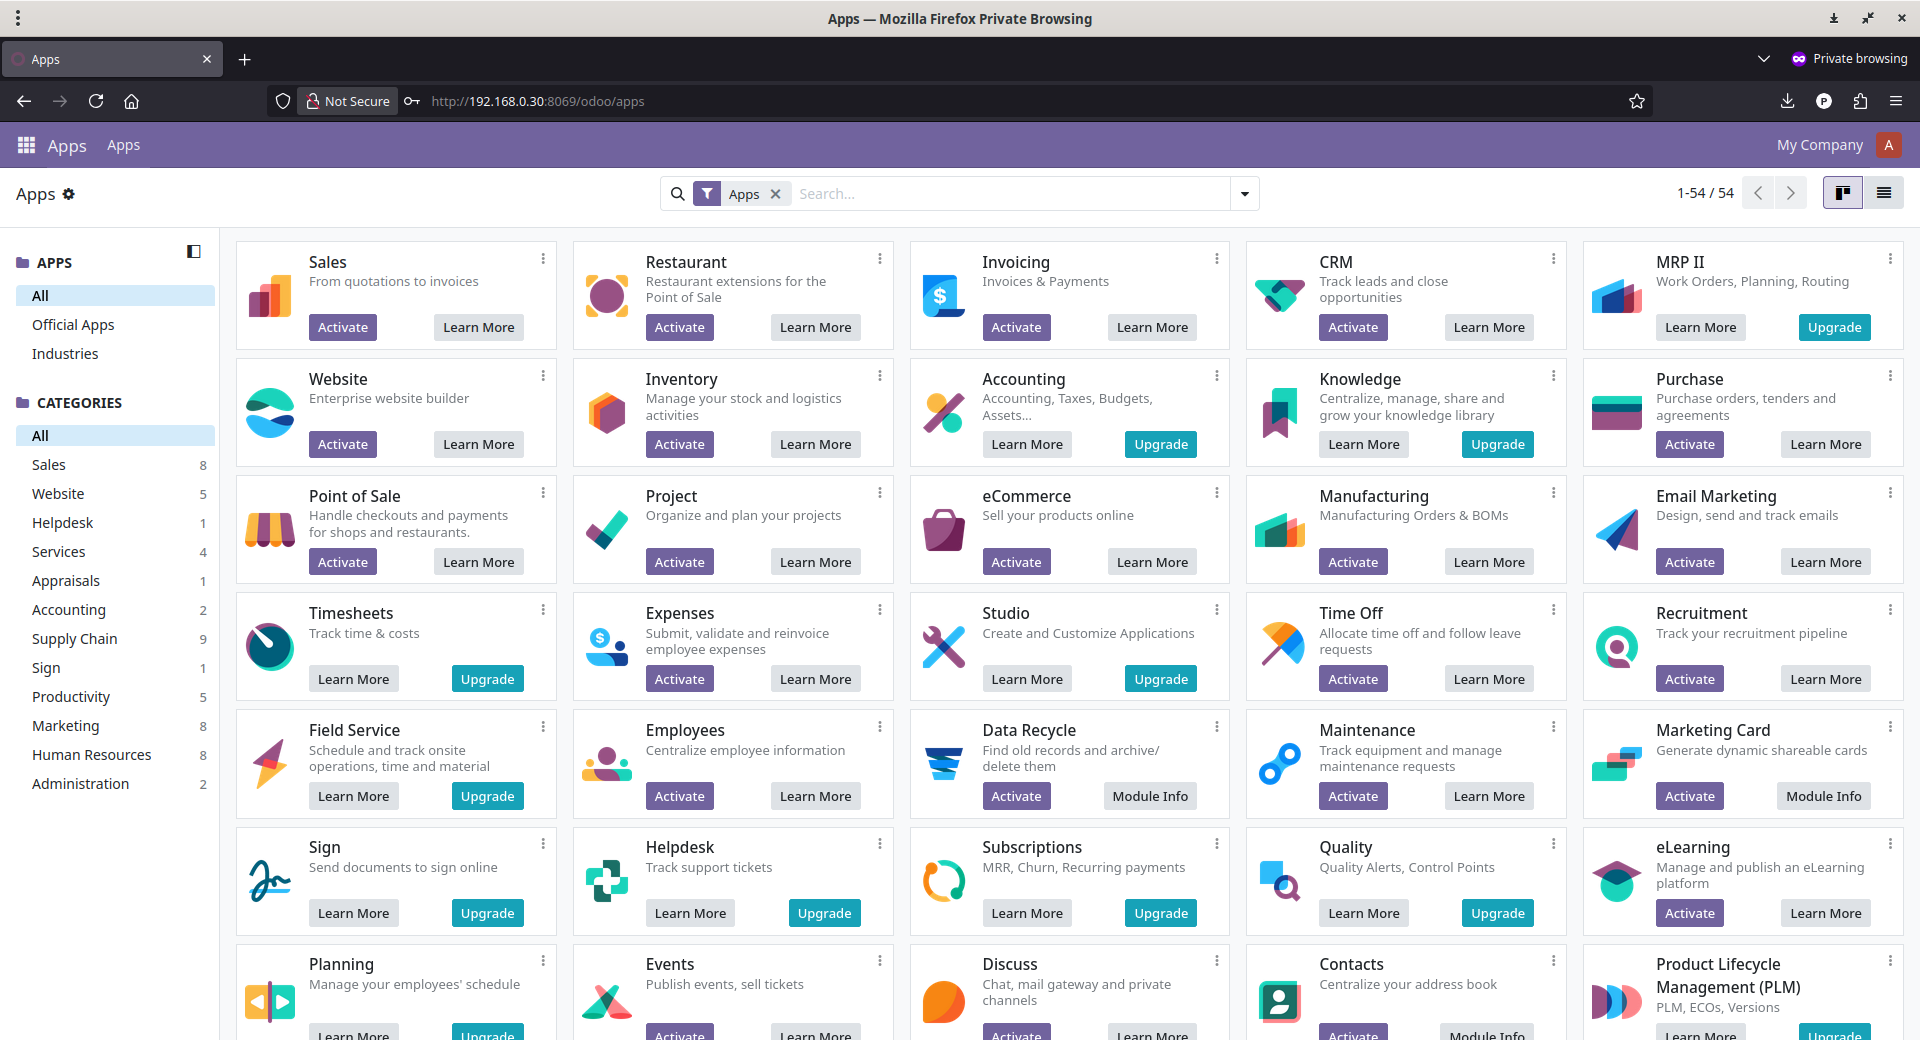
Stop Odoo
Yes. Since this is your test/learning VM, you can close/stop Odoo when you're finished.
Your Odoo was started manually with ./odoo-bin, so:
- Go to the VM terminal where Odoo is running.
- Press Ctrl+C. Odoo's documentation confirms this stops the server.
- You can then close the terminal/SSH session if you want.
Your data will remain in PostgreSQL. Stopping the Odoo server does not delete your database.
Next time, you'll start it again with:
cd ~/odoo
source odoo-venv/bin/activate
./odoo-bin
Then access it from your PC using the same VM IP and :8069.
Configure Odoo as a system service
Odoo's source installation runs directly through odoo-bin; we're simply letting systemd manage that process automatically.
Create the service file:
sudo nano /etc/systemd/system/odoo.service
Paste:
[Unit]
Description=Odoo 19
Requires=postgresql.service
After=network.target postgresql.service

[Service]
Type=simple
User=ostechnix
WorkingDirectory=/home/ostechnix/odoo
ExecStart=/home/ostechnix/odoo/odoo-venv/bin/python /home/ostechnix/odoo/odoo-bin
Restart=on-failure
RestartSec=5

[Install]
WantedBy=multi-user.target
Replace ostechnix with your actual username.
Press Ctrl+O → Enter → Ctrl+X to save and close the file.
Reload systemd:
sudo systemctl daemon-reload
Enable Odoo at boot:
sudo systemctl enable odoo
Start Odoo now:
sudo systemctl start odoo
Check that it's running:
sudo systemctl status odoo
You want to see:
Active: active (running)
Press q to exit the status screen.
Now it is time test it. From your PC, open:
http://<VM-IP>:8069
Odoo should now be available without manually executing odoo-bin.
From now on, you don't need to manually run:
cd ~/odoo
source odoo-venv/bin/activate
./odoo-bin
When Ubuntu starts, systemd will automatically start Odoo.
You can also control it with:
sudo systemctl start odoo
sudo systemctl stop odoo
sudo systemctl restart odoo
sudo systemctl status odoo
That's it. No reinstall, no virtual-environment activation, no manual Odoo startup.
Enable Developer Mode
Developer mode is useful for learning Odoo's technical architecture.
Add:
?debug=1
to the Odoo URL.
Example:
http://192.168.0.50:8069/?debug=1
The developer/bug icon should then appear in the interface.
Troubleshooting
Odoo is not running
Check:
sudo systemctl status odoo
Then inspect recent logs:
sudo journalctl -u odoo -n 50 --no-pager
Follow logs live:
sudo journalctl -u odoo -f
217/USER error
Example:
status=217/USER
This normally indicates a problem with the User= account in the systemd service.
For this installation the correct user is:
ostechnix
Verify:
id ostechnix
The service must contain:
User=ostechnix
and the paths must use:
/home/ostechnix/odoo
Odoo webpage does not open
Check whether Odoo is running:
sudo systemctl status odoo
Check whether port 8069 is listening:
sudo ss -ltnp | grep 8069
Find the VM IP:
hostname -I
Then browse to:
http://<VM-IP>:8069
Updating the source installation
Because this installation uses Git, the Odoo source can be updated through Git. Odoo's documentation describes the Git-based source update process using git fetch and git rebase --autostash.
Before updating a real installation:
Always back up the database first.
For this learning VM, the basic source update process is:
cd ~/odoo
git fetch
git rebase --autostash
Then restart Odoo:
sudo systemctl restart odoo
Warning: Do not blindly apply source updates to a production system containing custom modules. Test updates first.
Quick Reproduction Summary
For a fresh Ubuntu 26.04 test VM, the essential sequence is:
# Update
sudo apt update
sudo apt upgrade -y

# PostgreSQL
sudo apt install -y postgresql postgresql-client

# System dependencies
sudo apt install -y \
    git python3 python3-pip python3-venv python3-dev \
    libxml2-dev libxslt1-dev zlib1g-dev \
    libsasl2-dev libldap2-dev libssl-dev \
    libjpeg-dev libpq-dev libffi-dev \
    build-essential

# Odoo source
cd ~
git clone --depth 1 --branch 19.0 \
    https://github.com/odoo/odoo.git odoo

# Python environment
cd ~/odoo
python3 -m venv odoo-venv
source odoo-venv/bin/activate

# Python dependencies
pip install -r requirements.txt

# PostgreSQL user/database
sudo -u postgres createuser -d -R -S $USER
createdb $USER

# Start Odoo
./odoo-bin
If the database requires initialization:
./odoo-bin -d $USER -i base
Then access:
http://<VM-IP>:8069
Frequently Asked Questions (FAQ)
A: Yes. Odoo Community is licensed under LGPL. There is no license fee and no user limit.
A: No. A small VPS with 2 GB RAM runs Odoo fine for a handful of users. Add more RAM as your team and data grow.
A: No, but it is the easiest way. Docker isolates Odoo and Postgres from the rest of your system and makes backups and updates predictable.
A: Odoo 19 works with PostgreSQL 13 through 17. This guide uses 17, the newest stable release at the time of writing.
Inside the container at /var/lib/odoo, mapped to the odoo-web-data Docker volume on your host.
Resources:
