Proxmox VE is an open source server virtualization environment that can be used to deploy and manage virtual machines and containers. It is based on Debian Linux distribution with modified RHEL kernel. Proxmox comes with a simple, easy to usable web-based interface that allows us to easily create, configure and manage virtual machines. It also includes RESTful web API which can be used to enable integration for third party management tools.
In a nutshell, Promox
- is enterprise ready virtualization solution
- is capable of handling several hundred virtual machines
- provides central management for all guests
- provides clustering
- offers online backup solution
- supports live migration
- supports 32 and 64 bit guests
For more details, look at Proxmox website link given at the end of this guide.
Table of Contents
Install Proxmox VE
Installing Proxmox is fairly simple and straight forward. You can either install it on an already installed Debian or download standalone Proxmox installer ISO from the link below, and install it.
![]()
Once downloaded, make a bootable cd or USB drive. Refer the following to guide to make bootable USB drive.
Boot your system with the newly created bootable cd or usb drive. You will see the welcome screen. Choose 'Install Prxomox VE' and hit enter.

Click 'I agree' to continue.

Next, you need to choose target hard drive. Click next to automatically create the partition and continue the installation.

To manually create partitions, click 'Options' in the above screen and create the partitions of your choice.

I go with automatic partition. Next, choose your timezone and location.

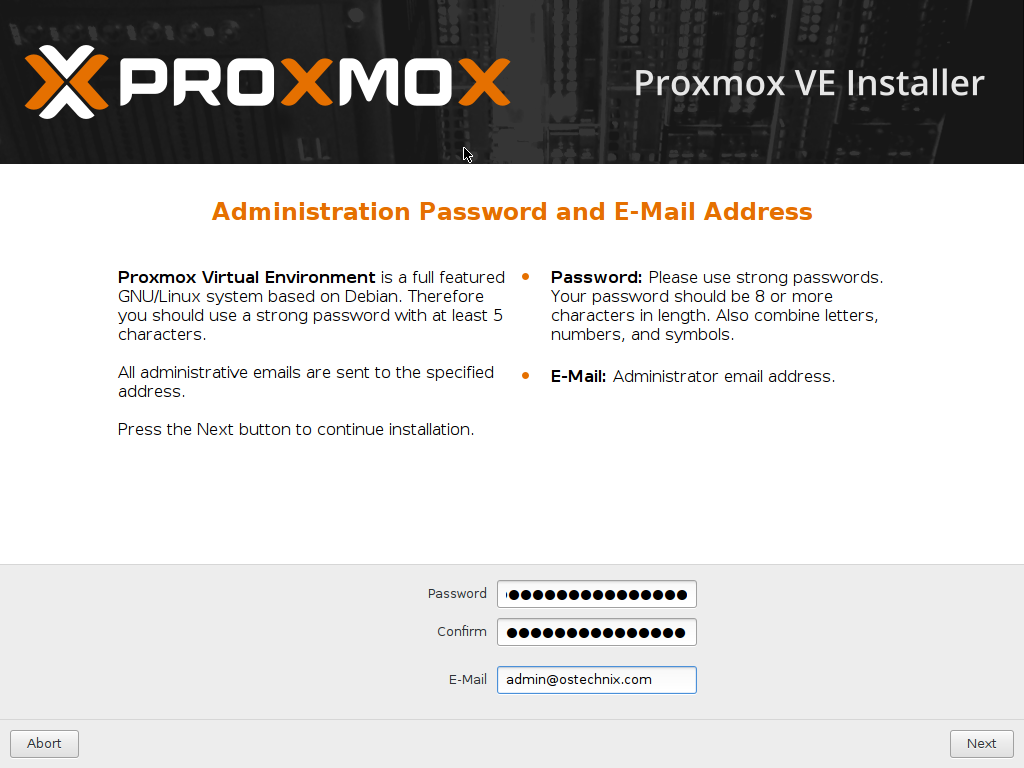
Provide password for the 'root' user and enter a valid email id.
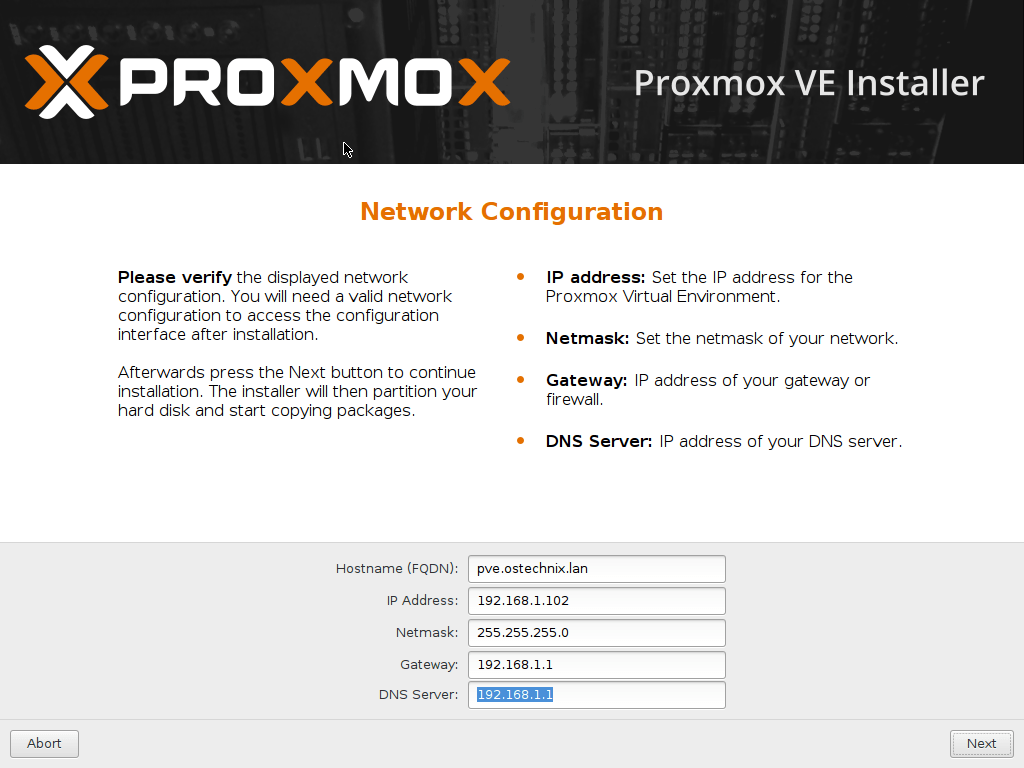
Enter hostname, ip address, netmask, gateway, and DNS. You must provide a valid network details to access proxmox configuration interface after installation.
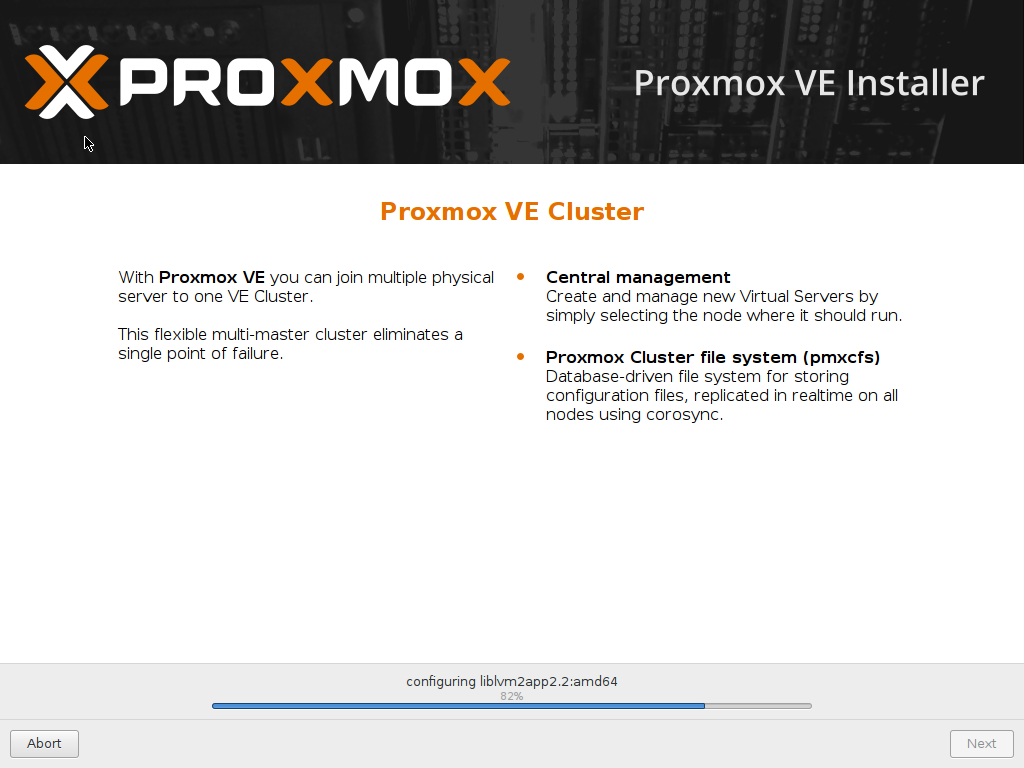
Now, the installation process will start.
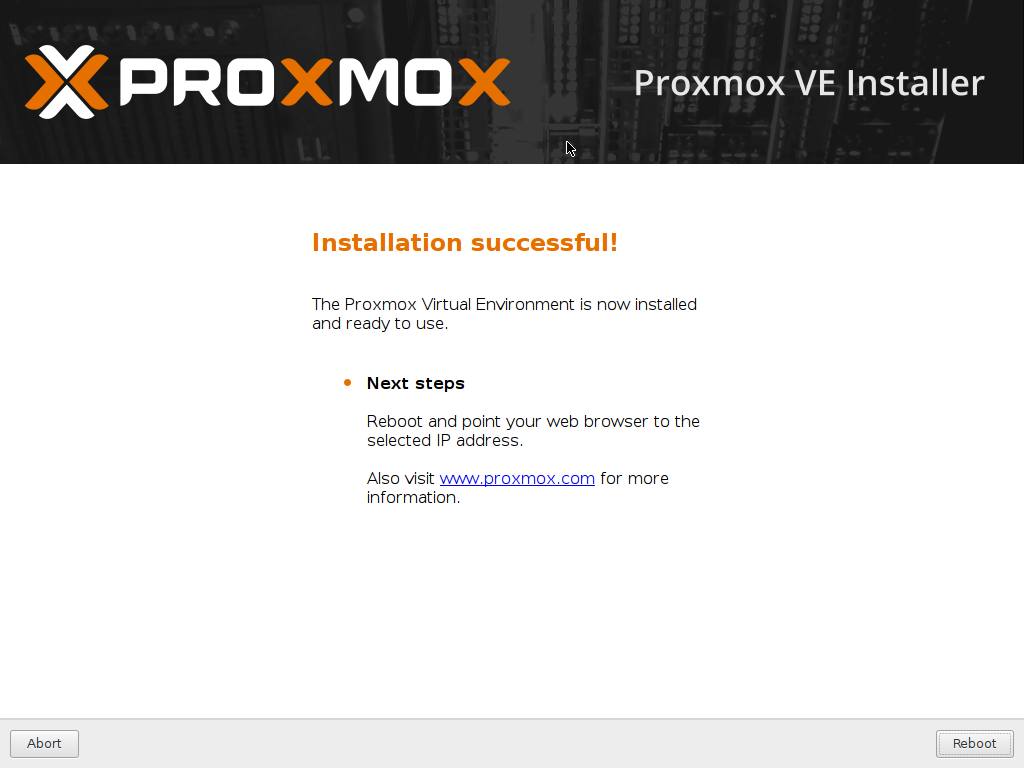
Congratulations! Proxmox VE is installed and ready to use. Remove the installation medium and hit Reboot button.
This is how Proxmox interface looks like. Enter the username(root) and password (the one you have created during installation).

As I already have said, Proxmox is Debian-based distribution, so you can install any additional application or update it as the way you do in Debian. Say for example, to update Proxmox, run:
apt-get update && apt-get upgrade
We have installed Proxmox. Next, we will see how to access the web console.
Proxmox Web console
You need web browser to configure Proxmox VE. You can either configure it from a remote system's browser or install any DE on Proxmox VE with a web browser and start configuring it.
Enter the URL - https://IP_Address:8006 in the address bar. You will be asked to enter the user credentials. Type root and its password to continue. You may need to open the port 8006 in firewall/router in case you're accessing the proxmox

Here it is how Proxmox dashboard looks like.

On left side, you will see the list of available Proxmox servers. On the right side, you will find the proxmox server details, such as storage, users, permissions, groups, roles etc. In this dashboard, you can do all administrative related tasks such as creating, modifying, managing users, groups, roles, virtual machines, containers etc.
Creating Virtual machines
Click Create VM on the top right corner in Proxmox web console.

You will see the following screen. Enter your VM in the general section.
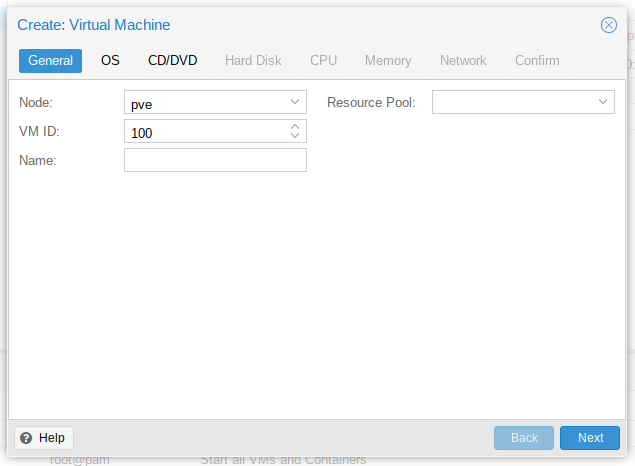
Choose OS type i.e Linux or Windows.

Next, choose the installation media. You need to download or add ISO images in "/var/lib/vz/template/iso" location if you choose local installation.

Next specify the size of the hard disk.

Provide the CPU details, such as no of cores, cpu type etc.

Enter RAM size.

Choose Network type i.e Bridged or NAT or no network.

Finally, review the settings and click Finish to create the VM.

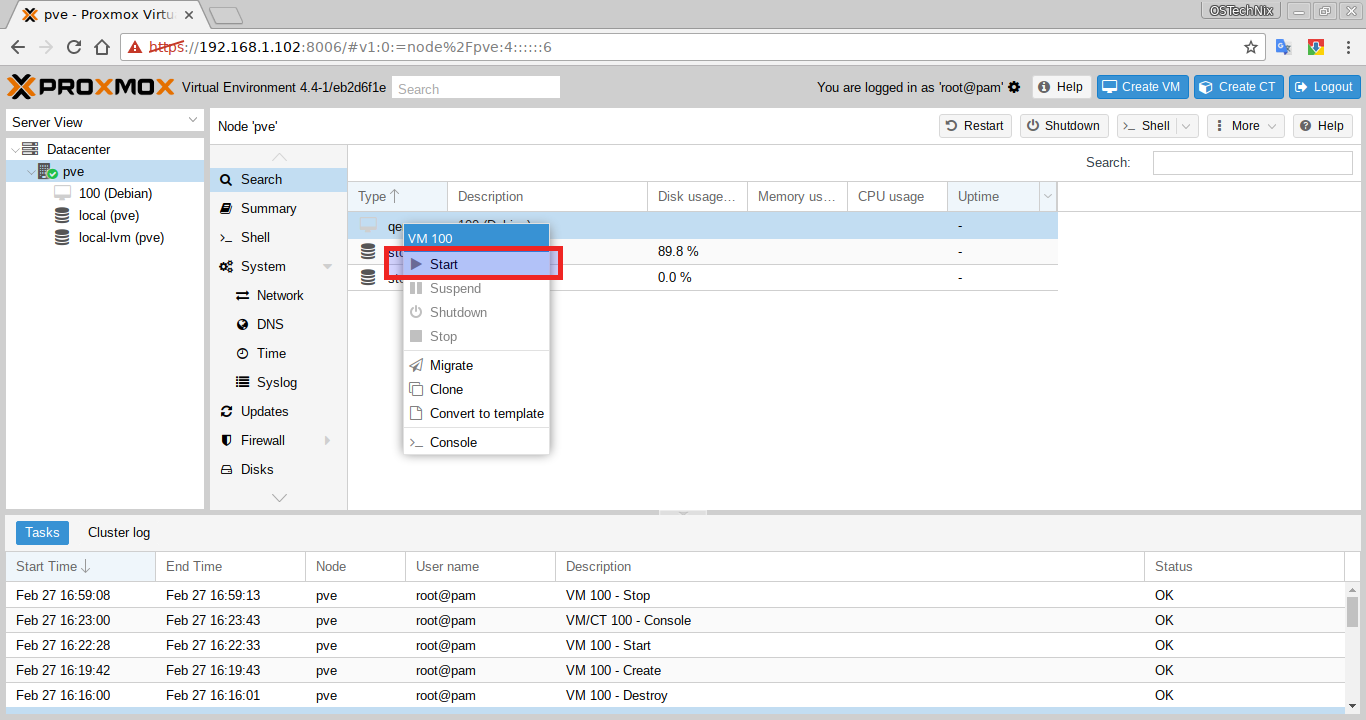
Now, click on your Promox server on the left. It will display the newly created VM. Right click on the VM and click Start.
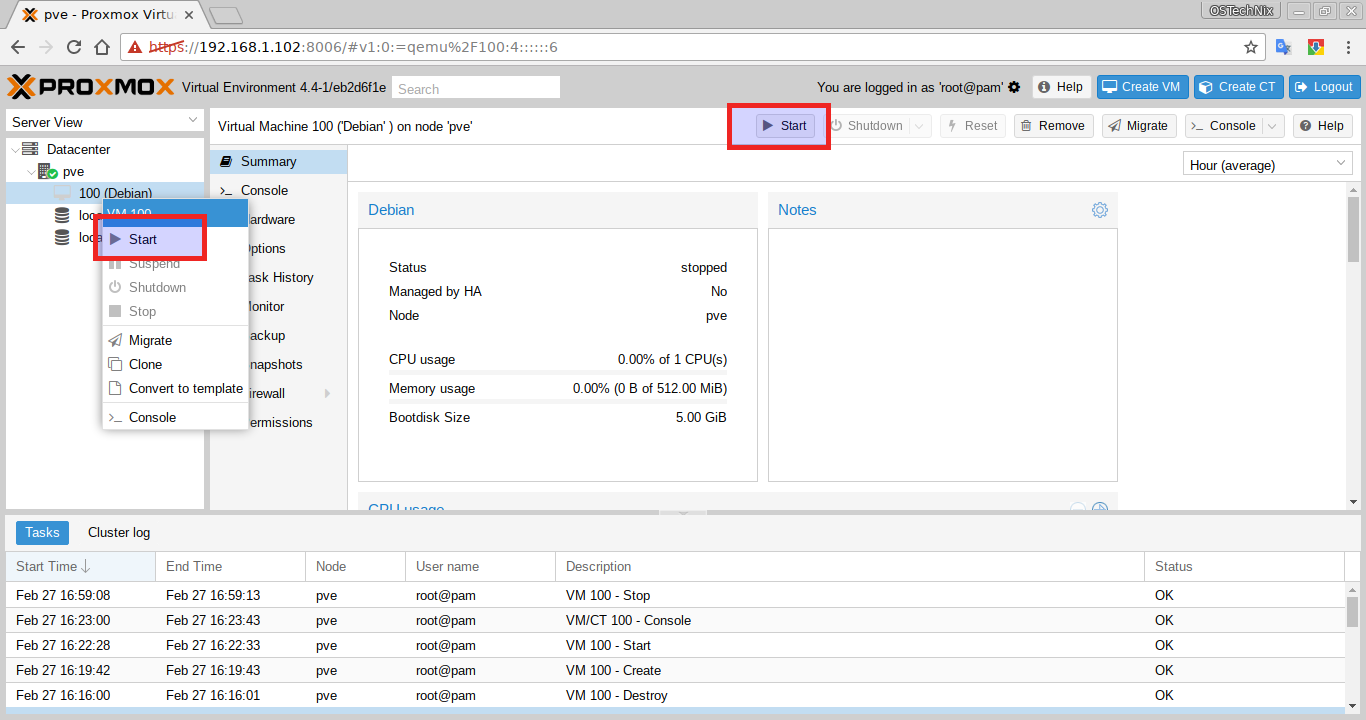
Or, double click on the Promox server to expand the list on the left side. Then, right click on the VM and choose Start. Also, you can click the Start button on the right side to power on the VM.
You might get an error "Error: No accelerator found!". If you get this error, the VM won't start. This is because the kvm module can't be loaded. You need to disable it and start the VM again.
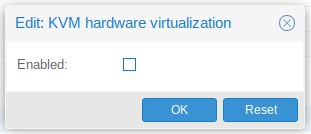
To disable kvm module, click on the VM. Choose 'Options' on the right side. Find KVM hardware virtualization option.
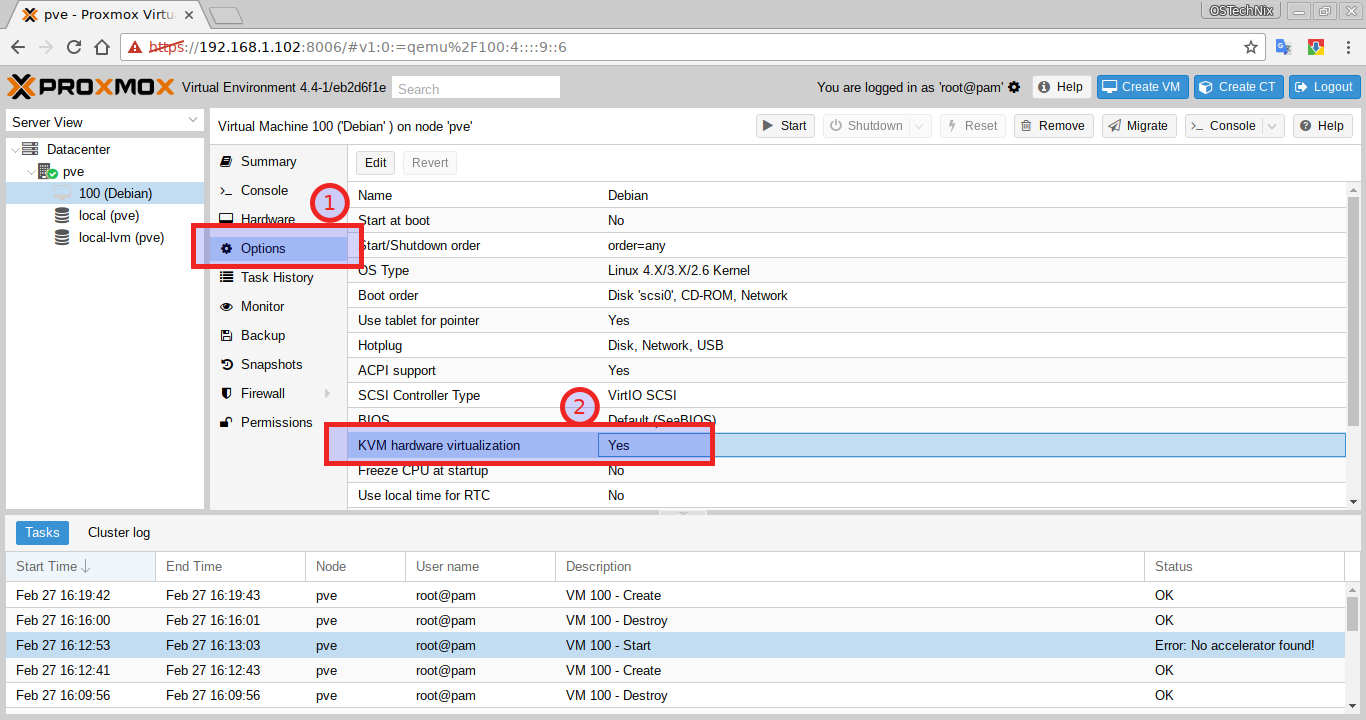
Its default value is yes. You need to change it to - No. To do so, double click on it and uncheck the box that says Enabled. Click Ok to save the changes.
Now, try to start the VM again. This time the VM will run without any issues. To view the VM, right click on it and click 'Console' to view the running state.

You will see the following screen. Start installing the VM as the way you do in the physical machine.

After installing the VM, You can clone it, migrate it to other promoxmox server, or convert it to a template. Say for example, to clone a VM, just right click on it and click 'Clone' in the context menu.
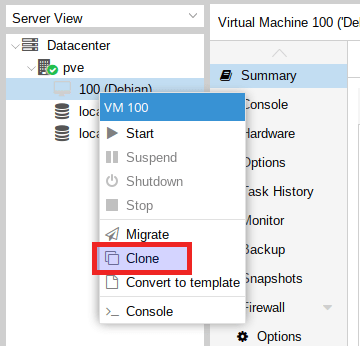
Click 'Clone' to clone the VM. To remove the VM, select it and click 'Remove' button on the top right side.
You now know how to create and manage a virtual machine. Next, we will see how to create a container.
Creating Containers
First you need to download templates and save it in "/var/lib/vz/template/" directory. You can find list of precreated from the link below.
Then, Click on 'Create CT' on the top right corner in Promox console.

Enter the Container hostname name and password and click Next.

Choose the template and click next.

Enter the disk size and click Next.

Choose cpu cores and click Next.

Enter the RAM size.

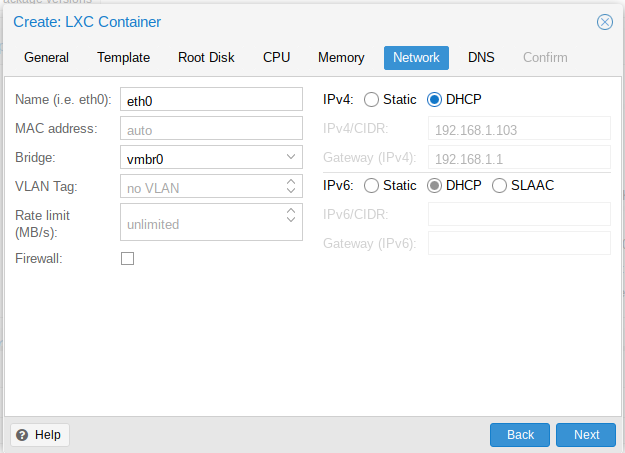
Enter Network details. You can either choose static IP address or DHCP.
Enter DNS details or leave it as blank to use host settings.

Finally review the settings and click Finish to create an LXC container.

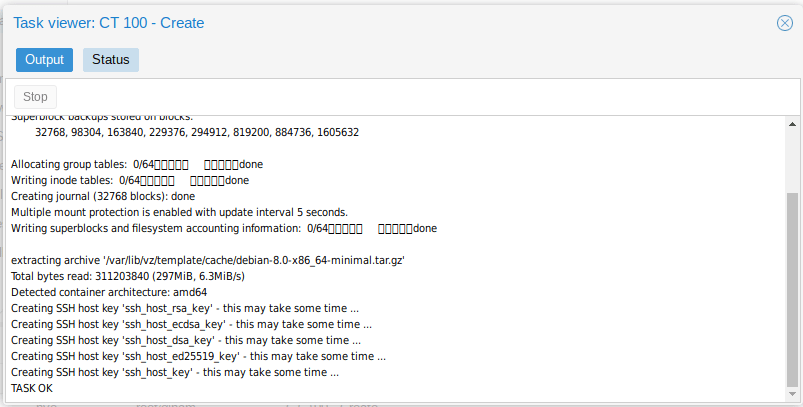
After successful creation of container, your will see a confirmation message that says 'Task OK'.
Now, choose the newly created container and click Start to run it.

To access the container, right click on it and choose Console from the context menu.

And that's all. In this tutorial, we have discussed how to install, configure Proxmox and how to create, and manage VMs and Containers.
As you can see, Proxmox is the easiest server virtualization environment which can be easily installed and managed even by an intermediate system administrator. If you are looking for an easy and enterprise grade virtualization solution, Proxmox is best.
Read Next:
Suggested read:
- Setup Headless Virtualization Server Using KVM In Ubuntu 18.04 LTS
- How to Install Oracle VirtualBox On Ubuntu 18.04 LTS Headless Server
Resource: