We already have covered setting up Oracle VirtualBox on Ubuntu 18.04 headless server. In this tutorial, we will be discussing how to setup headless virtualization server using KVM and how to manage the guest machines from a remote client. As you may know already, KVM (Kernel-based virtual machine) is an open source, full virtualization for Linux. Using KVM, we can easily turn any Linux server in to a complete virtualization environment in minutes and deploy different kind of VMs such as GNU/Linux, *BSD, Windows etc.
Table of Contents
Setup Headless Virtualization Server Using KVM in Ubuntu
I tested this guide on Ubuntu 18.04 LTS server, however this tutorial will work on other Linux distributions such as Debian, CentOS, RHEL and Scientific Linux. This method will be perfectly suitable for those who wants to setup a simple virtualization environment in a Linux server that doesn't have any graphical environment.
For the purpose of this guide, I will be using two systems.
KVM virtualization server:
- Host OS - Ubuntu 18.04 LTS minimal server (No GUI)
- IP Address of Host OS : 192.168.225.22/24
- Guest OS (Which we are going to host on Ubuntu 18.04) : Ubuntu 16.04 LTS server
Remote desktop client :
- OS - Arch Linux
Install KVM
First, let us check if our system supports hardware virtualization. To do so, run the following command from the Terminal:
$ egrep -c '(vmx|svm)' /proc/cpuinfo
If the result is zero (0), the system doesn't support hardware virtualization or the virtualization is disabled in the Bios. Go to your bios and check for the virtualization option and enable it.
if the result is 1 or more, the system will support hardware virtualization. However, you still need to enable the virtualization option in Bios before running the above commands.
Alternatively, you can use the following command to verify it. You need to install kvm first as described below, in order to use this command.
$ kvm-ok
Sample output:
INFO: /dev/kvm exists
KVM acceleration can be used
If you got the following error instead, you still can run guest machines in KVM, but the performance will be very poor.
INFO: Your CPU does not support KVM extensions
INFO: For more detailed results, you should run this as root
HINT: sudo /usr/sbin/kvm-ok
Also, there are other ways to find out if your CPU supports Virtualization or not. Refer the following guide for more details.
Next, Install KVM and other required packages to setup a virtualization environment in Linux.
On Ubuntu and other DEB based systems, run:
$ sudo apt-get install qemu-kvm libvirt-bin virtinst bridge-utils cpu-checker
Once KVM installed, start libvertd service (If it is not started already):
$ sudo systemctl enable libvirtd
$ sudo systemctl start libvirtd
Create Virtual machines
All virtual machine files and other related files will be stored under /var/lib/libvirt/. The default path of ISO images is /var/lib/libvirt/boot/.
First, let us see if there is any virtual machines. To view the list of available virtual machines, run:
$ sudo virsh list --all
Sample output:
Id Name State
----------------------------------------------------
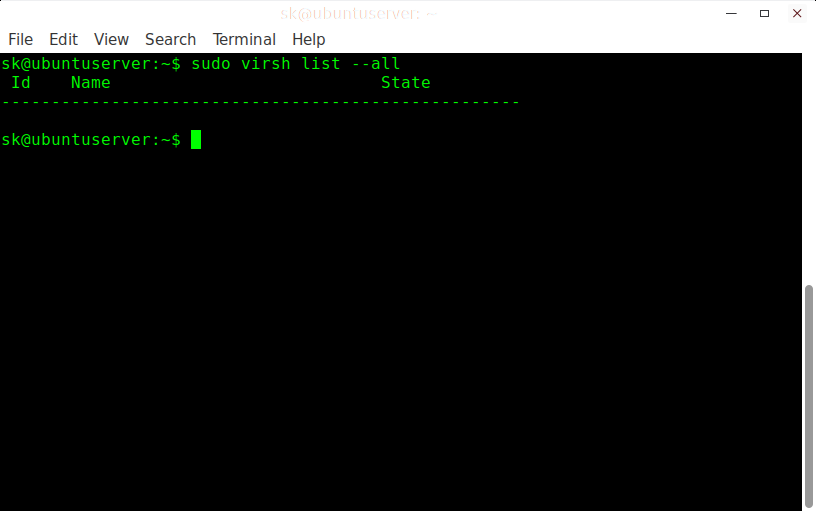
As you see above, there is no virtual machine available right now.
Now, let us crate one.
For example, let us create Ubuntu 16.04 Virtual machine with 512 MB RAM, 1 CPU core, 8 GB Hdd.
$ sudo virt-install --name Ubuntu-16.04 --ram=512 --vcpus=1 --cpu host --hvm --disk path=/var/lib/libvirt/images/ubuntu-16.04-vm1,size=8 --cdrom /var/lib/libvirt/boot/ubuntu-16.04-server-amd64.iso --graphics vnc
Please make sure you have Ubuntu 16.04 ISO image in path /var/lib/libvirt/boot/ or any other path you have given in the above command.
Sample output:
WARNING Graphics requested but DISPLAY is not set. Not running virt-viewer.
WARNING No console to launch for the guest, defaulting to --wait -1

Starting install...
Creating domain... | 0 B 00:00:01
Domain installation still in progress. Waiting for installation to complete.
Domain has shutdown. Continuing.
Domain creation completed.
Restarting guest.

Let us break down the above command and see what each option do.
- --name : This option defines the name of the virtual name. In our case, the name of VM is Ubuntu-16.04.
- --ram=512 : Allocates 512MB RAM to the VM.
- --vcpus=1 : Indicates the number of CPU cores in the VM.
- --cpu host : Optimizes the CPU properties for the VM by exposing the host's CPU's configuration to the guest.
- --hvm : Request the full hardware virtualization.
- --disk path : The location to save VM's hdd and it's size. In our example, I have allocated 8GB hdd size.
- --cdrom : The location of installer ISO image. Please note that you must have the actual ISO image in this location.
- --graphics vnc : Allows VNC access to the VM from a remote client.
Access Virtual machines using VNC client
Now, go to the remote Desktop system. SSH to the Ubuntu server(Virtualization server) as shown below.
$ ssh sk@192.168.225.22
Here, sk is my Ubuntu server's user name and 192.168.225.22 is its IP address.
Run the following command to find out the VNC port number. We need this to access the Vm from a remote system.
$ sudo virsh dumpxml Ubuntu-16.04 | grep vnc
Sample output:
<graphics type='vnc' port='5900' autoport='yes' listen='127.0.0.1'>
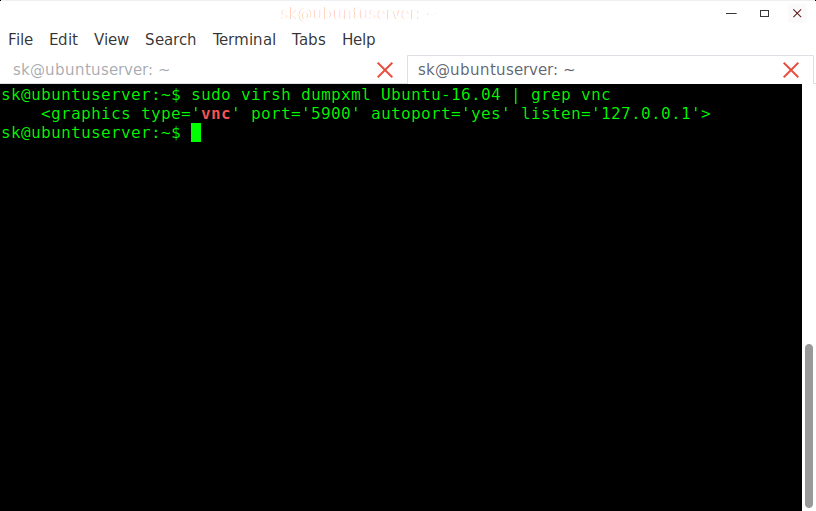
Note down the port number 5900. Install any VNC client application. For this guide, I will be using TigerVnc. TigerVNC is available in the Arch Linux default repositories. To install it on Arch based systems, run:
$ sudo pacman -S tigervnc
Type the following SSH port forwarding command from your remote client system that has VNC client application installed.
$ ssh sk@192.168.225.22 -L 5900:127.0.0.1:5900
Again, 192.168.225.22 is my Ubuntu server's (virtualization server) IP address.
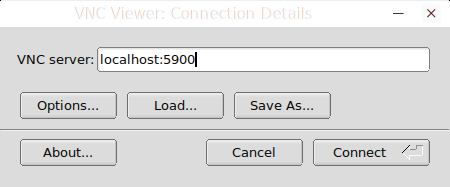
Then, open the VNC client from your Arch Linux (client).
Type localhost:5900 in the VNC server field and click Connect button.
Then start installing the Ubuntu VM as the way you do in the physical system.


Similarly, you can setup as many as virtual machines depending upon server hardware specifications.
Alternatively, you can use virt-viewer utility in order to install operating system in the guest machines. virt-viewer is available in the most Linux distribution's default repositories. After installing virt-viewer, run the following command to establish VNC access to the VM.
$ sudo virt-viewer --connect=qemu+ssh://192.168.225.22/system --name Ubuntu-16.04
Manage virtual machines
Managing VMs from the command-line using virsh management user interface is very interesting and fun. The commands are very easy to remember. Let us see some examples.
To view the list of running VMs, run:
$ sudo virsh list
Or,
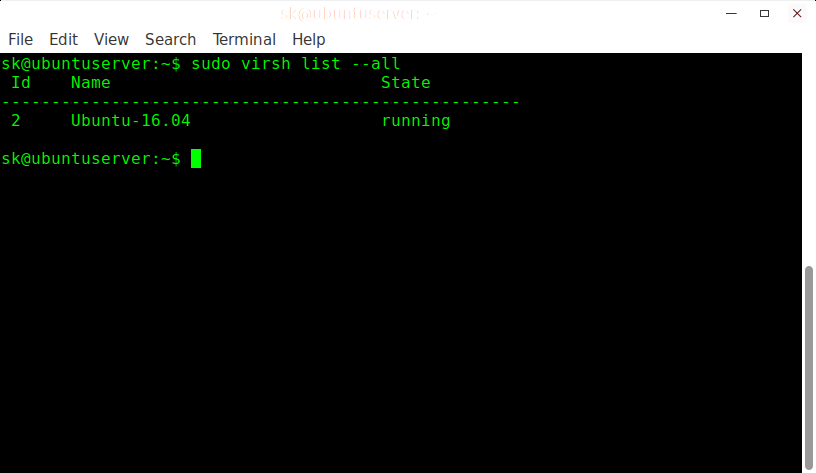
$ sudo virsh list --all
Sample output:
 Id Name State
----------------------------------------------------
 2 Ubuntu-16.04 running
To start a VM, run:
$ sudo virsh start Ubuntu-16.04
Alternatively, you can use the VM id to start it.
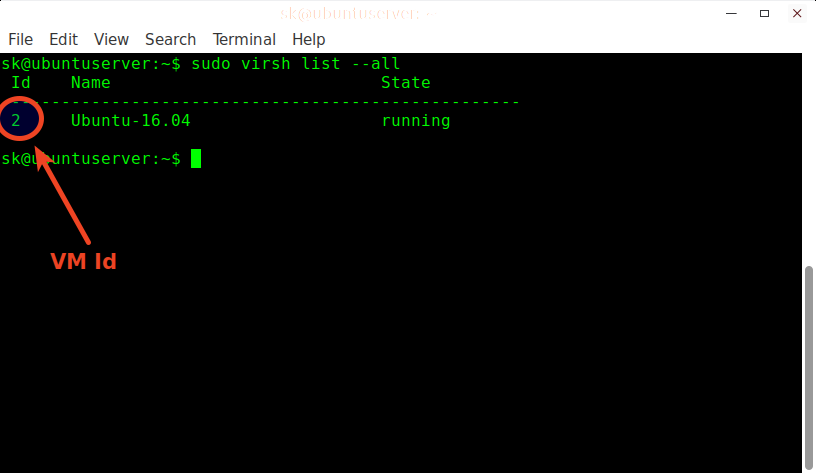
As you see in the above output, Ubuntu 16.04 virtual machine's Id is 2. So, in order to start it, just specify its Id like below.
$ sudo virsh start 2
To restart a VM, run:
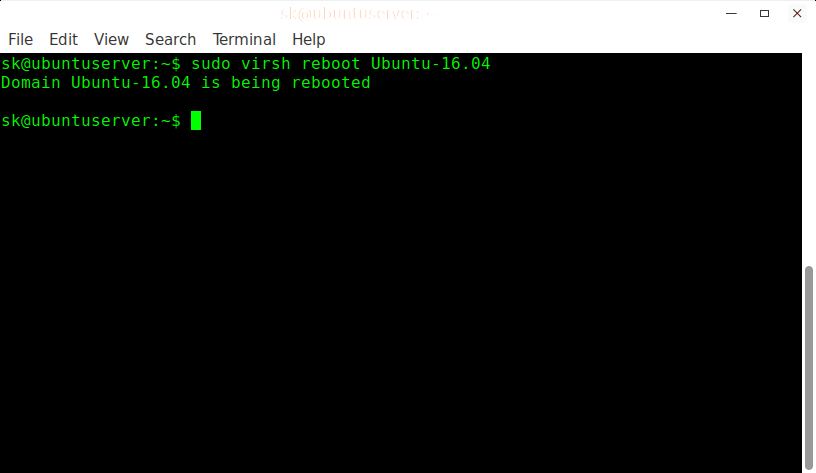
$ sudo virsh reboot Ubuntu-16.04
Sample output:
Domain Ubuntu-16.04 is being rebooted
To pause a running VM, run:
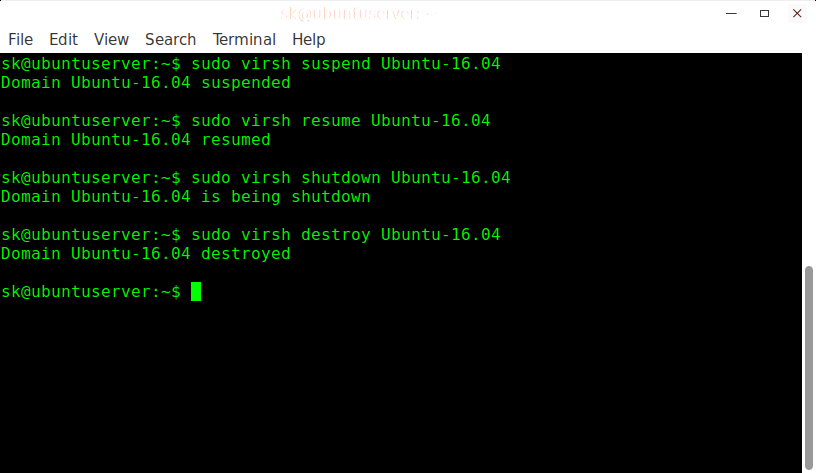
$ sudo virsh suspend Ubuntu-16.04
Sample output:
Domain Ubuntu-16.04 suspended
To resume the suspended VM, run:
$ sudo virsh resume Ubuntu-16.04
Sample output:
Domain Ubuntu-16.04 resumed
To shutdown a VM, run:
$ sudo virsh shutdown Ubuntu-16.04
Sample output:
Domain Ubuntu-16.04 is being shutdown
To completely remove a VM, run:
$ sudo virsh undefine Ubuntu-16.04
$ sudo virsh destroy Ubuntu-16.04
Sample output:
Domain Ubuntu-16.04 destroyed
For more options, I recommend you to look into the man pages.
$ man virsh
That's all for now folks. Start playing with your new virtualization environment. KVM virtualization will be opt for research & development and testing purposes, but not limited to. If you have sufficient hardware, you can use it for large production environments.
Related Read:
- How To Install KVM On Ubuntu 22.04 Server [A Complete Guide]
- Install And Configure KVM In Ubuntu 20.04 Headless Server
Resource:
8 comments
Thanks man , really good tutorial to get started with KVM , I will keep in my arsenal of “Guidelines” for any other time I need a solid example of kvm basic usage.
Glad I could help you. Keep visiting.
the virtinst package seems to have some problems. I don’t think that it’s part of the ubuntu repos anymore. Here are the details:
Some packages could not be installed. This may mean that you have
requested an impossible situation or if you are using the unstable
distribution that some required packages have not yet been created
or been moved out of Incoming.
The following information may help to resolve the situation:
The following packages have unmet dependencies:
virt-manager : Depends: python-gi-cairo but it is not installable
Depends: gir1.2-libvirt-glib-1.0 but it is not installable
Depends: gir1.2-gtk-vnc-2.0 but it is not installable
Depends: gir1.2-libosinfo-1.0 but it is not installable
Depends: virtinst (>= 1:1.5.1-0ubuntu1.1) but it is not going to be installed
Recommends: gir1.2-spiceclientglib-2.0 but it is not installable
Recommends: gir1.2-spiceclientgtk-3.0 but it is not installable
E: Unable to correct problems, you have held broken packages.
Hello there, i have kvm installed and on it i have a jsp project but i don’t want it to be accessed remotely. i want the server to act like the normal server with out remote access.how can i do this
Hi Sk,
Thanks for this great tutorial.
Everything works fine, except the fact that I’m not able to connect via ssh to the virtual machine I created.
The error message that shows up is: No route to host
Probably it is because the network card should be set to bridged network, is it so?
Thanks!
Yes. Configure bridged network to allow the virtual interfaces to connect to the outside network through the physical interface. Here is a good resource for your reference. https://help.ubuntu.com/community/KVM/Networking
excellent tutorial
Thanks from me too, very helpful!
When bridging I had to disable some default enabled packet inspection (20.04 ubuntu) to get to full 100 Mbyte speed in my gig ethernet (otherwise the guest was limited to ~ 30 Mbyte/sec)