1.1K


Subsonic is a free, web based media server which streams your media files to any of your clients such as desktop, laptop, mobile phones and tablets etc in LAN and WAN. It supports almost all popular media formats that can stream over HTTP. Subsonic comes with an integrated Podcast receiver, with many features found in itunes.
Table of Contents
Install Subsonic in Linux mint 14/13 and Ubuntu 12.10/12.04:
You can install from Package manager or if you can't find it from your repositories, directly download a latest version from the official website. The website also provides the installation instructions to all platforms. First you need to install the prerequisite Openjdk-6-jre in order to install subsonic.
sudo apt-get install openjdk-6-jre

Next install subsonic package. I have already downloaded the subsonic package and put in Downloads folder. So the installation command will be:
sudo dpkg -i Downloads/subsonic-4.7.deb

Now start the subsonic service.
sudo /etc/init.d/subsonic start
Once started the service, open the browser and type http://ip-address:4040 and hit enter. Now the login screen will open.

The default administrative username and password is "admin". Enter the username and password and hit enter. Now the "Getting Started page" will open.
All the three steps shown in Getting started page is necessary to do.
Change Administrator password
It is highly recommended to change the default administrator password. Click on the link "Change Administrator password" and Click the checkbox "Change password", enter the new password, E-mail address for the password recovery and click save.
Now logout and login back to subsonic. Next setup the media folders where you have stored your media files.
Setup Media Folders
Go back to "Getting started page", click the link "Set up media folders" and enter the path where you have stored the media files and click save.

Select any additional media folders if want to add. Once you add your media folders, all the media files will appear in the left pane under Playlists.
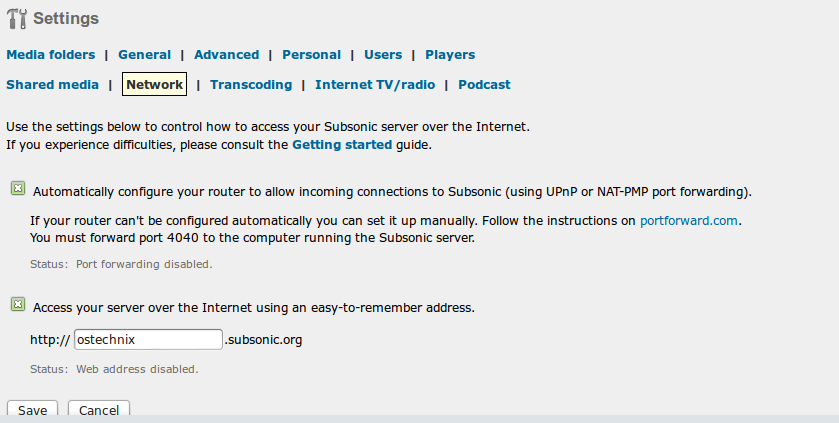
Next goto Network tab in the Settings page. There are two options in the Network settings page:
- Automatically configure your router to allow incoming connections to Subsonic.
- Access your server over the Internet using an easy-to-remember address like http://ostechnix.subsonic.org.
You can access your streaming server over internet using any one of the above options. You must allow the port 4040 through your router. To do port forwarding just follow the steps
provided here.
You can allow the non-administrative user to play media files. To do that Goto Settings page, Navigate to Users tab, enter username, password and email address for your new user and click save.

Now select the newly created user from the Select user drop-down box in the Users tab.
Select the desired permissions to be allowed to the new user and click save..

Then, Open the browser and navigate to http://ip-address:4040/. Select the media file to play.
Uninstall Subsonic:
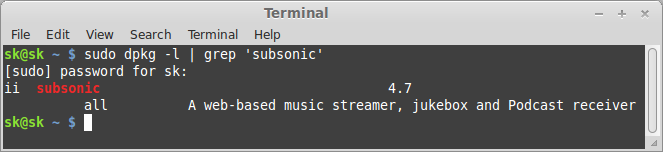
Verify the installation of Subsonic package using the command dpkg -l as shown below.
sudo dpkg -l | grep 'subsonic'
Then uninstall subsonic as shown below.
sudo dpkg -P subsonic

The above command will completely remove the subsonic package.