YunoHost is an all-in-one server operating system based on Debian. It is primarily designed for making self-hosting accessible to everyone. Using YunoHost, you can easily host your own mail server, web server, LDAP server, DNS server, backup server, CMS platform such as wordpress, or anything and everything easily with few mouse clicks. You can host it either on your home server or any VPS. It is completely free and open source. The source code is available in GitHub.
YunoHost is a minimal Linux distribution that ships with the following set of applications:
- Nginx : a Web server
- Postfix : an SMTP e-mail server
- Dovecot : an IMAP and a POP3 e-mail server
- Rspamd : an e-mail spam filtering
- Metronome : an XMPP server
- OpenLDAP : an LDAP server
- Dnsmasq : a DNS server
- SSOwat : a Single Sign On (SSO) web authentication system
- Let's Encrypt : a certificate manager
All of the above software can be installed and configured via a web interface. Also, YunoHost comes with an app system. The app system is nothing but a community repository of validated helper scripts to install further services or web applications such as WordPress, Roundcube, phpMyAdmin, TinyTInyRSS, and more. You can view the complete list of official YunoHost apps here.
Table of Contents
YunoHost Features
Concerning about YunoHost's features, we can list the following:
- Multi-user support with LDAP integration,
- Multi-domains support,
- An email system,
- An instant messaging server,
- A Single sign-on (SSO),
- An application system,
- A backup system,
- A regen configuration services system,
- and many.
Install YunoHost
YunoHost is available as standalone version, or you can install it on top of existing Debian operating system. Also, you can download YunoHost Vagrant boxes and Raspberry Pi images. All installation images can be downloaded from the link below.
![]()
For the purpose of this guide, I am going to use YunoHost ISO image. After downloading ISO image, make a bootable USB drive or SD card as described in the link below.
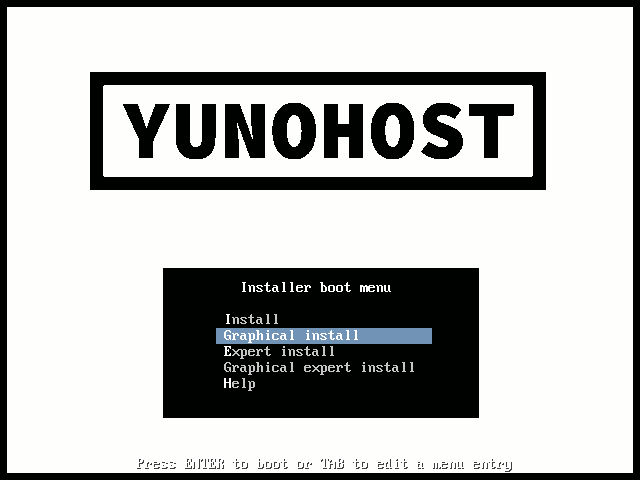
Boot your system with bootable drive. You'll be greeted with the following boot message. Choose "Graphical Install" and hit Enter.
Choose the language to be used for the installation process and press ENTER.

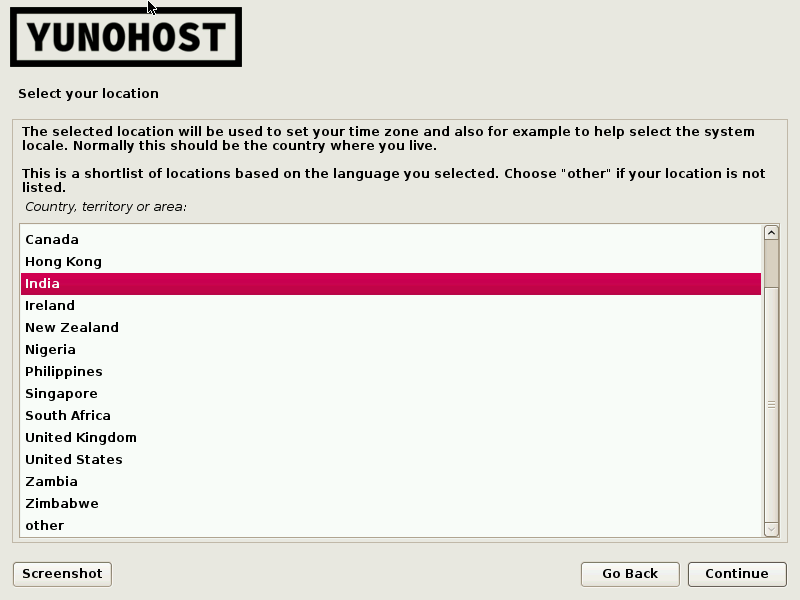
Select you location and press ENTER. The selected location will be used to set your timezone.
Select the keymap to use.

Now, YunoHost base installation will start. If you have enabled DHCP, all network settings will be configured automatically. If not, you will have to configure them manually.

Next, choose the hard disk where you want to install the boot loader. If you have multiple hard disks, you need to select the correct hdd (if you have multiple hdds of course).

After installing the boot loader, your system will automatically reboot.
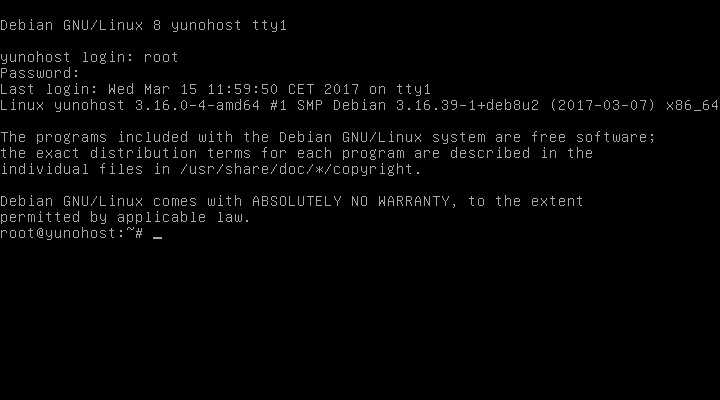
Log in as "root" user. The default password for root user is "yunohost".
YunoHost Post Installation
The first thing we should after installing any distribution is to update it. Since YunoHost is Debian-based, the commands which are compatible with Debian will work in YunoHost.
To update YunoHost, simply run:
# apt-get update
# apt-get upgrade
Now, open the web browser in any remote system and navigate to http://yunohost_ip/. You will see a security certificate warning. just ignore by adding yunohost server's IP address to the exception list. Then, a welcome page will show up. Click Begin to continue.

If you chose web-based post installation configuration, You will be asked to choose the domain name. This is the first domain name linked to your YunoHost server, but also the one which will be used by your server's users to access the authentication portal. Accordingly, it will be visible by everyone, so choose it carefully.
- If you have a registered domain, choose the first option i.e I already have a domain name and enter it. For example, ostechnix.com.
- If you don't own a domain name and don't want a .nohost.me or .noho.st, you can use a local domain. For example, you can use something like ostechnix.local. Then, configure your router to redirect a local domain name to your server.
- If you do not have a registered domain already, or if you want to use the YunoHost's DynDNS service, choose a sub-domain of .nohost.me or .noho.st (i.e. testostechnix.nohost.me). To do so, choose the second option, and enter the domain name of your choice. The domain will be configured automatically and you won't need any further configuration step.
Since this is just test environment, I chose ostechnix.local as my domain name.

Next, set the administrator password for YunoHost's web dashboard and click GO to continue.

YunoHost will start configuring all necessary services. This will take a few seconds to complete.
Finally, enter the administration password that you just created in the previous step and click Login.
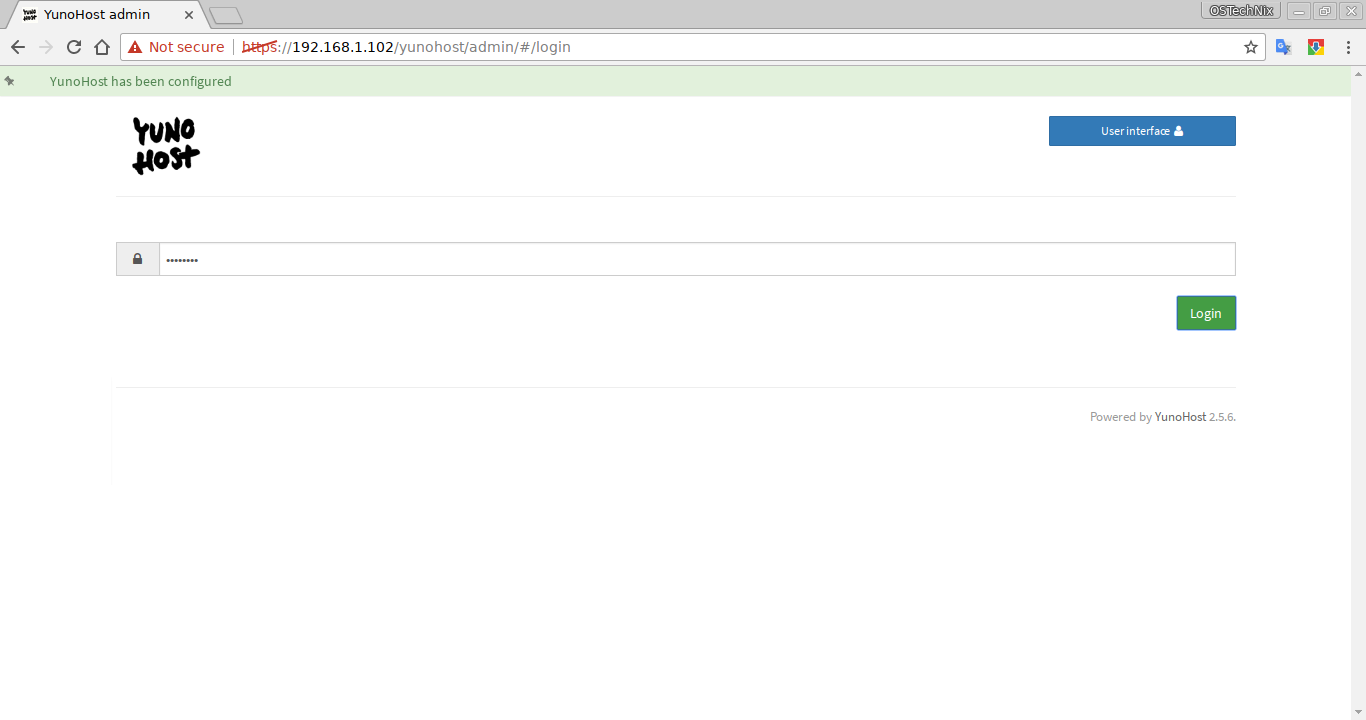
This is how YunoHost's web dashboard looks like.

From here, you can create, delete and manage users, domains, install applications, configure services etc. Also, you can check whether a service is running or not, monitor system, disk and network activities, backup user data, mails, configuration files and so on.
Alternatively, you can run the following command to complete the post installation steps:
# yunohost tools postinstall
Enter the main domain and set new administrative password and hit ENTER to complete the configuration.
Main domain: ostechnix.local
New administration password:
Confirm new administration password:
Success! LDAP has been initialized
yunohost.org
Success! The configuration has been updated for service 'ssl'
Generating a 2048 bit RSA private key
.........................................................+++
..........................................+++
writing new private key to '/usr/share/yunohost/yunohost-config/ssl/yunoCA/ca/cakey.pem'
-----
Updating certificates in /etc/ssl/certs... 0 added, 0 removed; done.
Running hooks in /etc/ca-certificates/update.d....done.
Success! Successfully installed a self-signed certificate for domain ostechnix.local!
Success! The domain has been created
Success! The main domain has been changed
--2017-03-15 14:13:08-- https://app.yunohost.org/official.json
Resolving app.yunohost.org (app.yunohost.org)... 37.187.18.36
Connecting to app.yunohost.org (app.yunohost.org)|37.187.18.36|:443... connected.
HTTP request sent, awaiting response... 200 OK
Length: 28122 (27K) [application/json]
Saving to: ‘/var/cache/yunohost/repo/yunohost.json.tmp’

/var/cache/yunohost 100%[=====================>] 27.46K 48.2KB/s in 0.6s

2017-03-15 14:13:16 (48.2 KB/s) - ‘/var/cache/yunohost/repo/yunohost.json.tmp’ saved [28122/28122]

Success! The app list has been fetched
Success! The SSOwat configuration has been generated
Success! The administration password has been changed
Success! The firewall has been reloaded
update-rc.d: error: no runlevel symlinks to modify, aborting!
Success! The configuration has been updated for service 'glances'
Success! The configuration has been updated for service 'nslcd'
Success! The configuration has been updated for service 'metronome'
Success! The configuration has been updated for service 'postfix'
Success! The configuration has been updated for service 'rspamd'
Success! The configuration has been updated for service 'nginx'
Success! The configuration has been updated for service 'rmilter'
Success! The configuration has been updated for service 'dnsmasq'
Success! The configuration has been updated for service 'fail2ban'
Success! The configuration has been updated for service 'mysql'
Success! The configuration has been updated for service 'avahi-daemon'
Success! The configuration has been updated for service 'dovecot'
Success! The configuration has been updated for service 'nsswitch'
Success! The configuration has been updated for service 'slapd'
Success! The configuration has been updated for service 'ssh'
Success! YunoHost has been configured
Administrating YunoHost from Commandline
YunoHost can also be managed from commandline.
First, you need to connect with YunoHost server via SSH. SSH root access is forbidden by default. Create a normal use, connect via SSH, and switch to root user.
$ ssh username@yunohost-ip
The typical usage of Yunohost is:
# yunohost -h -v
Commands to manage domains:
# yunohost domain [-h] {info,add,list,remove}# Commands to manage monitoring:
yunohost monitor [-h] {enable,network,show-stats,update-stats,disk,system,disable}# Commands to manage services:
# yunohost service [-h] {status,start,enable,log,stop,disable}Commands to manage Firewall:
# yunohost firewall [-h]{installupnp,checkupnp,list,stop,disallow,reload,allow,removeupnp}Commands to manage backup:
# yunohost backup [-h] {init} ...Commands to manage apps:
# yunohost app [-h] {map,ssowatconf,install,checkport,listlists,removelist,info,upgrade,service,fetchlist,checkurl,list,remove,removeaccess,setting,initdb,addaccess}Commands to manage users:
# yunohost user [-h] {info,create,list,update,delete} ...For more details, refer the documentation page given at the end of this guide.
Suggested read:
And, that's all. YunoHost is indeed a all-in-one server solution that simplifies the server and web applications deployment much easier. This is suitable for testing and development environment as well as for lazy Linux administrators who wants to deploy a server in no time.
Cheers!
Resources:
Thanks for stopping by!
Help us to help you:
- Subscribe to our Email Newsletter : Sign Up Now
- Support OSTechNix : Donate Via PayPal
- Download free E-Books and Videos : OSTechNix on TradePub
- Connect with us: Facebook | Twitter | Google Plus | LinkedIn | RSS feeds
Have a Good day!!
2 comments
Tested it out. Found it really great and easy to use. Kudo to the developers.
Never heard about it. Looks an interesting product.